Cherry Sponge Sheet Cake Recipe

cherry-sponge-poke-cake-recipe-baking-spring-summer-sheet-cakecherry-sponge-poke-cake-recipe-baking-spring-summer-sheet-cake-2cherry-sponge-poke-cake-recipe-baking-spring-summer-sheet-cake-3

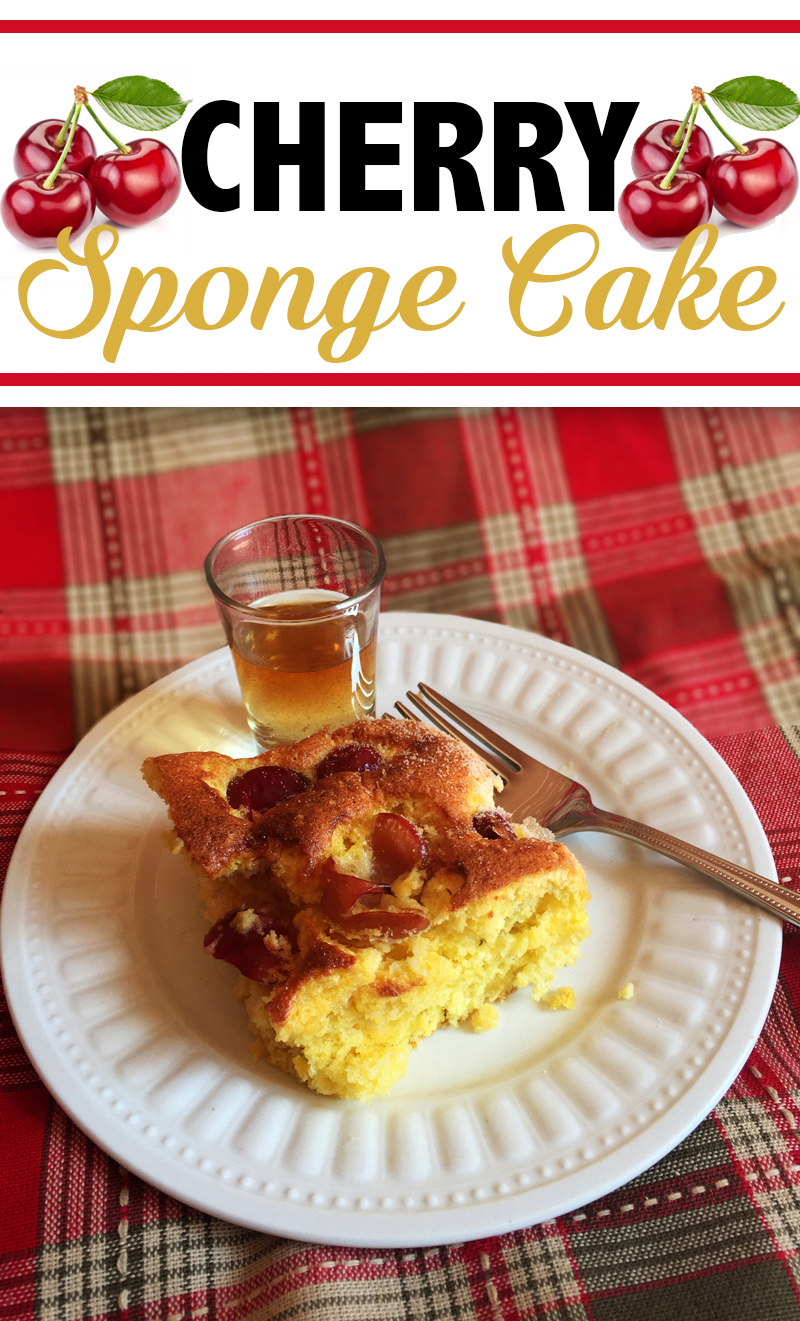
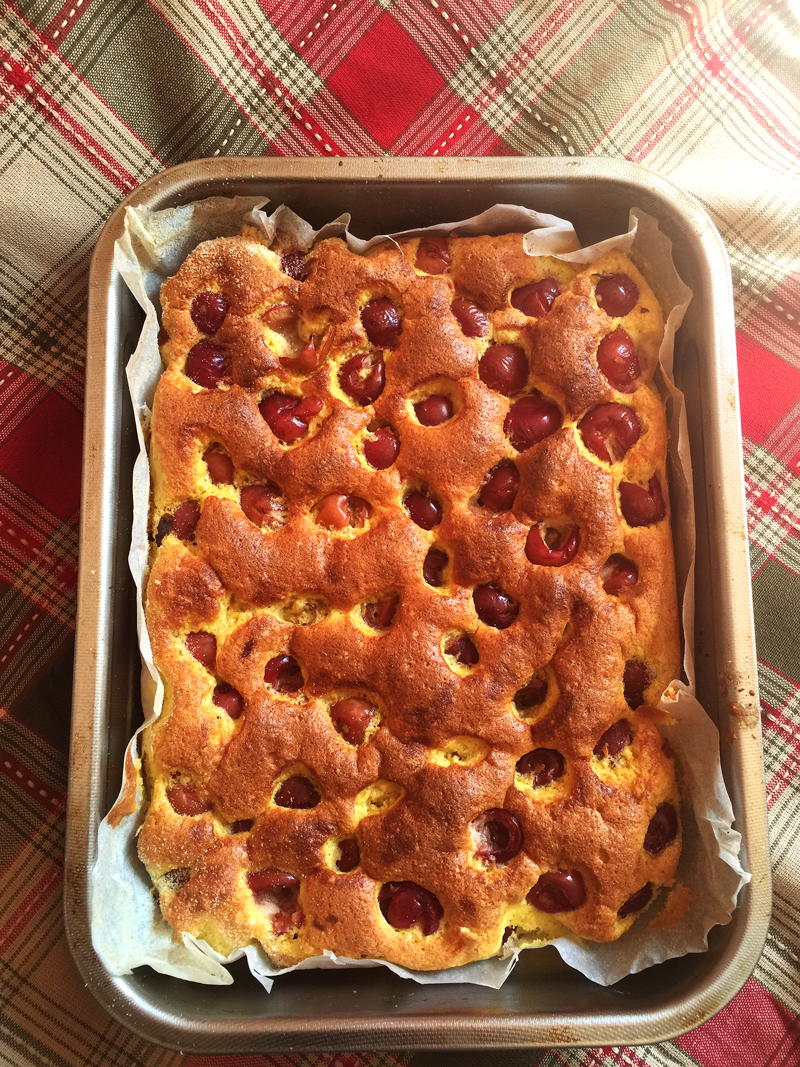
If you are looking to make an easy cake perhaps something for Sunday brunch, then this cherry sponge sheet cake is the perfect one for you. I usually make this delicious cake in the spring, when cherries are in season. Lucky me, I managed to freeze a few bags of pitted cherries so I can make cherry cake all year round!

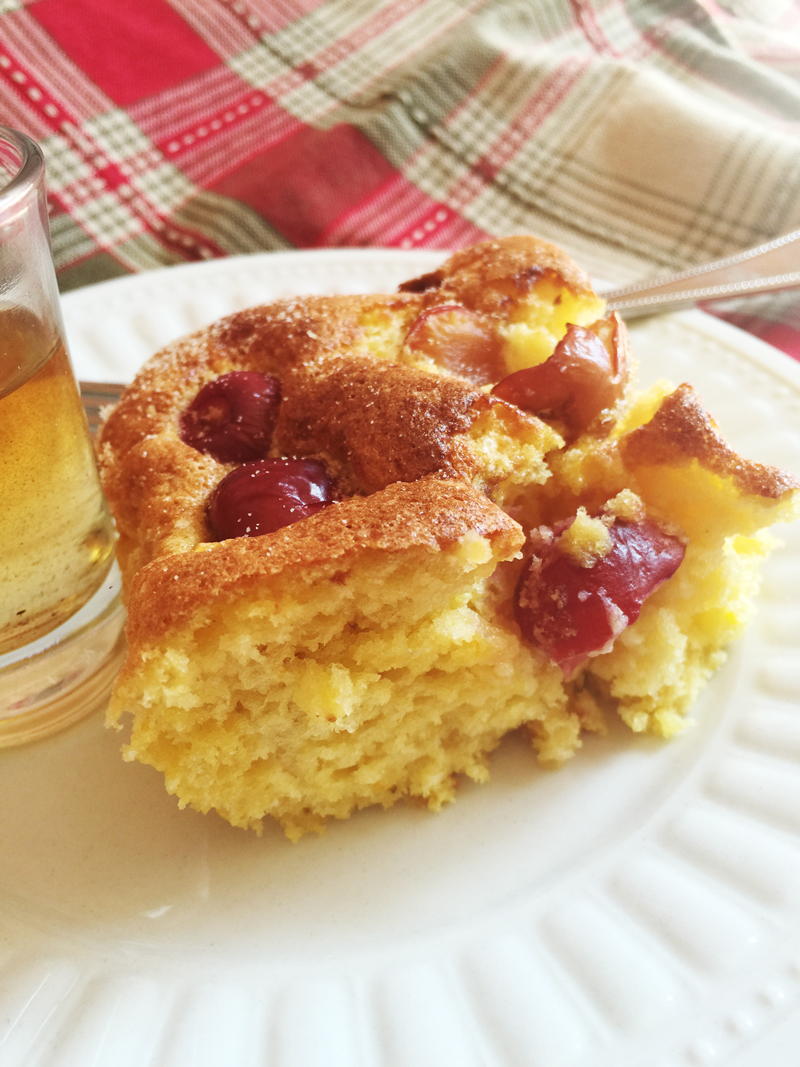
Sheet cakes might be thought by some bakers as the lazy man’s cake, but that is why they go well with so many different condiments. Think of it as a plain cake that needs some accessorizing! On top of each squared piece of cake, swirl on some whipped cream and then top it off with a fresh cherry. You can also sprinkle powdered sugar on top or even serve each slice with a scoop of ice cream!

Whatever you choose to do, this cherry sheet cake is also good simply on it’s own. Refreshing, sweet, and light, it’s a wonderful cake if you would like to extend the summer season like me! Try out this recipe and let me know how it turned out for you, remember we always love to see readers pictures!

*If you would like to share my recipe and photos please provide proper credit and a link back. Thanks!  

Cherry Sponge Sheet Cake

Easy, light, and refreshing sheet cake made from cherries.

Prep Time: 10 min  Cook Time: 30 min Total Time: 40min

Ingredients:

For Cake
 
  1. 200g all purpose flour
  2. 180g sugar
  3. 360g plain yogurt (or two 180g yogurt cups)
  4. 125g margarine
  5. 50ml milk
  6. 4 large eggs
  7. 2.5 tsp vanilla sugar or vanilla extract
  8. 2 tsp baking powder
For Cherry Filling
 
  1. 500g cherries, pitted and washed
  2. 2.5 tsp vanilla sugar
Instructions:
 
  1. 1. In a small bowl, toss cherries together with vanilla sugar.
  2. 2. In a separate mixing bowl, separate egg whites from yolks. Using an electric mixer, beat egg whites and slowly add in half of the 180g of sugar. Keep beating until peaks form.
  3. 3. Mix yolks using an electric mixer in yet another mixing bowl with the remaining sugar, vanilla sugar, yogurt, margarine, and baking powder.
  4. 4. Slowly fold in the yolk mixture with the egg white and sugar mixture until combined. In a greased and prepared baking sheet, pour batter and sprinkle cherries on top.
  5. 5. Bake at 356 F for half an hour. Then remove from oven, allow to cool, and slice into squares. To serve, sprinkle powdered sugar on top using a tea/coffee strainer. Voila!

 Here are Some More Easy Cakes!

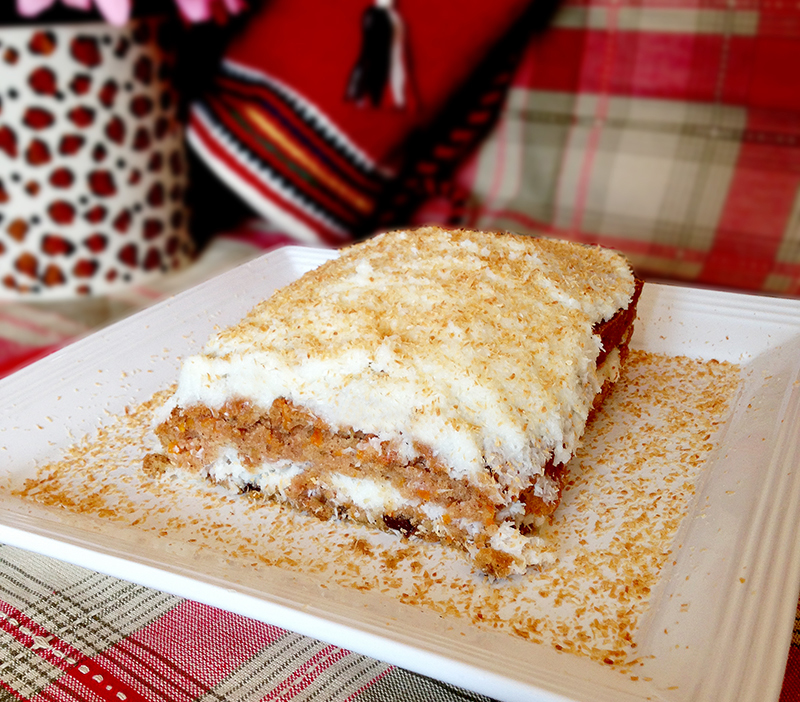
Rustic Carrot Cake Loaf with Coconut Yogurt Icing
1 grandmas rustic coconut carrot cake recipe yogurt icing dairy free eggless healthy toasted raisins easy cheap better baking bible blog

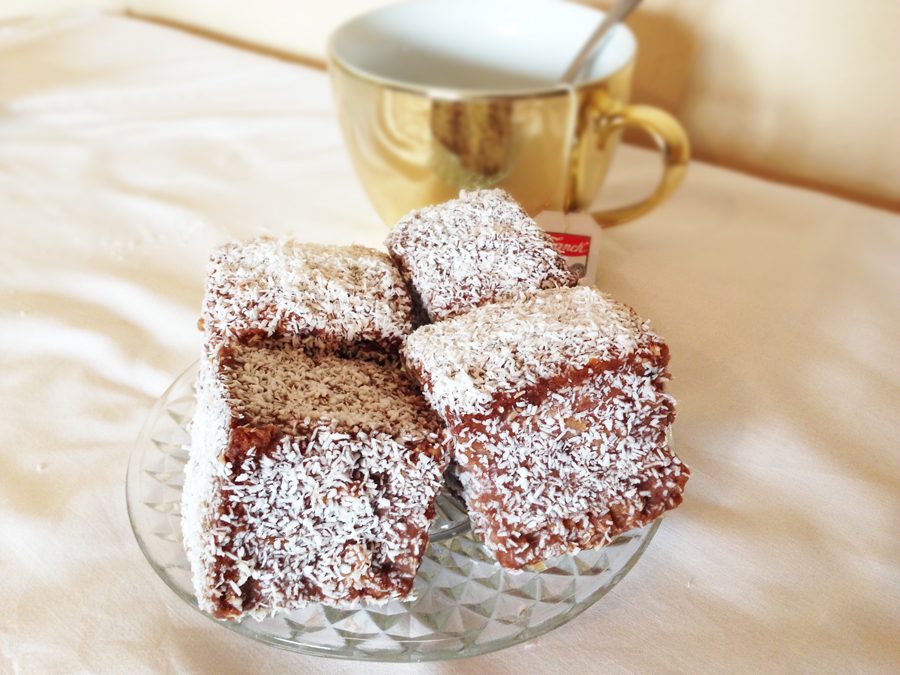
Banana Bread Lamingtons
banana bread lamingtons easy holiday christmas cupavci coconut 2

Vanilla Custard Cream Cake – Croatian Kremsnita
4-vanilla-custard-cream-cake-sheet-cake-croatian-kremsnita-recept-recipe-kako-napraviti-custard-dough-easy-holiday-dessert-wedding-simple-sugar


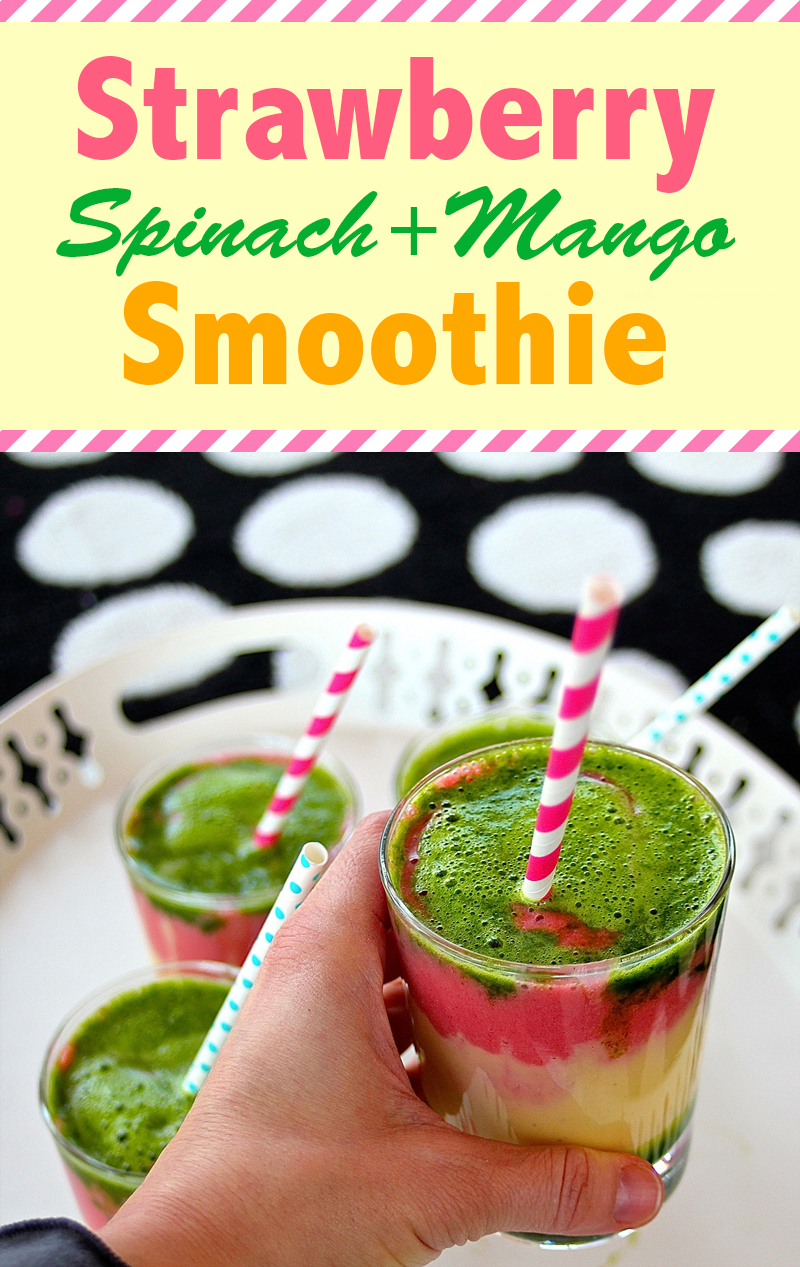
Strawberry Spinach Mango Smoothie – Dairy Free!

strawberry-mango-spinach-smoothie-recipe-healthy-better-baking-bible-blog-5 strawberry-mango-spinach-smoothie-recipe-healthy-better-baking-bible-blog-2strawberry-mango-spinach-smoothie-recipe-healthy-better-baking-bible-blog-4strawberry-mango-spinach-smoothie-recipe-healthy-better-baking-bible-blog-3SMOOTHIE / HEATHER HAMMOD / CC BY


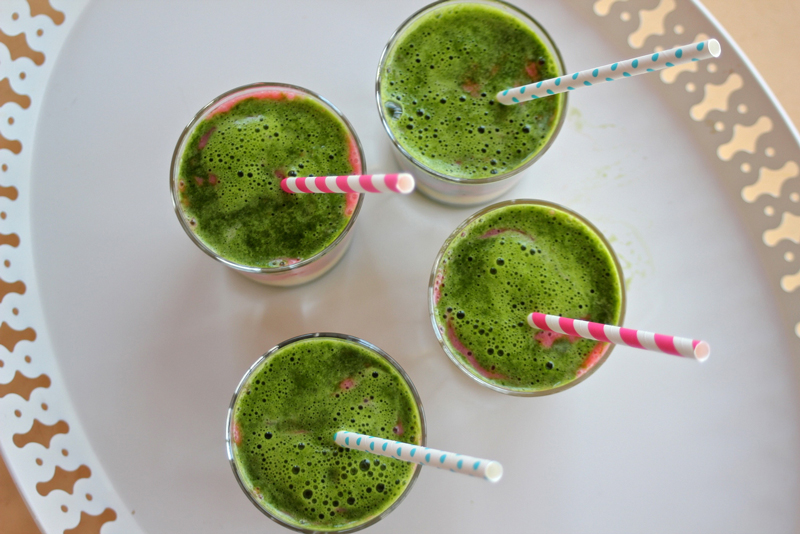
Finally the long awaited summer weather has come, and it’s sizzling outside a little too much for my liking! The best way to combat the heat? With frozen smoothies of course! Strawberry spinach and mango smoothie to be exact is what’s popping up on my menu for breakfast, lunch, and even a late night snack. I’m not going to lie – I love smoothies, cakes, desserts, anything sweet and I’ll have it. But what makes something even more enjoyable is when it’s delicious but also super healthy. This gives you an automatic excuse to take seconds, right?

Deliciously healthy is exactly what this smoothie is, it tastes refreshing, heavenly, it looks amazing, and it’s also quite healthy. Packed with antioxidant rich strawberries, spinach, and mango, who knew this combination would work so well together? To make this smoothie, the only tool you need is a blender. There are tons of food blenders on the market, although make sure to buy one that is made out of glass. Glass is much easier to wash, and it’s more sanitary. Bacteria seeps into plastic, it’s almost impossible to disinfect, and plus it’s not healthy to use period. Food blenders are a great investment, as long as you purchase one made out of glass and from a reputable brand.

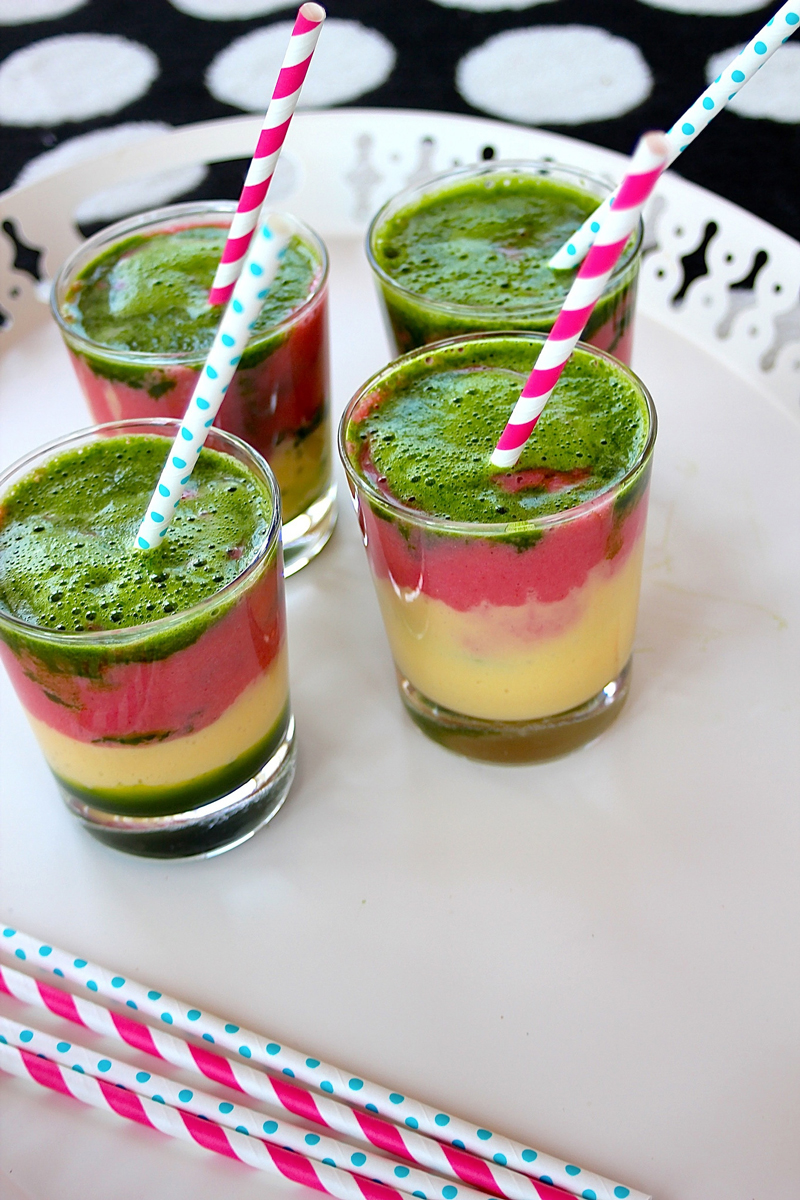
The best part about this smoothie is that it’s super easy to make. I love recipes that don’t take too much effort, but still turn out wonderful. What really makes it come together is the beautiful presentation. Eye popping layers of strawberry, spinach, and mango make this smoothie look and taste even more yummy!

Strawberry Spinach Mango Smoothie

 
A summer ready smoothie made with frozen strawberries, spinach, and mango!
 
Ingredients:
 
  1. 1 1/2 cups frozen mango chunks
  2. 1 cup frozen strawberries
  3. 1 cup fresh spinach
  4. 1 cup water
  5. 1 tbsp honey
Instructions:
 
  1. Using a blender, blend the frozen mango chunks with water until smooth. Pour 2/3 of the blended mixture into a serving glass.
  2. Add strawberries into the blender and blend until smooth. Pour ¾ of the smoothie into the serving glass, covering the mango to form a layer.
  3. Add spinach and 1 tbsp of honey into the blender and blend until smooth. Poor into the serving glass and serve right away or store in the freezer for later.

strawberry-mango-spinach-smoothie-recipe-healthy-better-baking-bible-blog-2

Rosemary Bread with Whole Wheat Flour and Olive Oil

whole-wheat-rosemary-bread-recipe-easy-dalmatinski-kruh-recept-better-baking-bible-blog-21-whole-wheat-rosemary-bread-recipe-easy-dalmatinski-kruh-recept-better-baking-bible-blog 2-whole-wheat-rosemary-bread-recipe-easy-dalmatinski-kruh-recept-better-baking-bible-blog

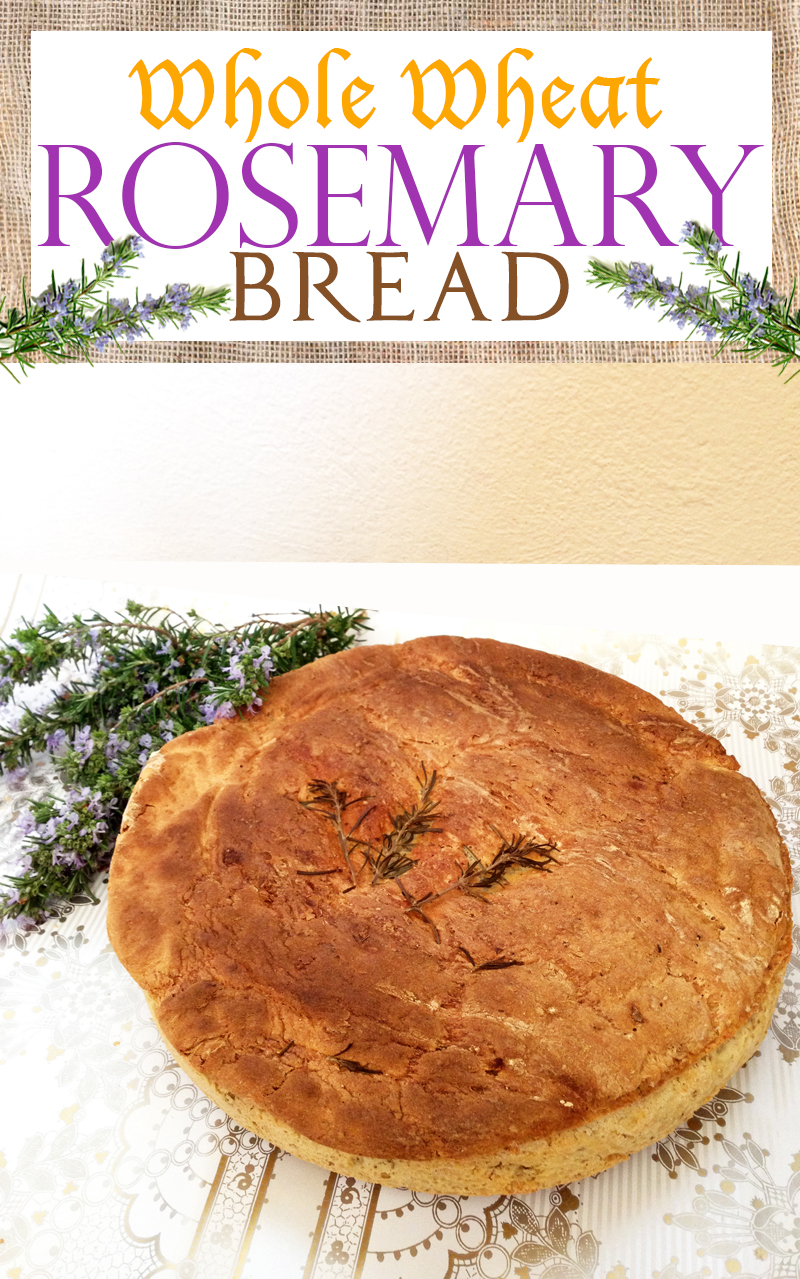
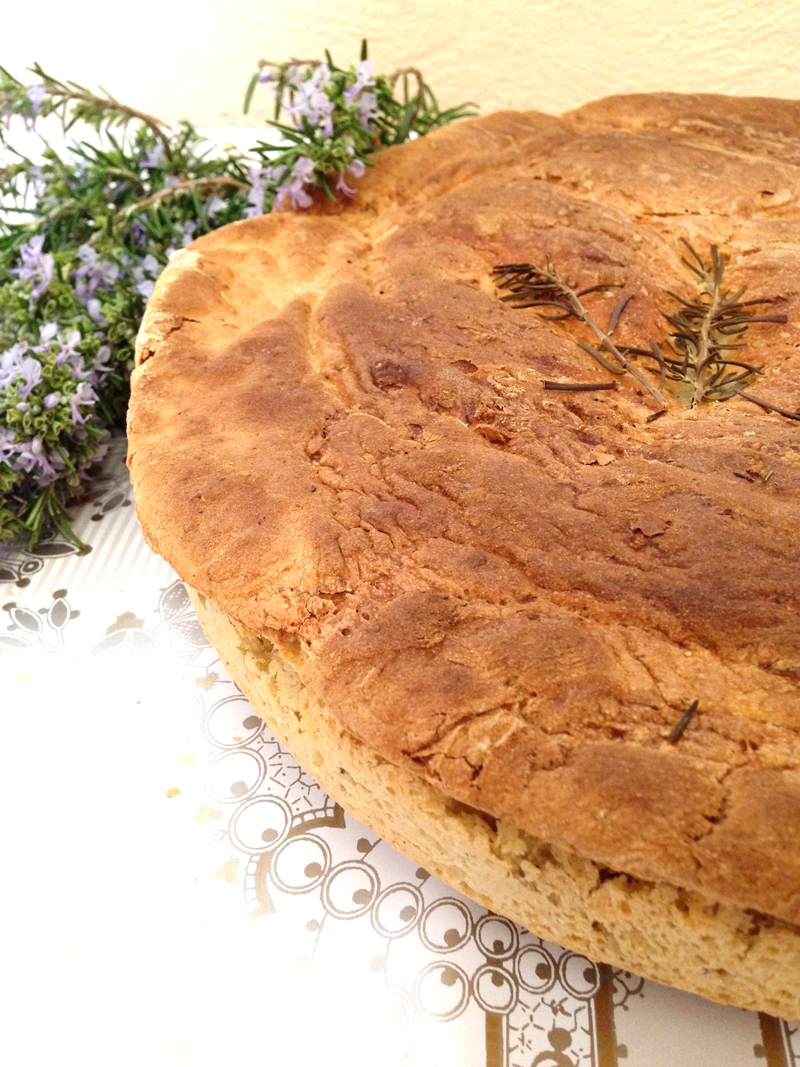
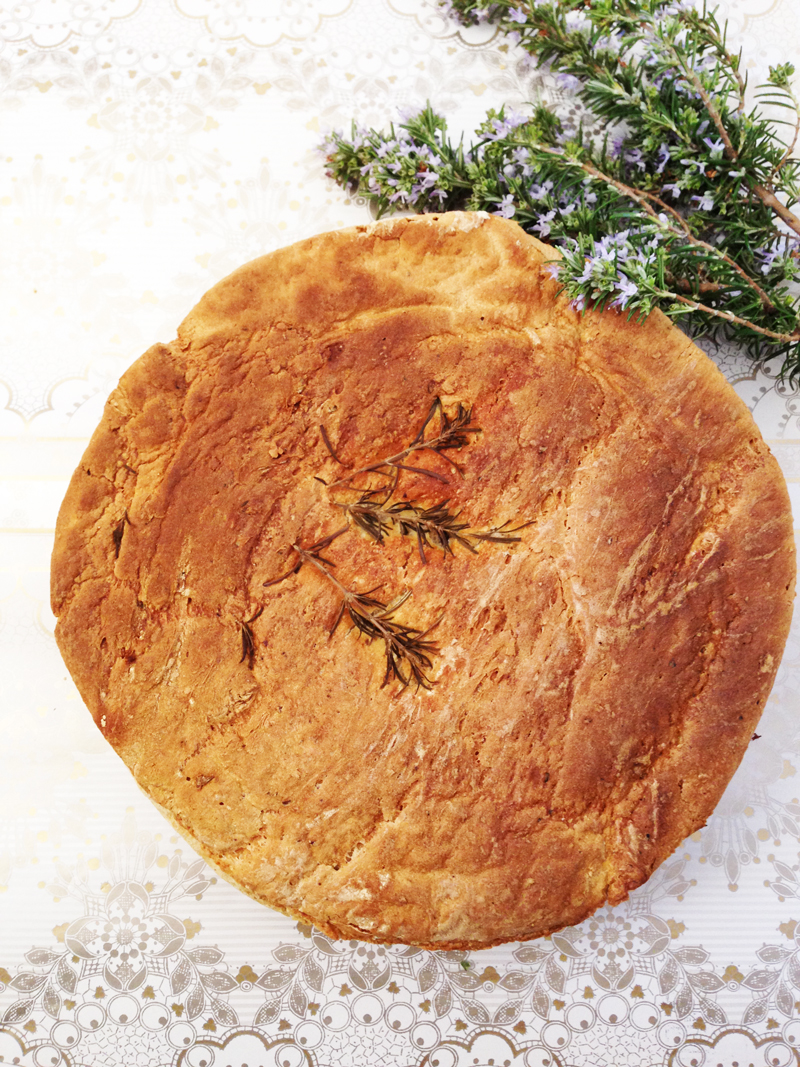
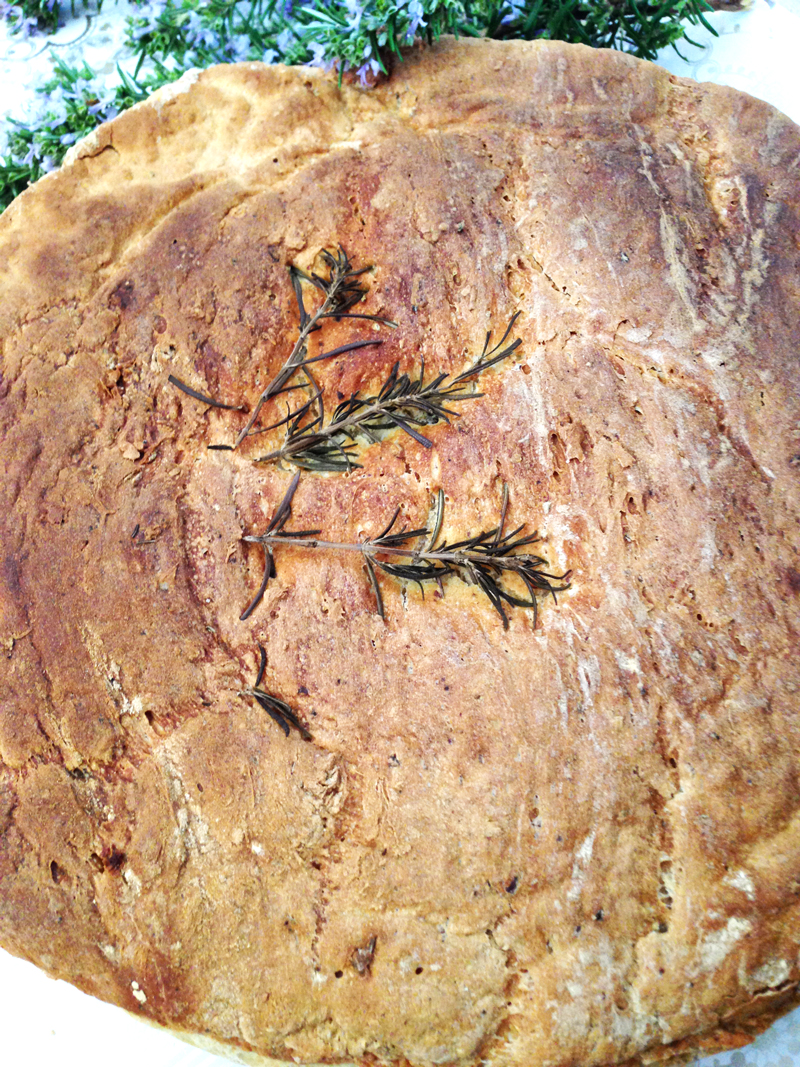
Take a bite into the Mediterranean with this sweet and savory whole wheat rosemary bread! A crunchy crust and a soft inside make this bread a true winner. Rosemary is one of the hottest herbs in cooking and since a few bushes around my home I try to use it in all of my dishes. It’s native to the Mediterranean, and being an evergreen shrub, the bitter needle-like leaves are available fresh all year around.

Including rosemary in cooking or baking is easy and fun since it adds a unique kick to any dish. This whole-wheat rosemary bread makes fantastic spin to regular whole wheat bread, and one of the reasons why it tastes so delicious is because of it’s partner in crime – olive oil. Rosemary and olive oil is definitely a Mediterranean staple and must be paired together to put a seal on any Mediterranean dish. 

To get the most out of this whole wheat rosemary bread, eat it with grilled fish or even slather on some butter while it’s still warm!

*If you would like to share my recipe and photos please provide proper credit and a link back. Thanks!  

Rosemary Bread with Whole Wheat Flour and Olive Oil

 
Ingredients:
 
  1. 1 cup warm water
  2. 1 tbsp granulated sugar
  3. 3 tsp dry yeast
  4. 1 tbsp flax seed
  5. 2 tbsp olive oil
  6. 1 1/2 cups whole wheat flour
  7. 1/2 cup all purpose flour
  8. 3 tbsp rosemary, chopped (if possible use fresh)
  9. pinch of salt
  10. pinch of garlic powder
  11. pinch of freshly ground black pepper
Instructions:
 
  1. In a mixing bowl, add warm water, sugar, and yeast. Let it sit for 10 minutes until bubbly and set aside.
  2. In a separate mixing bowl, combine flours, salt, garlic, chopped rosemary, and olive oil. Slowly add this mixture to the yeast mixture and knead until a ball shape is formed.
  3. Oil a clean bowl and place the ball of dough inside, covering with plastic wrap or a dishcloth. Place in a warm place to rise for 1 hour or until dough has doubled in size.
  4. Once the dough has risen, punch it down. Form dough into a round loaf shape and transfer to a flour dusted baking sheet. Cover dough with a dishcloth and let it rise again for 30-45 minutes.
  5. Set oven to 350 F and using a baking brush, brush loaf with olive oil. For decoration, place a few rosemary twigs in the center of the loaf and place in the oven to bake for about 25 minutes. The bread should be golden brown at the top. Remove from oven, allow to cool for 10 minutes before slicing.

3-whole-wheat-rosemary-bread-recipe-easy-dalmatinski-kruh-recept-better-baking-bible-blog

Healthy Carrot Cake Cupcakes with Chocolate Glaze

3-carrot-cake-chocolate-cupcakes-healthy-recipe-spring-summer-better-baking-bible-blog4-carrot-cake-chocolate-cupcakes-healthy-recipe-spring-summer-better-baking-bible-blog5-carrot-cake-chocolate-cupcakes-healthy-recipe-spring-summer-better-baking-bible-blog1-carrot-cake-chocolate-cupcakes-healthy-recipe-spring-summer-better-baking-bible-blog2-carrot-cake-chocolate-cupcakes-healthy-recipe-spring-summer-better-baking-bible-blog

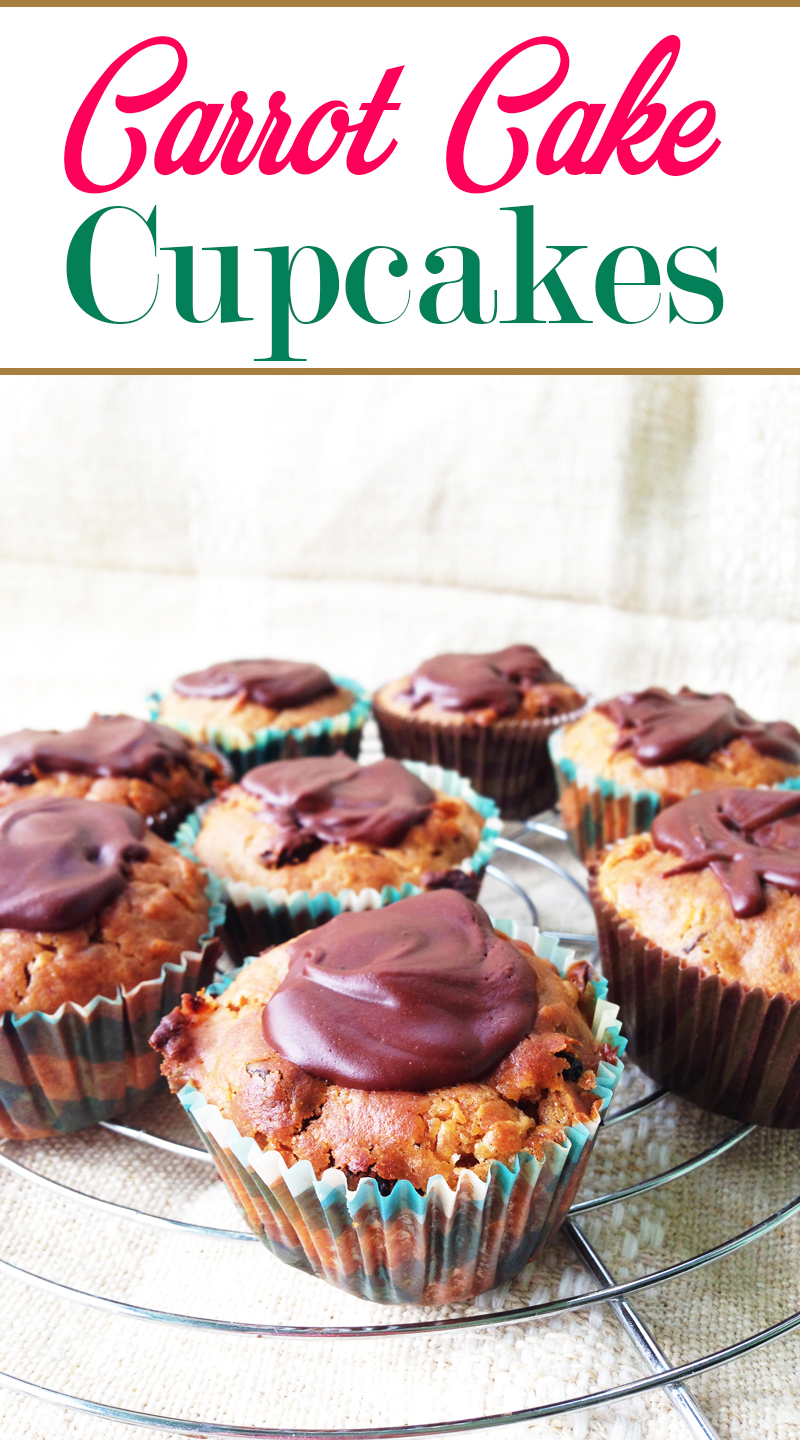
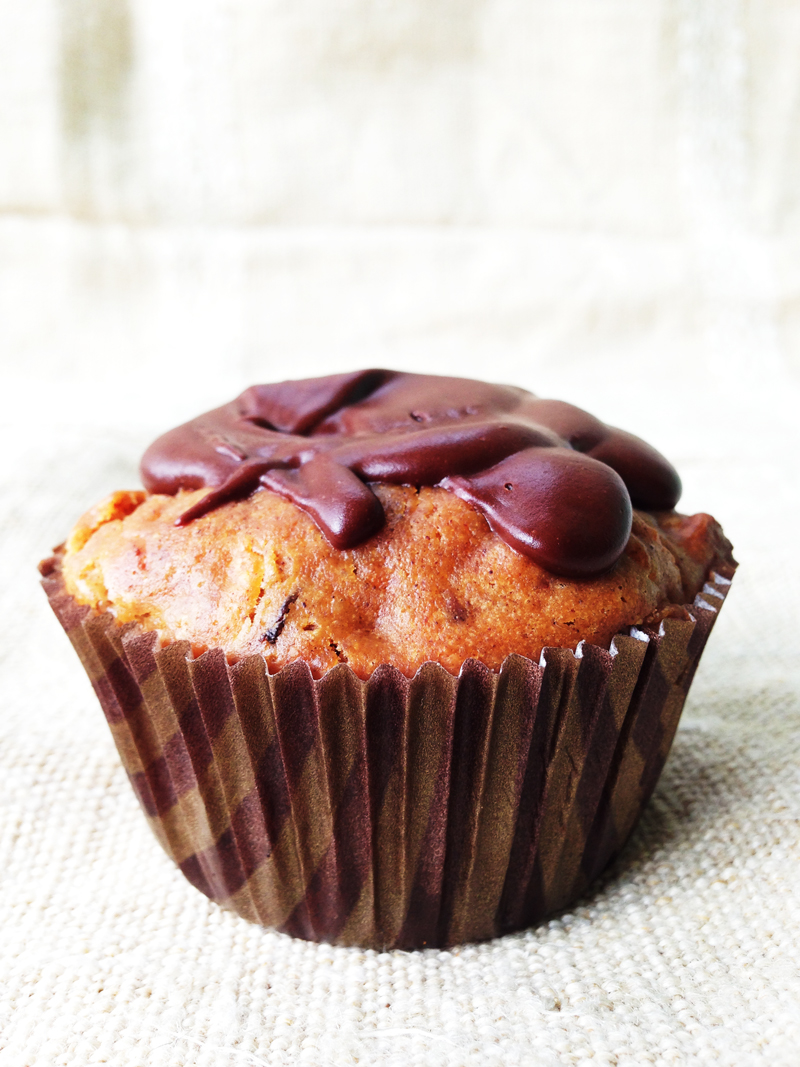
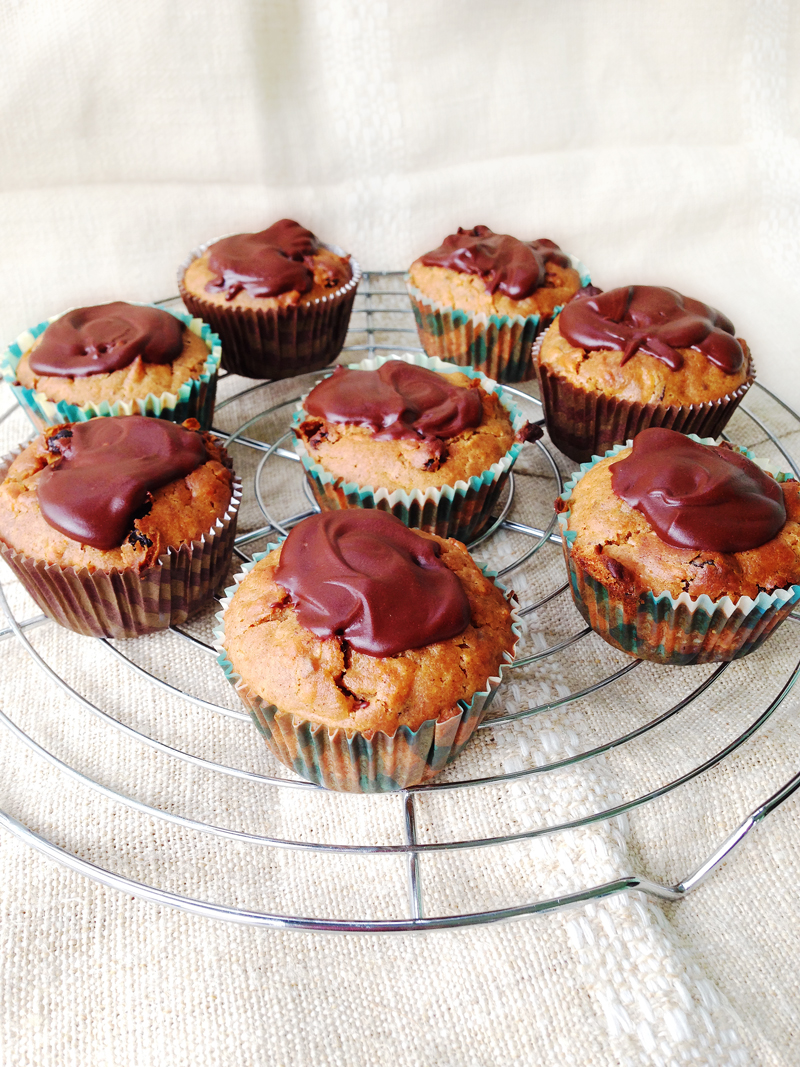
Carrots and chocolate? Yes please! This combination of flavors is delicious and what’s a better way to try it out than with carrot cake cupcakes with chocolate glaze. These cupcakes are healthy and make great snacks on the go. Lately cupcakes have been a little underrated, especially with summer rolling around the corner and people are trying to get a little healthier. This version isn’t loaded with refined sugars, instead it includes honey which is a fantastic healthy alternative to sugar. I like to call it edible liquid gold since it’s full of anti-bacterial properties that help fight cancer, increase athletic performance, and can actually fight off colds.

If you are looking for a easy take-to-work or school snack, these cupcakes are just perfect. Toss them into ziplock bags in the freezer and just take them out a few hours or the night before you need them. Now enough blabbing, let’s get baking!

*If you would like to share my recipe and photos please provide proper credit and a link back. Thanks!  

Healthy Carrot Cake Cupcakes with Chocolate Glaze


Ingredients:

To Make Cupcakes

  1. 1.5 cups whole wheat flour
  2. 1.5 tsp baking powder
  3. ½ tbsp. cinnamon
  4. ½ tsp baking soda
  5. 1 tsp vanilla extract
  6. Pinch of salt
  7. ½ tsp nutmeg
  8. ½ cup raisins
  9. 1 cup plain yogurt
  10. 2 cups grated carrots
  11. 1.2 cup honey
  12. 2 eggs at room temp
  13. 1/3 cup coconut oil (or you can use plain vegetable oil)

To Make Chocolate Glaze

  1. A few squares of baking chocolate
  2. Little bit of vegetable oil

Instructions:

  1.  Preheat oven to 430 F and line cupcake pan with cupcake cups. In a large bowl, combine the dry ingredients: flour, baking powder, baking soda, pinch of salt, cinnamon, and nutmeg.
  2.  Peel and grate carrots and then in a separate small bowl toss raisins with 1 tsp of flour. Combine carrots and raisins to dry flour mixture from step 1.
  3. In a separate bowl, combine oil, honey, and then beat in eggs, yogurt, and vanilla extract. Combine with carrot and flour mixture and mix well until everything is incorporated. Pour batter evenly into cupcake cups and bake for about 15 minutes or until a toothpick inserted in the center comes out clean.
  4. Remove cupcakes from oven and transfer to a wire rack to cool completely. To make chocolate glaze, melt a few squares of baking chocolate with a little bit of vegetable oil in a saucepan. Pour over cupcakes and voila!

carrot-cake-chocolate-cupcakes-healthy-recipe-spring-summer-better-baking-bible-blog

Fruit Explosion Carrot Cake with Coconut Icing

1-carrot-cake-buttercream-frosting-long-log-cake-chocolate-fresh-fruit-raisins-better-baking-bible-blog-recipes

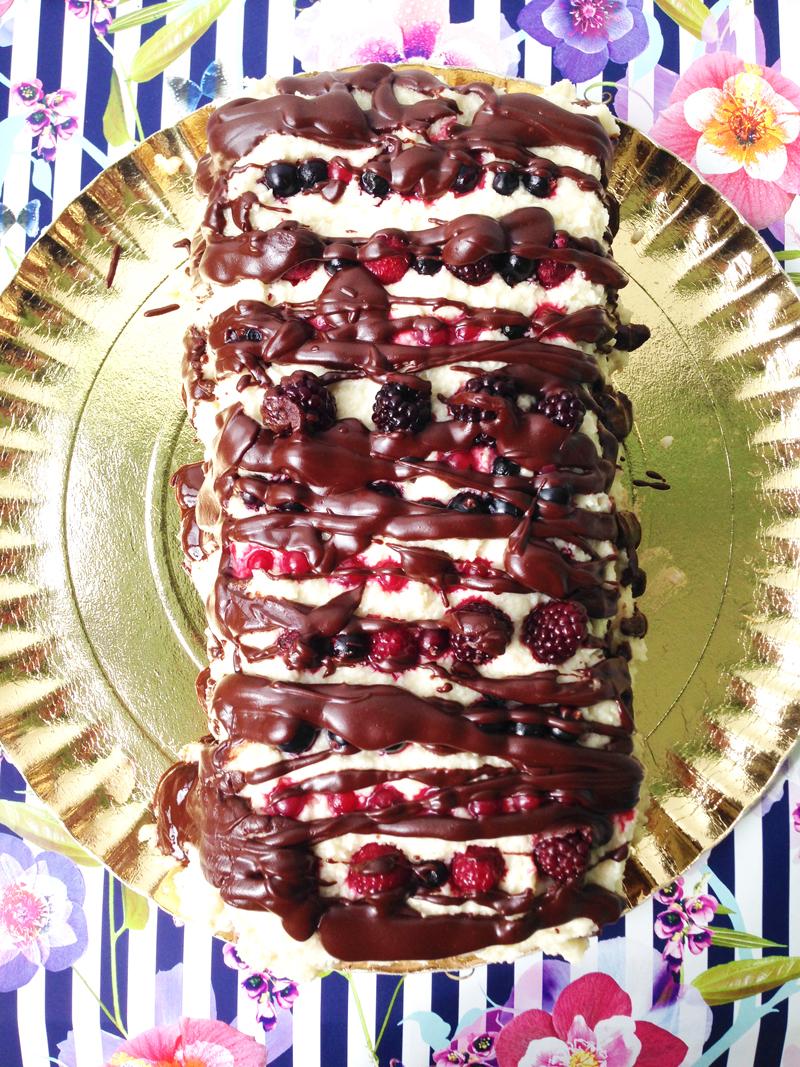
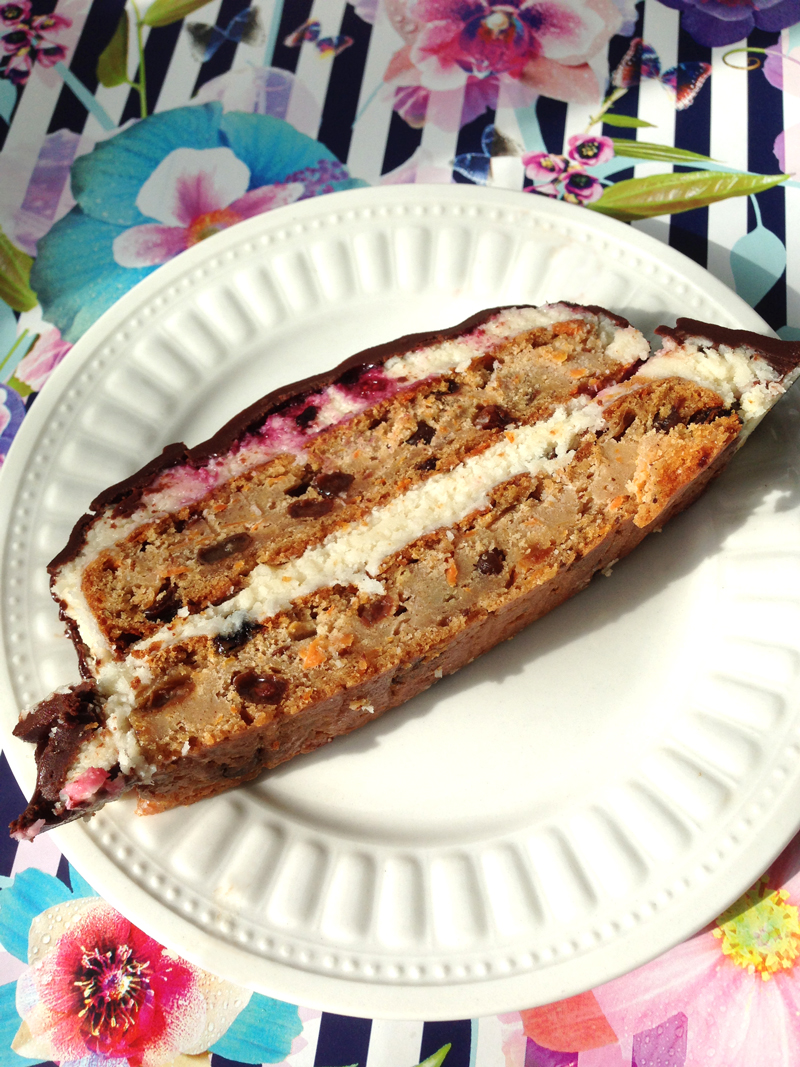
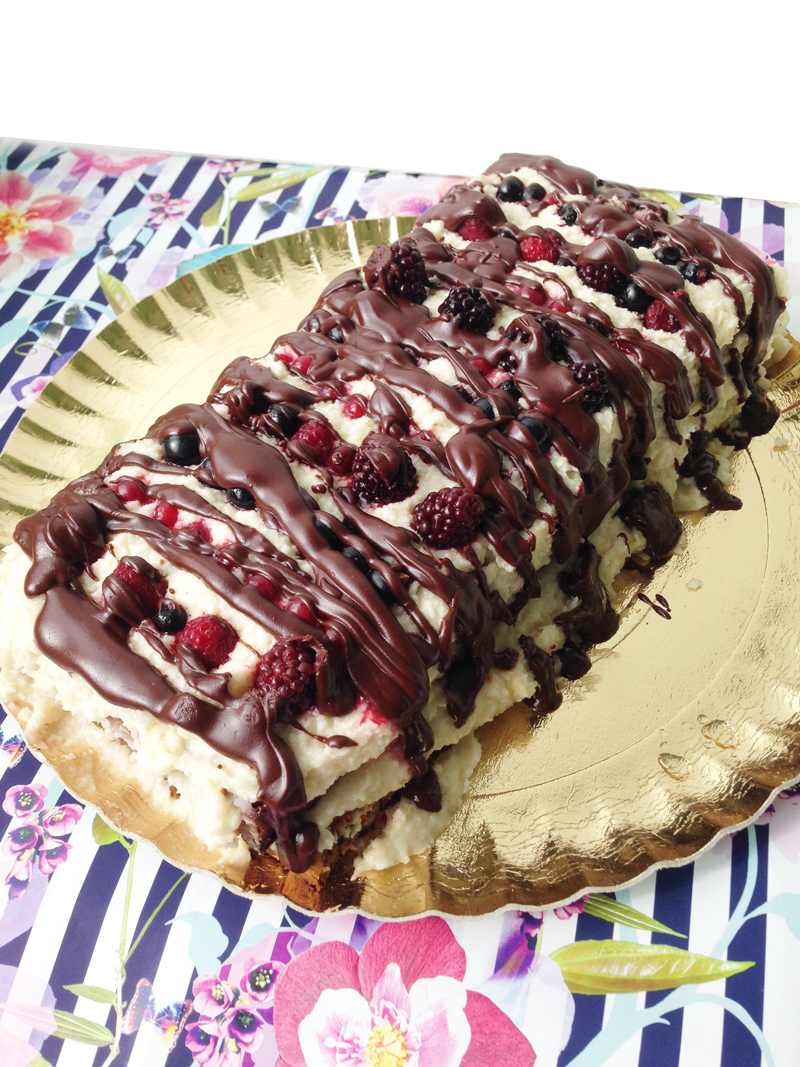
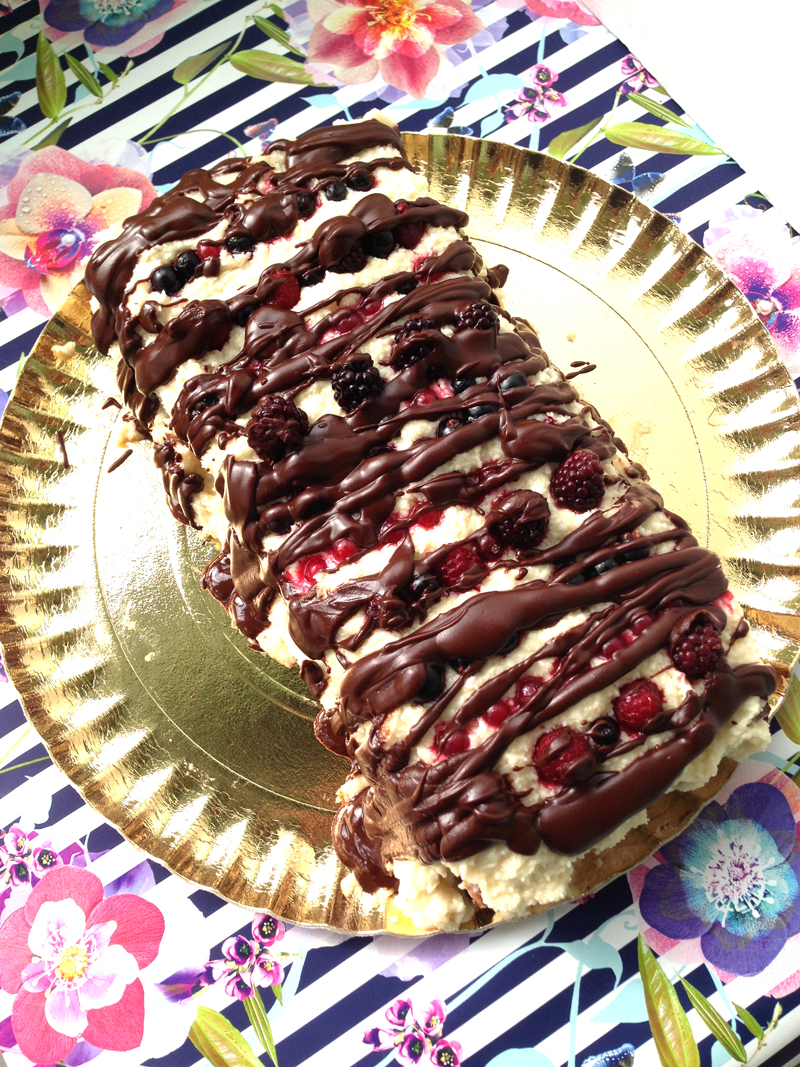
I’ve tried many carrot cake recipes and this fruit infused version is my favorite! Believe me or not, I made up this recipe using my original carrot cake recipe plus a few additions I found in my fridge like mixed frozen fruit. This carrot cake is literally an EXPLOSION of flavors: carrot, raisins, frozen fruit, dark chocolate, coconut and vanilla. The ingredients mix beautifully together and produce a unique taste and a very dense cake full of flavor. It is the most tempting moist carrot cake you will ever try, and believe me – a classic favorite for a crowd where not a crumb will be left behind.

Give it a try, and why be a little adventurous and include some of your own ingredients? If you are a fan of hummingbird cake, add some chopped pineapple to the mix for a tropical version that will taste even better with the coconut frosting! Or why not toast your coconut and sprinkle it on top for a nutty flavor?

*If you would like to share my recipe and photos please provide proper credit and a link back. Thanks!  

3-carrot-cake-buttercream-frosting-long-log-cake-chocolate-fresh-fruit-raisins-better-baking-bible-blog-recipescarrot-cake-buttercream-frosting-long-log-cake-chocolate-fresh-fruit-raisins-better-baking-bible-blog-recipes4-carrot-cake-buttercream-frosting-long-log-cake-chocolate-fresh-fruit-raisins-better-baking-bible-blog-recipes

Fruit Explosion Carrot Cake with Coconut Icing

A fruit infused carrot cake with loads of flavor and surprises!

Ingredients:

For Cake
 
  1. 1 cup all-purpose flour
  2. 1/2 cup sugar
  3. 1 tsp baking soda
  4. 1⁄2 teaspoon salt
  5. 2 tsp ground cinnamon
  6. 1⁄2 teaspoon ground nutmeg
  7. 3/4 cup grated carrot
  8. 1⁄2 cup raisins
  9. 1⁄4 cup vegetable oil
  10. 1 tsp white vinegar
  11. 1 cup water
For Coconut Buttercream Frosting
 
  1. 1 cup unsalted butter, room temperature
  2. 1 teaspoon vanilla extract
  3. 3 cups powdered sugar
  4. 7 tablespoons milk
For Decoration
 
  1. Baking chocolate
  2. Oil
  3. Butter
  4. Mixed Frozen Fruit
Directions:
 
To Make Cake
 
  1. 1. Preheat oven to 180C and grease and flour a rectangular cake pan. Mix dry ingredients together (first 6 ingredients), place aside. In a separate bowl, mix all wet ingredients together and then combine with the dry ingredients until well combined.
  2. 2. Pour into pan and bake for about 25 mins or until toothpick comes out clean.
To Make Coconut Buttercream Frosting
 
  1. 1. Using a mixer with a whisk attachment, combine butter and vanilla in a large mixing bowl until creamy.
  2. 2. Gradually beat in the powdered sugar.
  3. 3. Slowly beat in milk and continue mixing until thick and fluffy.
To Assemble
 
  1. 1. Cut rectangular cake in half straight down the middle (cutting across the long side).
  2. 2. Slather a thick layer of icing on one layer and then place then next layer on top. (Your cake needs to be cooled COMPLETELY or else the icing will melt.)
  3. 3. Using the rest of the icing, ice the whole cake and arrange mixed frozen fruit all over the top of the cake.
  4. 4. To make the chocolate syrup icing simply place a few bars of baking chocolate in a small pan over medium heat. Place a spoon full of butter and a spoon or two of oil (oil makes the chocolate shiny). Mix with a spoon consistently to prevent burning until melted and combined.
  5. 5. Drizzle chocolate syrup all over cake and place in fridge to chill and set before serving. Voila!

5-carrot-cake-buttercream-frosting-long-log-cake-chocolate-fresh-fruit-raisins-better-baking-bible-blog-recipes


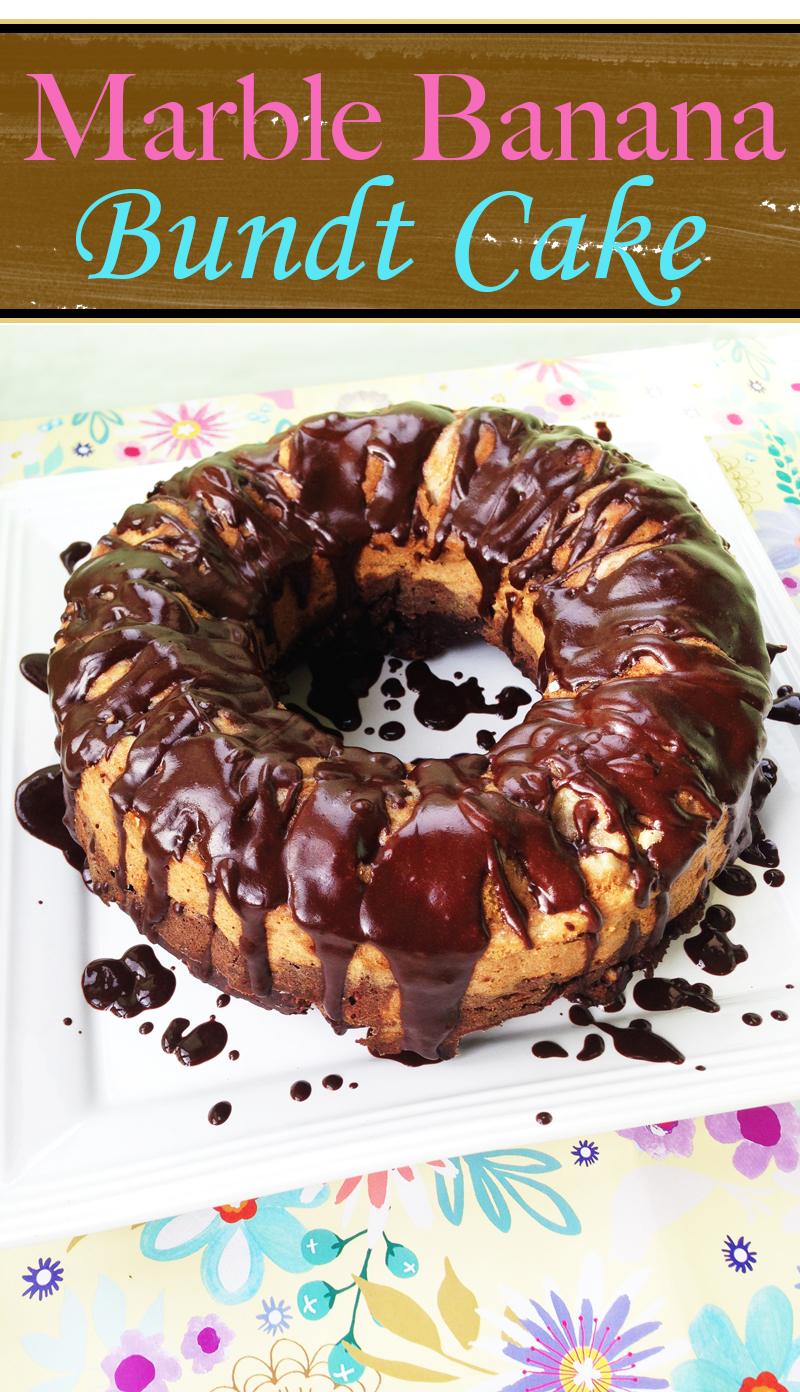
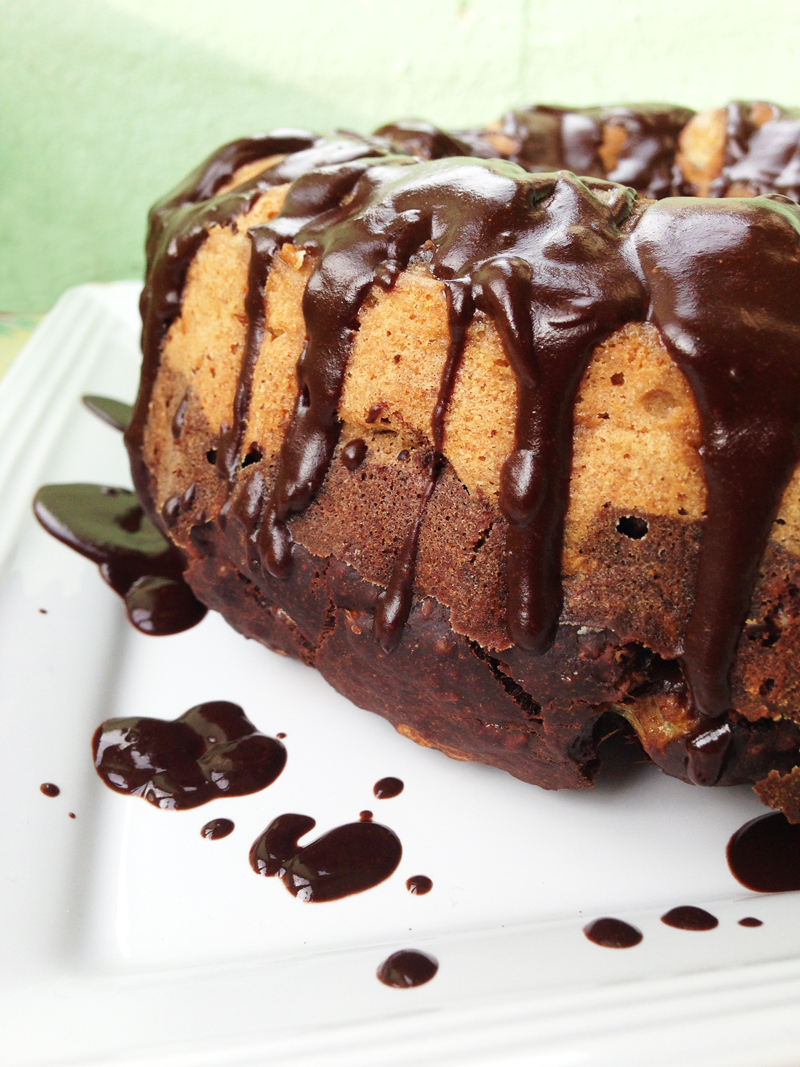
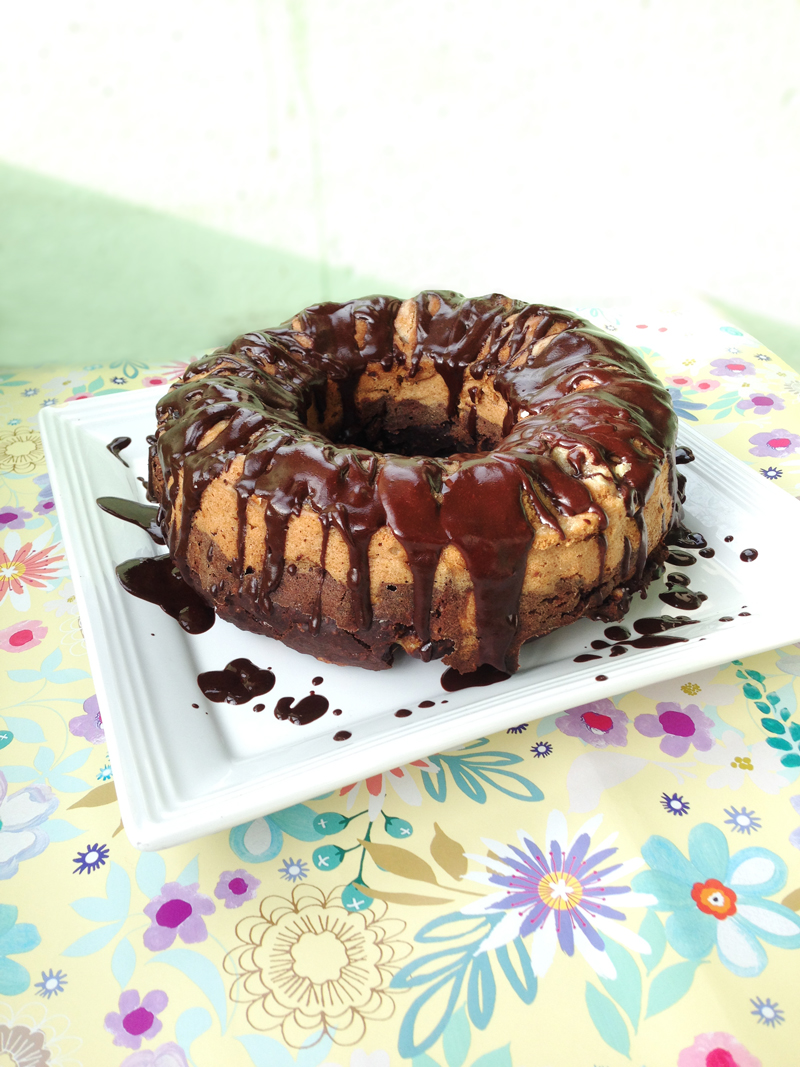
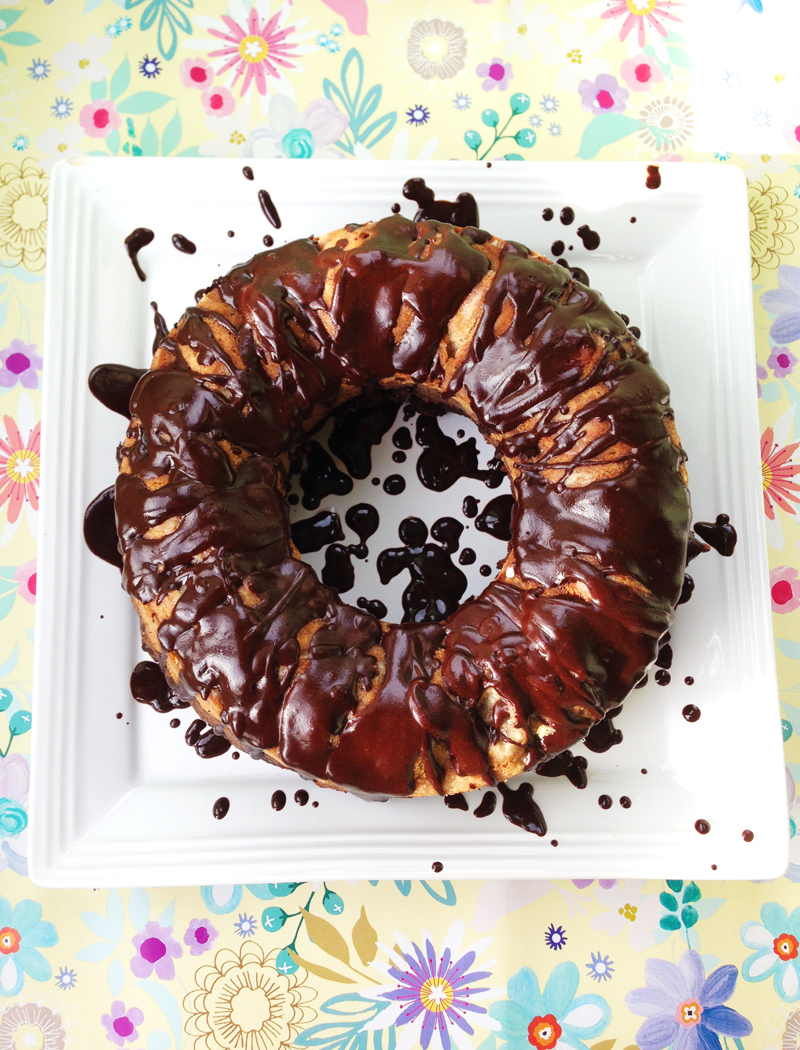
Chocolate Banana Marble Bundt Cake Recipe

1-banana-bread-chocolate-bunt-marble-cake-no-eggs-recipe-easy-easter-better-baking-bible-blog 2-banana-bread-chocolate-bunt-marble-cake-no-eggs-recipe-easy-easter-better-baking-bible-blog3-banana-bread-chocolate-bunt-marble-cake-no-eggs-recipe-easy-easter-better-baking-bible-blog

To switch things up a bit this Easter I decided to make my much loved banana bread! Every holiday of the year, EVERYONE can’t wait to try this cake. It is absolutely delicious! And to satisfy everyones chocolate cravings, I used an adapted version of my classic banana bread recipe and turned it into a chocolate marble bundt banana bread!

Want to know my secret to make the BEST banana bread? Use old bananas! That’s right, old, black, bananas that have been sitting in the pantry for a week and no one wants to eat. A great way to make them ripen faster is to place them in a closed paper bag with apples. The apples give off gases that help the bananas ripen quicker. Then, if you aren’t in the mood to make your banana bread right away, you can easily freeze the bananas in a ziplock bag and use them when needed!

This banana bread is moist, soft, full of flavour and down right addictive. That’s why I usually make two cakes since this one gets eaten up in the first day! 

Chocolate Banana Marble Bundt Cake Recipe

A soft, moist, and totally addictive banana marble bundt cake.

Ingredients:

For Cake
 
  1. 1 cup all purpose flour
  2. 1 cup whole wheat flour
  3. 1 cup fine oatmeal
  4. 1 tsp baking soda
  5. 2 tsp baking powder
  6. 1/8 tsp salt
  7. 1 tbsp cinnamon
  8. 1/4 cup oil
  9. 2 tsp vanilla extract
  10. 4 ripe bananas
  11. 1 1/2 cups whole milk
  12. approx. half cup cocoa powder
For Chocolate Icing
 
  1. Baking chocolate
  2. Butter
  3. Oil
Directions:
 
To Make Cake
 
  1. 1. Preheat the oven to 180 C and grease a bundt pan.
  2. 2. Mix together flour, oatmeal, baking soda, baking powder, salt, and cinnamon.
  3. 3. Mix milk together with oil, mashed bananas, and vanilla extract. Combine with the dry ingredients and mix until all lumps disappear.
  4. 4. Separate half of the batter into another bowl. Add approximately half a cup of cocoa powder or until all your batter turns dark brown. I did this step approximately!
  5. 5. Pour chocolate batter into the pan and then top with the remaining white batter. Swirl with a sharp knife. Bake for about 60 minutes or until a toothpick comes out clean.
To Make Chocolate Frosting
 
  1. Place a few squares of baking chocolate in a pan on medium heat (be very careful to stir so it doesn’t burn!). Mix in a little bit of oil, butter, and stir until you make a chocolate sirup. Pour over completely cooled bundt cake and let it harden. Voila!

banana-bread-chocolate-bunt-marble-cake-no-eggs-recipe-easy-easter-better-baking-bible-blog4-banana-bread-chocolate-bunt-marble-cake-no-eggs-recipe-easy-easter-better-baking-bible-blog5-banana-bread-chocolate-bunt-marble-cake-no-eggs-recipe-easy-easter-better-baking-bible-blog

Neapolitan Chocolate Birthday Cake

1-chocolate-neopolitan-cake-icing-layers-birthday-strawberry-decor-recipe-better-baking-bible-blog-2chocolate neopolitan cake icing layers birthday strawberry decor recipe better baking bible blog 3chocolate neopolitan cake icing layers birthday strawberry decor recipe better baking bible blog 4chocolate neopolitan cake icing layers birthday strawberry decor recipe better baking bible blog 2

This weekend I have a very special birthday coming up, and they are definitely a chocolate lover! The inspiration for this cake cake was inspired by my love of neapolitan ice cream – I remember spending summers at my grandpas eating Chapman’s Neapolitan ice cream just about every day (who didn’t back in the 90’s!). 

Chocolate and vanilla layers stacked and sandwiched between generous layers of chocolate and pink buttercream frosting makes this cake the perfect birthday cake. The outside is smothered all over with chocolate frosting and makes this cake almost like a surprise when you slice it – the pink frosting inside really pops! 

I haven’t revealed the inside of the cake just yet since it’s sitting in the freezer waiting for this weekend’s birthday party. When it’s sliced I will be sure to put up a picture, so stay tuned for the inside reveal!

*If you would like to share my recipe and photos please provide proper credit and a link back to this original post. Thanks! 

Neapolitan Chocolate Birthday Cake

Chocolate and vanilla layer cake sandwiched between chocolate and pink buttercream frosting.

Ingredients:
 
For Chocolate Cake Layers
 
  1. 1 3/4 cups all-purpose flour
  2. 2 cups sugar
  3. 1 ¾ cups unsweetened cocoa ¬powder
  4. 2 tsp baking soda
  5. 2 1/2 tsp baking powder
  6. 1 tbsp rum
  7. pinch of salt
  8. 2 eggs
  9. 1 cup buttermilk
  10. 1 cup strong black coffee
  11. ½ cup vegetable oil
  12. 2 tsp vanilla extract
To Decorate
 
  1. Strawberries
  2. Homemade chocolate glaze (baking chocolate and oil mixture)
  3. Shaved white chocolate
For Vanilla Cake Layer
 
  1. ½ cup unsalted butter, softened at room temperature
  2. 2 cups all-purpose flour
  3. 1 tbsp baking powder
  4. Pinch of salt
  5. ½ cup granulated sugar
  6. 3 large eggs, room temperature
  7. 1 cup whole milk
  8. 1 tsp vanilla extract
For Buttercream Frosting
 
  1. 4 cups unsalted butter, softened
  2. 8 tbsp milk
  3. 6 tsp vanilla extract
  4. 8 cups confectioners sugar
  5. food coloring
  6. cocoa powder
Directions:
 
To Make Chocolate Cake Layers
 
  1. 1. Preheat oven to 350F. Grease and flour two 8” round baking pans.
  2. 2. In a mixing bowl using an electric mixer, combine sugar, flour, cocoa, baking soda, baking powder, and salt until combined.
  3. 3. Add eggs, buttermilk, rum, coffee, oil, and vanilla. Beat on medium for 2 mins and then pour evenly into prepared pans.
  4. 4. Bake for 30-35 mins or until a toothpick inserted in center comes out clean. Cool for 10 mins, remove to wire rack and transfer to the freezer to cool completely.
To Make Vanilla Cake Layers
 
  1. 1. Preheat oven to 350F. Grease and flour one 8” round baking pan.
  2. 2. In a mixing bowl, whisk together flour, baking powder, and salt. Beat together butter and sugar with a mixer on medium until combined. Mix in eggs, and then slowly add in flour mixture and beat on low. Add milk and vanilla and keep beating until combined.
  3. 3. Pour cake batter into pan and bake for 30-35 minutes until golden or until a toothpick inserted in the center comes out clean. Turn out onto rack and allow it to cool completely, or transfer to the freezer to chill.
To Make Buttercream Frosting
 
  1. 1. Using an electric mixer, cream all of the ingredients together until a buttercream frosting forms. Make sure the mixture is spreadable, and no clumps of butter are visible.
  2. 2. Separate ¼ of the frosting and place it in a separate bowl. Add a few drops of red food coloring and mix with an electric mixer to form a pink frosting.
  3. 3. In the rest of the white frosting add a few tablespoons of cocoa powder and mix with an electric mixer. If the frosting isn’t dark enough, add more cocoa and mix again.
To Assemble Cake
 
  1. 1. Add a tablespoon of frosting in the center of a plate to hold the first layer in place. Place the first chocolate layer on top.
  2. 2. Spread a generous amount of chocolate frosting over the first layer. Next, place the thick vanilla layer on top. Spread all of the pink frosting over this layer.
  3. 3. Add the last chocolate layer on top of the pink frosting and then frost the whole cake with the remaining chocolate frosting. Arrange strawberries on top of the cake.
  4. 4. In a double boiler, melt chunks of cooking chocolate and a little bit of oil to make a spreadable chocolate glaze. Pour over the top of the cake and strawberries. Sprinkle shaved white chocolate near the bottom of the cake and then place in the freezer to chill and set.