The Importance of a Clean Kitchen

The kitchen is one of the most important areas of your home. While it’s important to keep your entire home clean, the kitchen is a space where cleanliness is essential!

Photo By: RLB Architecture

The benefits of having a clean kitchen are far-reaching and in some cases potentially life-saving. Let’s take a closer look at the importance of a clean kitchen:

1.Pest Control

Pests can easily get into food containers if they’re not sealed and stored properly or if they’re left unattended too long. If you do a lot of baking, the sugar, flour, and other dry ingredients used may act as a beacon to pests. As a result, you could have mice, weevils, ants, or other creatures that you don’t want in your kitchen.

Making sure that you store food securely, check it for any signs of contamination, and keep on top of spills and debris which attract pests can be a big help in prevention. When it comes to pests, prevention is critically important. Once you have to fight an infestation, it’s much harder to deal with.

2.Hygiene

Hygiene is vital when it comes to food and food preparation. Food that’s rotting can spread bacteria to everything around it and cause serious illness. Making sure to be rid of expired or moldy food will help the overall health and safety of the kitchen.

If you aren’t careful while working with meat, you could cross-contaminate other foods you prepare on the same surface without proper cleaning. Bear Brothers Cleaning states that it’s necessary to keep kitchen work surfaces such as counters and cutting boards clean and sterile for safety. Utensils and cooking tools need thorough cleaning as well.

To ensure the highest standards of hygiene for your kitchen, you may consider hiring a cleaning service. You can look at your schedule and needs to assist you in knowing how often to hire house cleaning service professionals to clean your kitchen. You might want to consider having them regularly clean the rest of the house as well.

3.Safety

Cleanliness in the kitchen is necessary because there are sharp tools, hot surfaces, also other potential hazards. Spilled liquids can be fall risks. Oil buildup on stove hoods or food residue in the oven can cause dangerous kitchen fires that are difficult to extinguish.

Cleaning as you go and storing tools and utensils safely when not in use assists in accident prevention. The kitchen and bathroom are two of the most dangerous rooms in the home. Being proactive and taking steps to reduce risks can save lives.

4.Setting a Positive Example

If you have children, keeping a clean kitchen shows them skills they take with them later on in life. Teaching children how to properly run and maintain a household starts with their parents. You can show them how to clean the kitchen by watching you or let them start with small chores like sweeping or taking out the trash. Helping your child learn life skills is a rewarding reason to keep your kitchen clean.

5.Saving Money

One way a clean kitchen saves money is that when your kitchen is clean and organized, you won’t purchase foods you already have at home. You’ll know which foods you have in stock. You can avoid food waste and wasting money. You can also save money by taking the time to clean your appliances after you use them. This lets you avoid repairs and replacements for much longer.

Keeping your kitchen clean is worth it for many reasons. You and your entire household will benefit from a little dedication and elbow grease.


Homemade Granny Smith Apple Pie Recipe

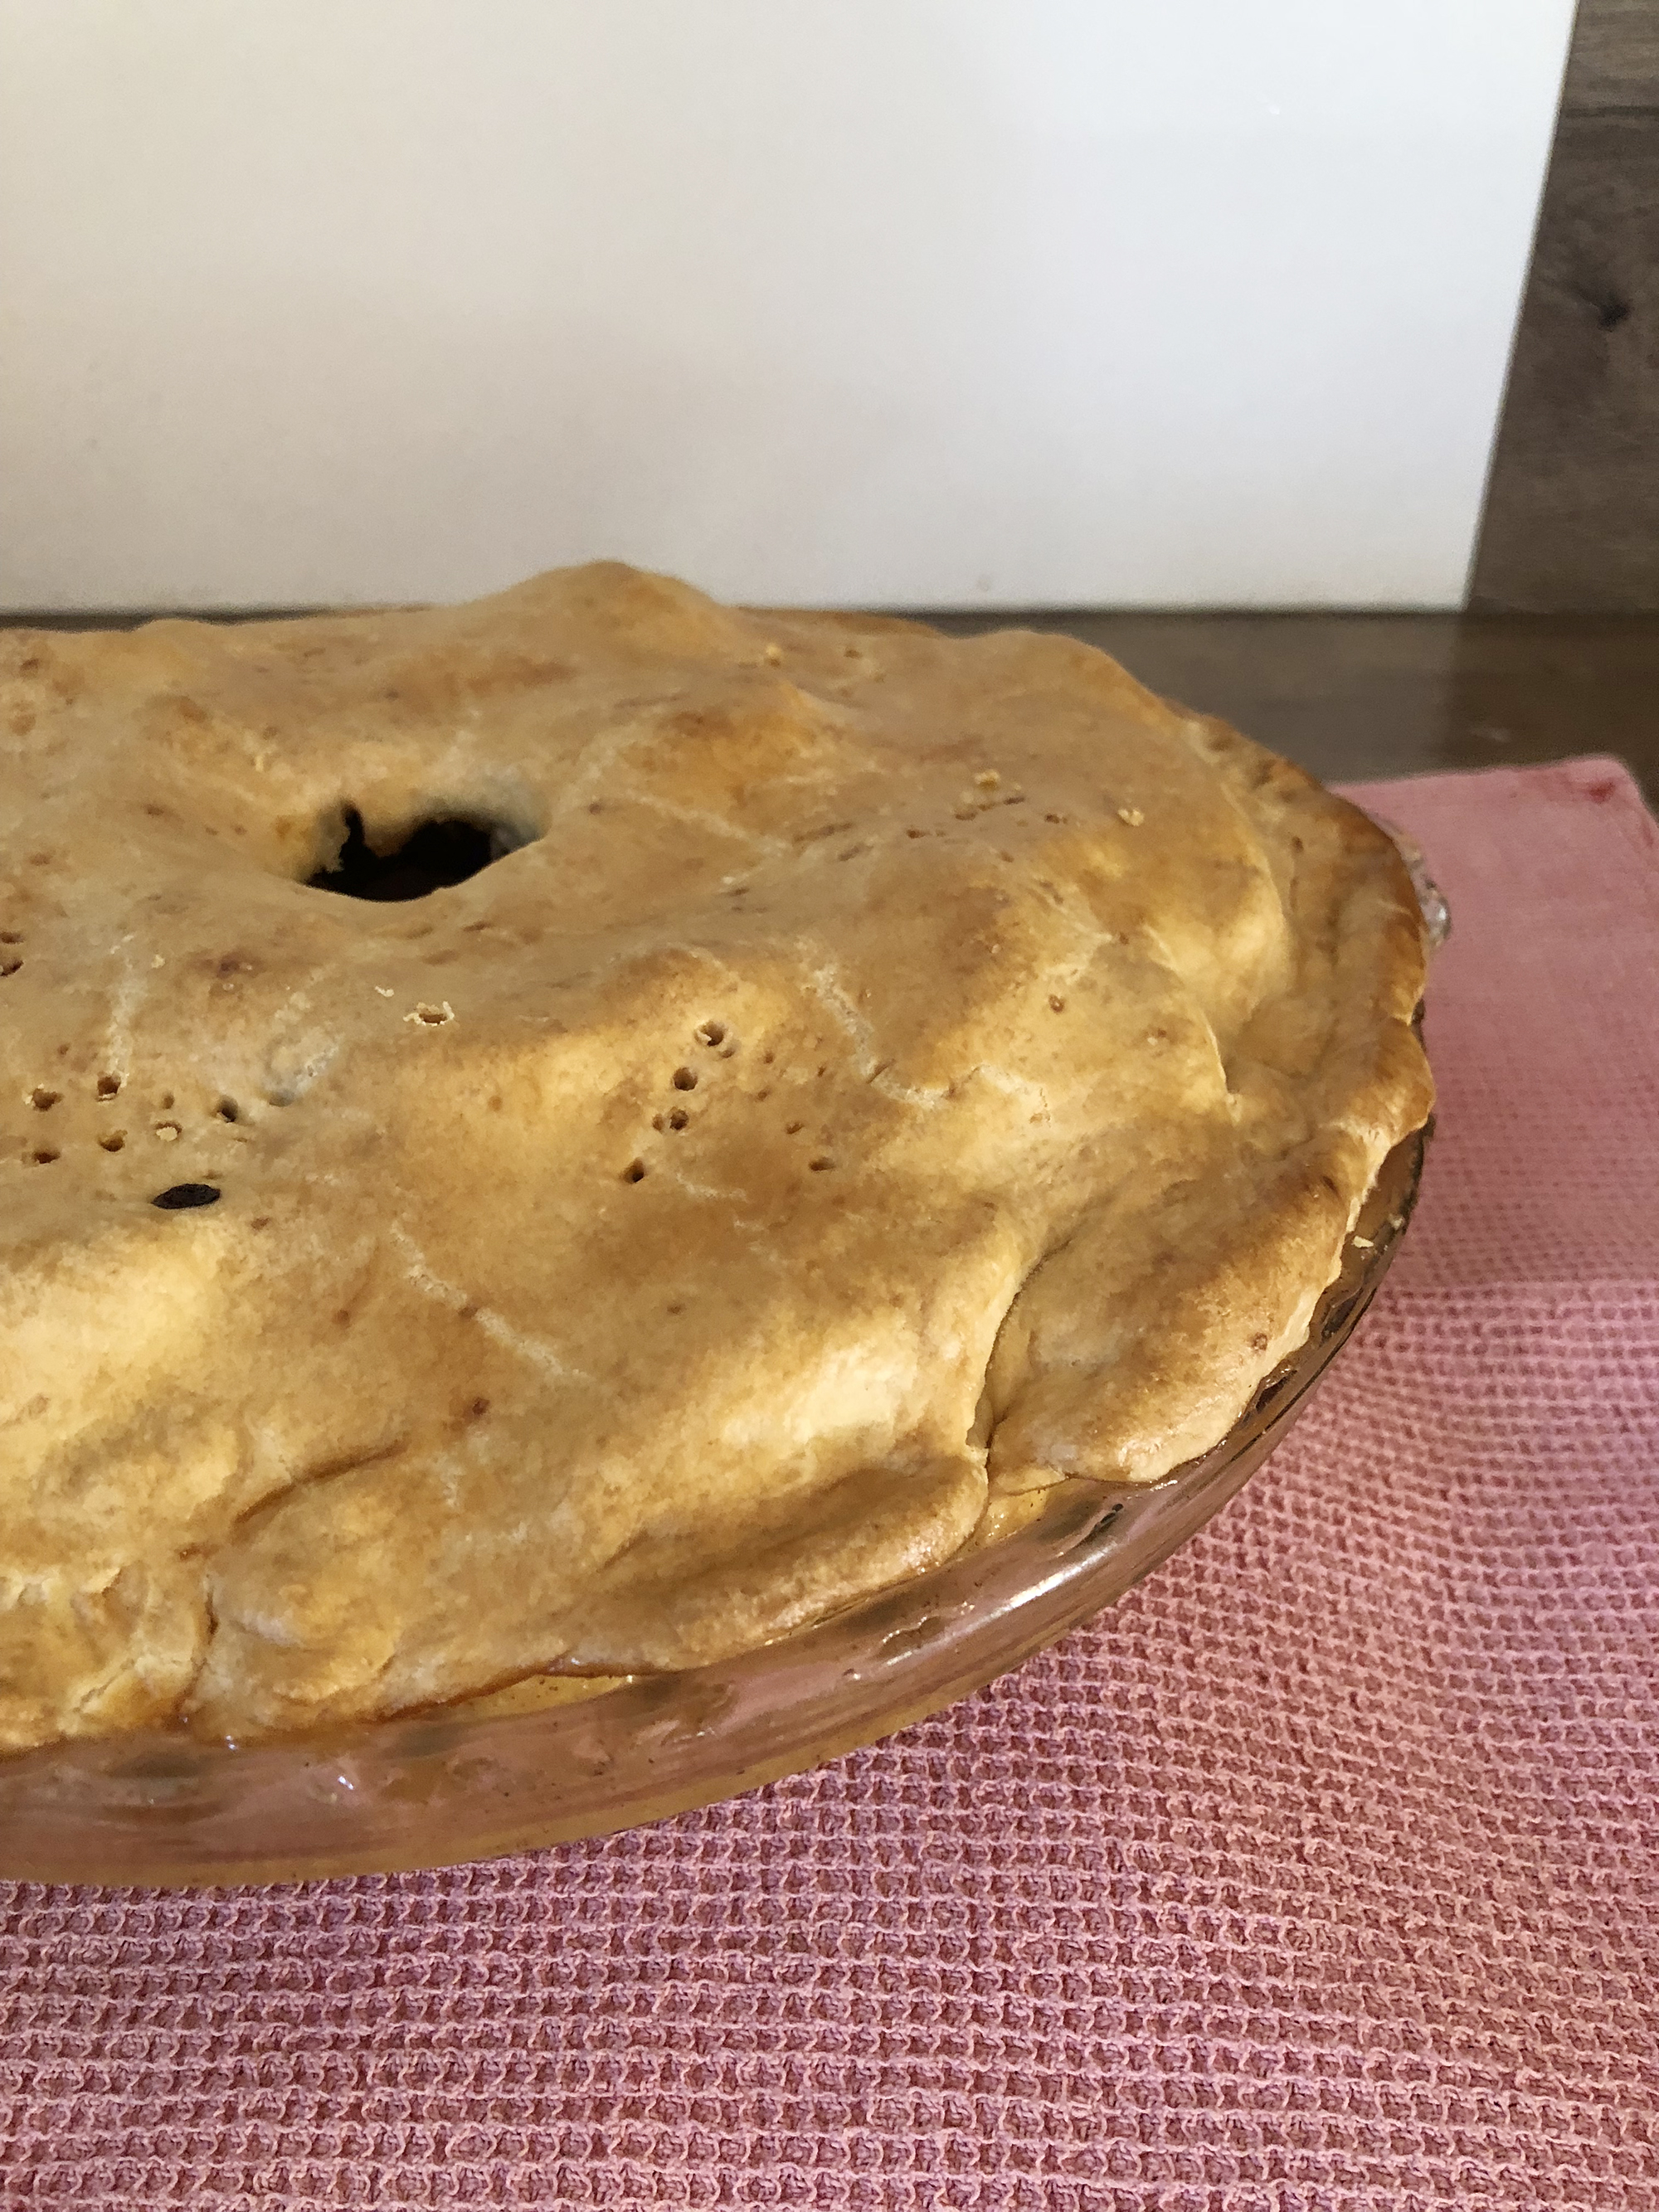
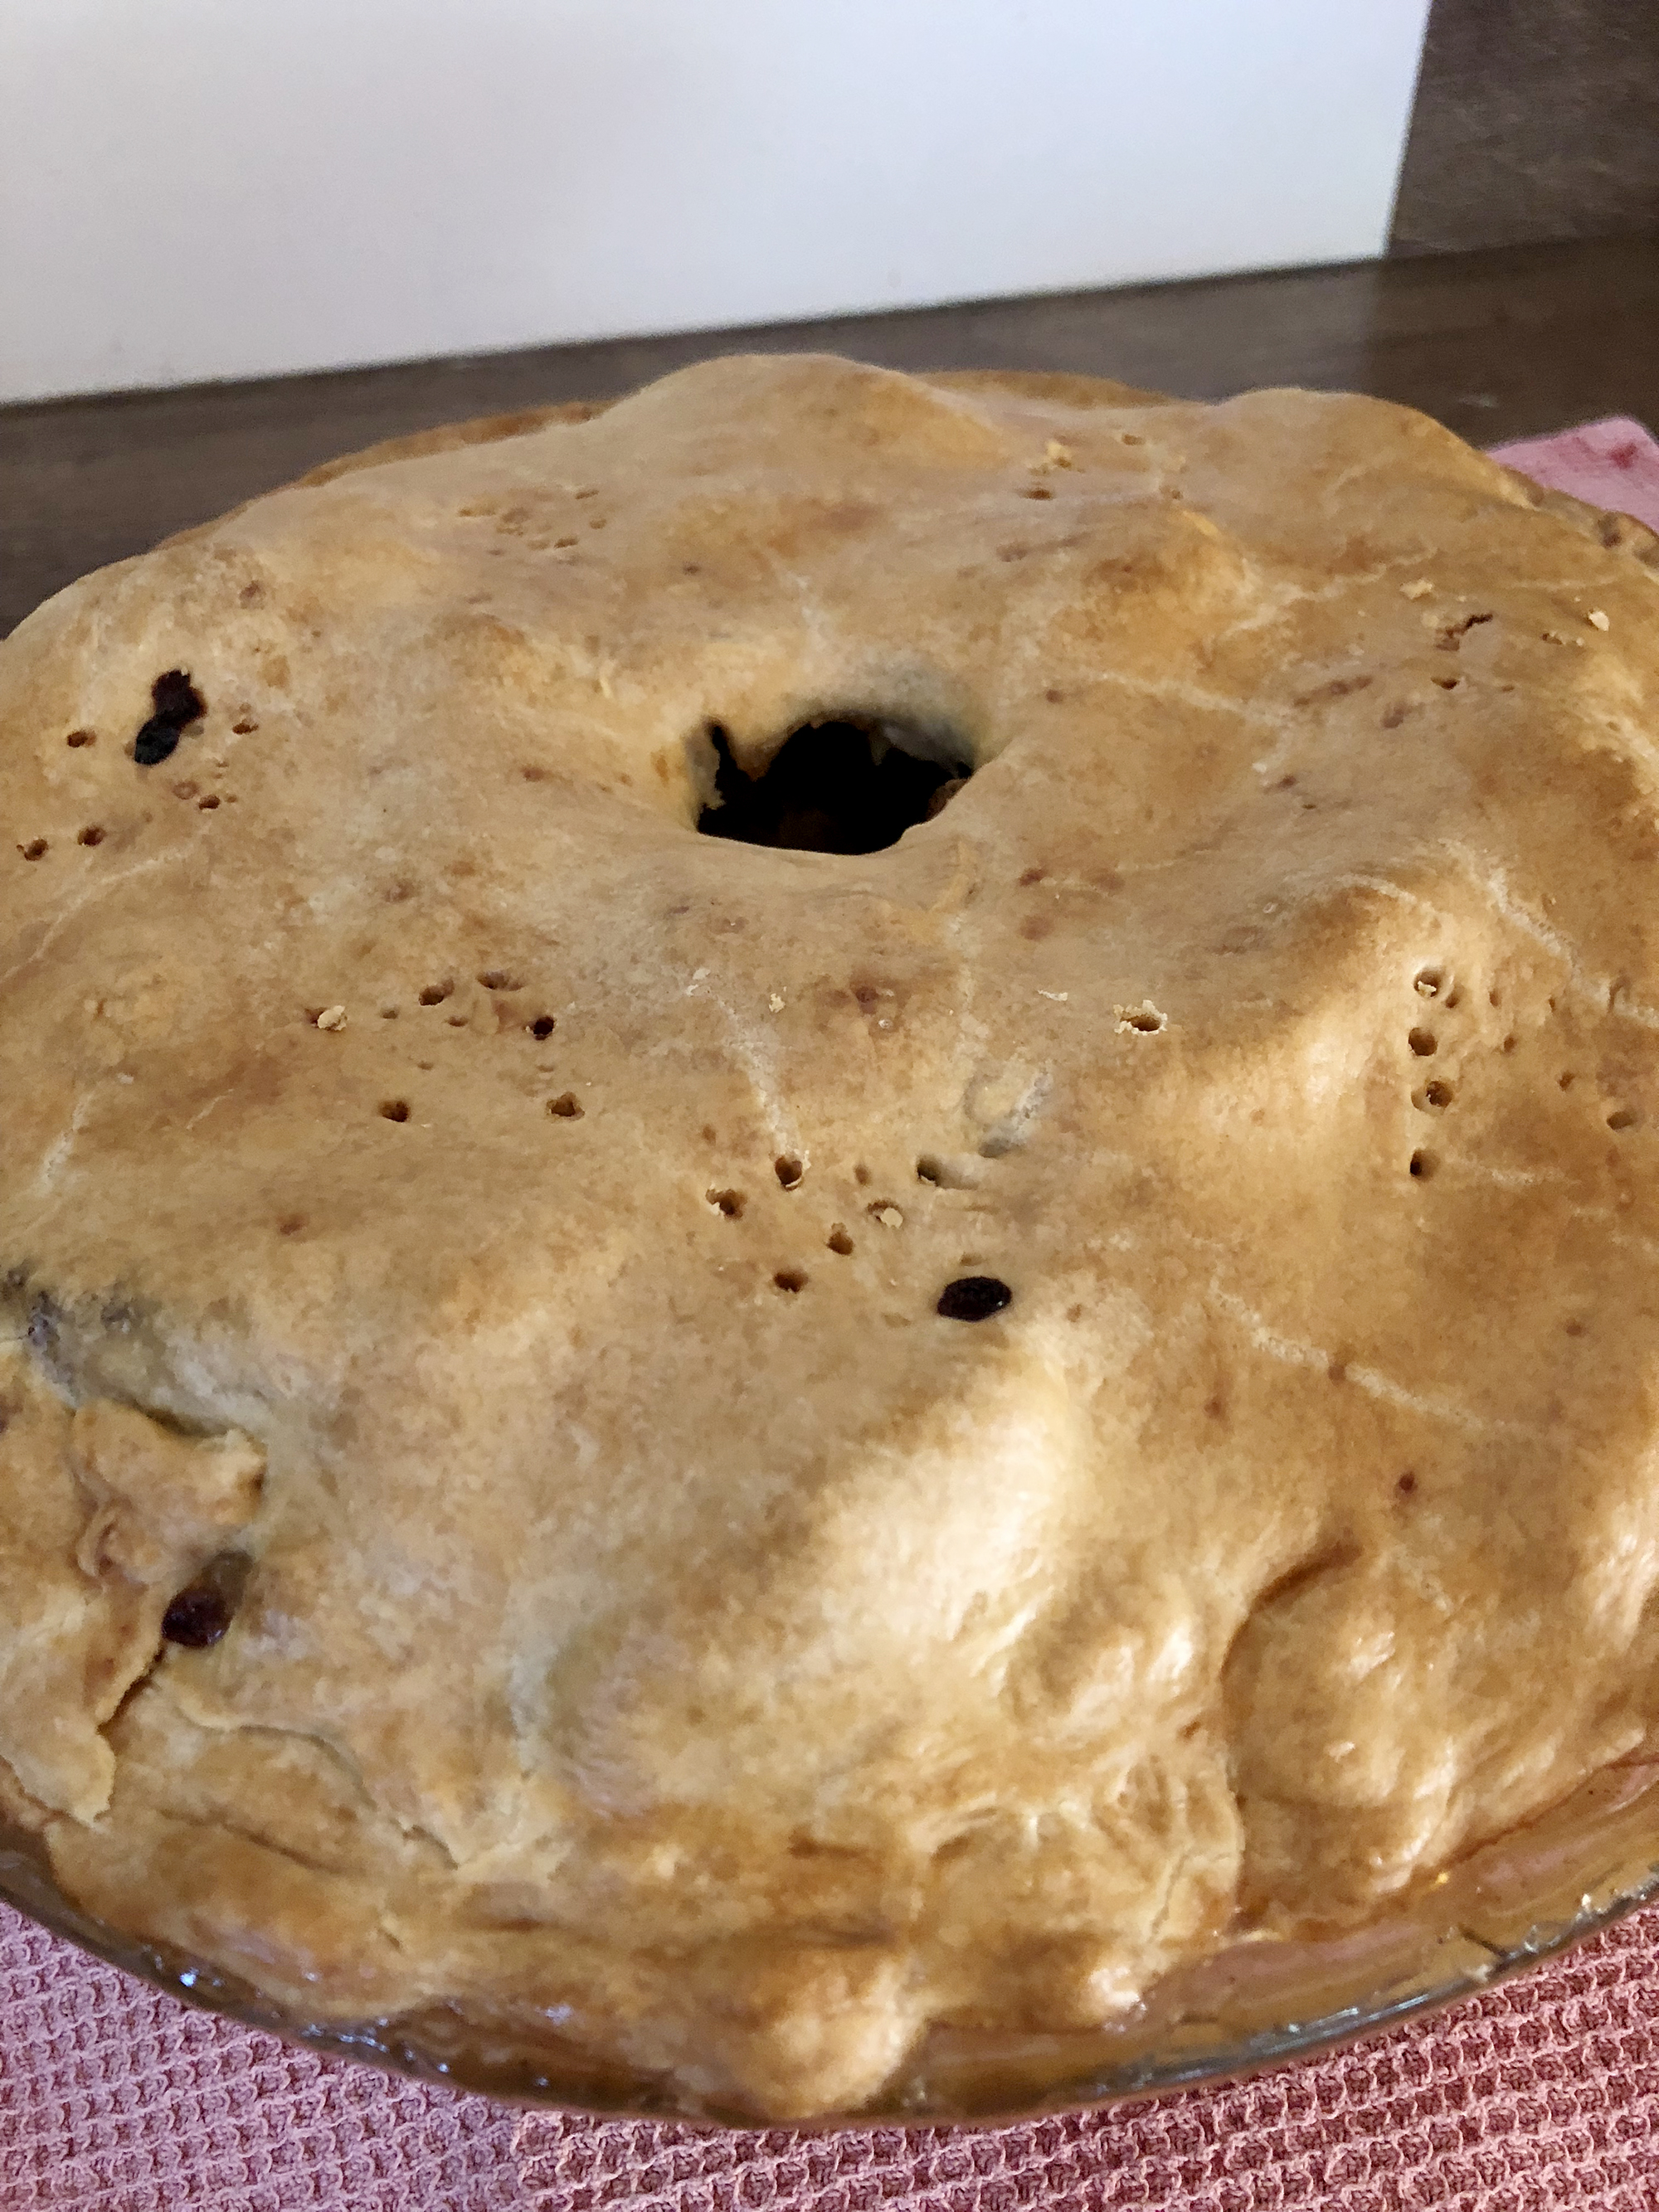
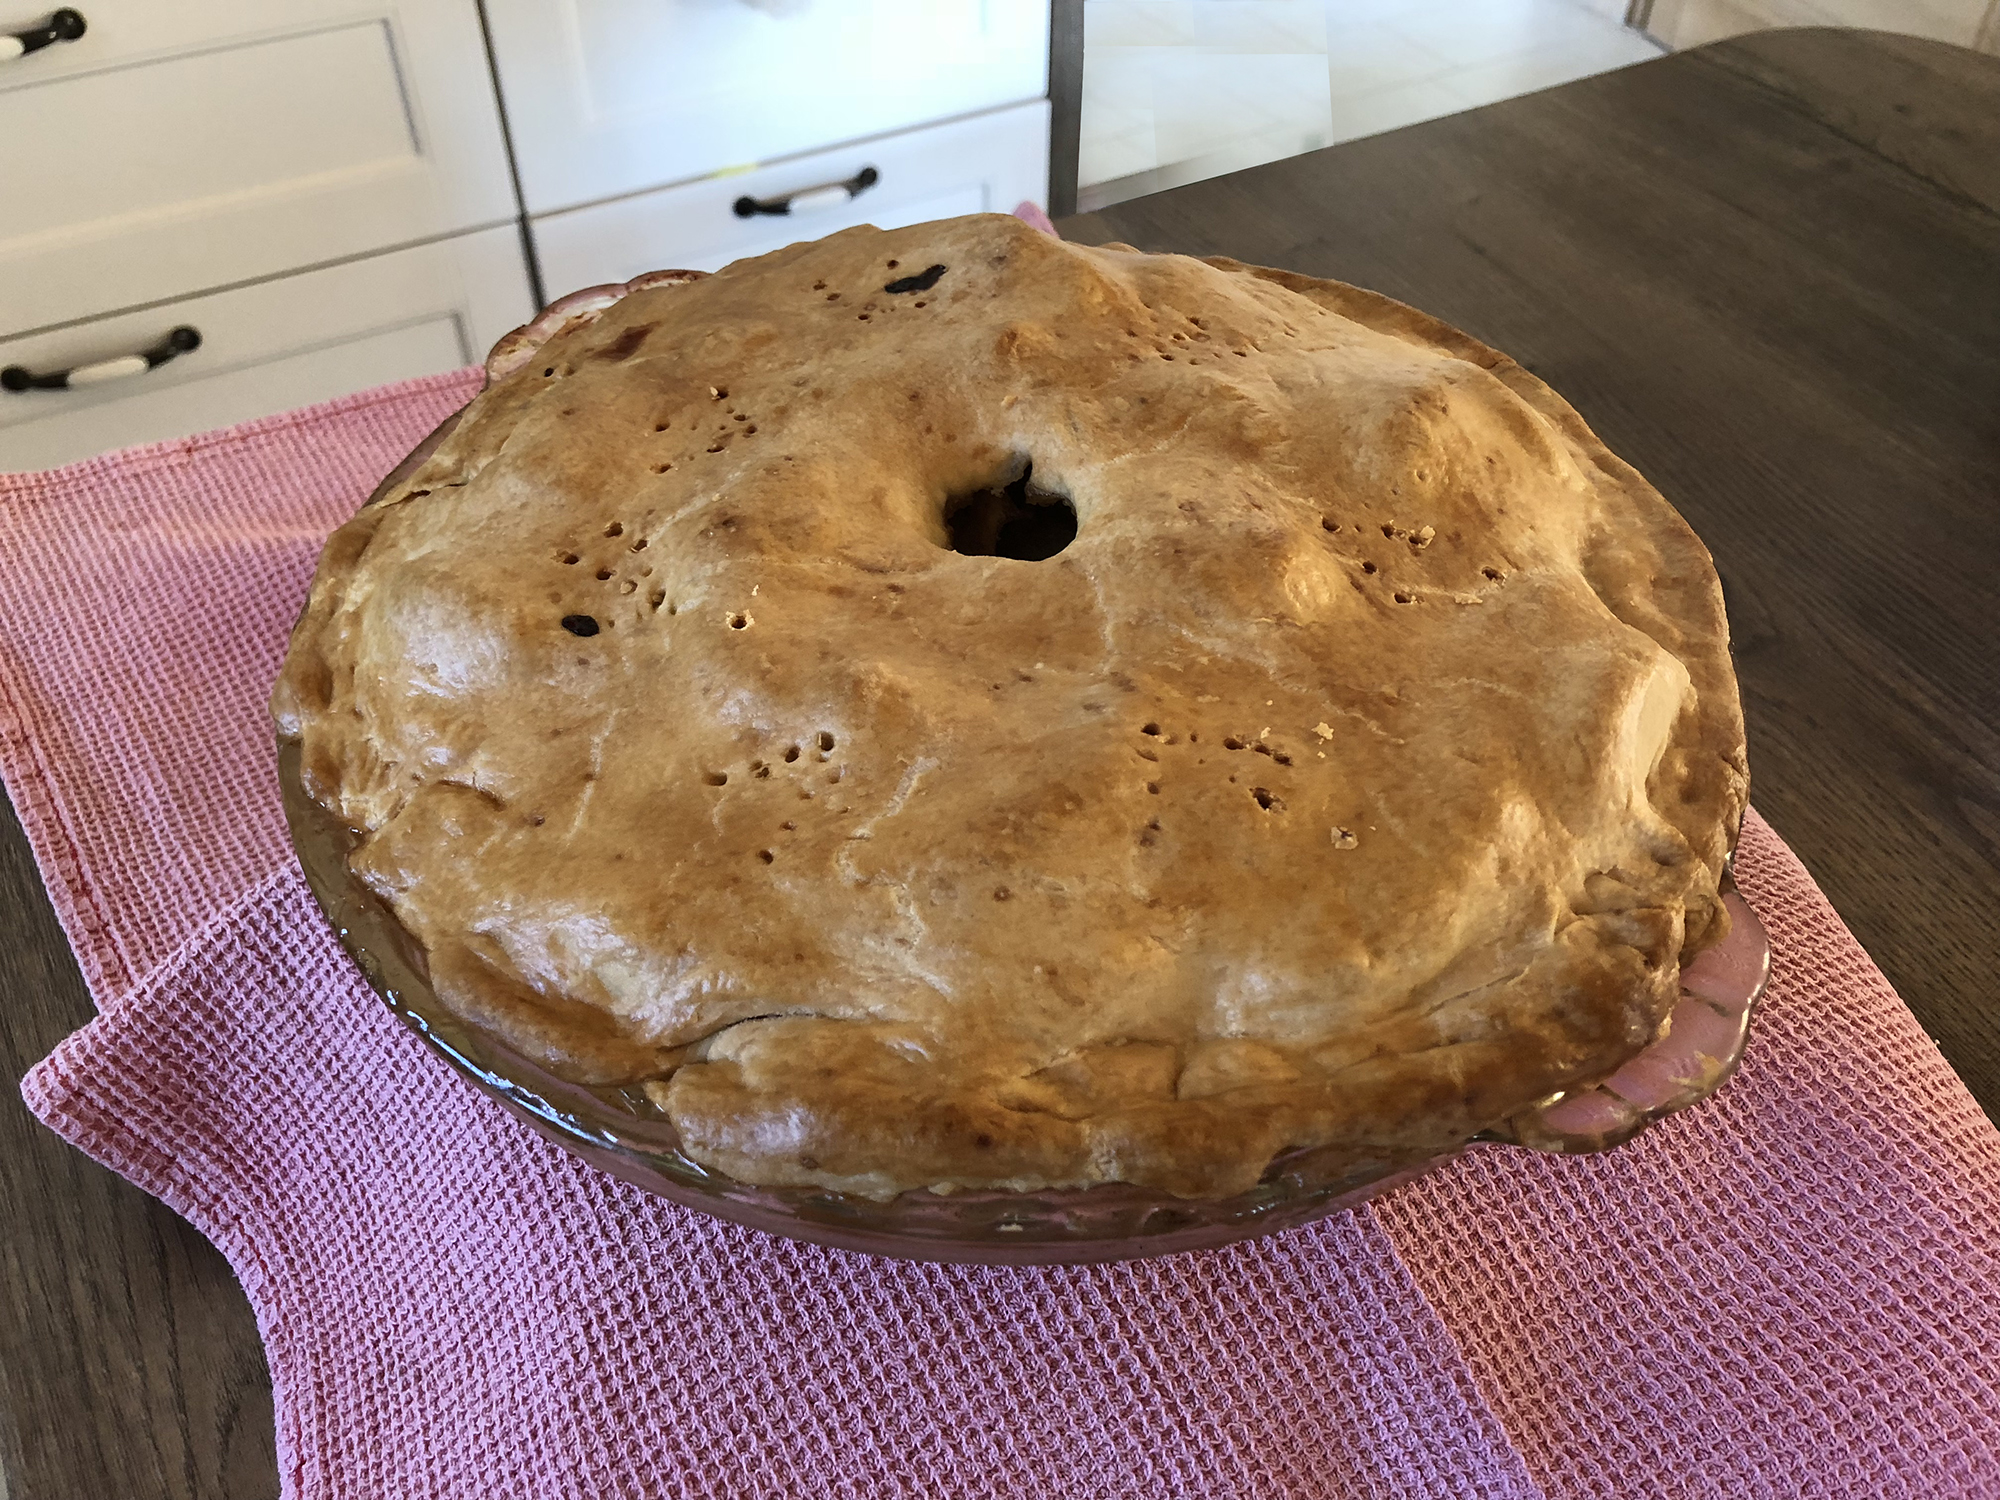
This easy peasy apple pie recipe using Granny Smith apples is all you need to know to create a delicious home-made style apple pie for your family!

Nowadays it’s so hard to find recipes that aren’t full of sugar and taste like the old, original recipes our grandmothers used to make! I quickly fell in love with this simple yet very tasty apple pie recipe my mother sent over to me. This apple pie is not only very flavourful, it also holds it shape well thanks to the Granny Smith apples, which are a baker’s favorite when it comes to making apple pies. If you are about to make an apple pie, consider taking the time to find specifically Granny Smith apples, as they are known to hold their shape better and not turn watery or soggy. 

Apple pie is an American staple and favorite, but who knew it originates back to year 1381 in the midst of the middle ages in England? There are multiple what they would call “cookery books” and documents that outline a very similar apple pie recipe that we make today. This early recipe used a standard pie crust, slices of soft apples with their skin and seeds removed, and mixed with several spices like ginger, cinnamon, nutmeg, clove, and powdered sugar. It was then topped with butter or lard and saffron was used to color the pie filling. There are also versions that mixed in not only apples but also figs, raisins, and pears. 

Today’s recipe is strikingly similar except that we love to serve it with whipped cream, ice cream, or some (although I’ve never tried this) pair it will cheddar cheese! You can make your apple pie using standard tin pie plates which are great for travelling or if you are gifting your pies, or you can use a stoneware pie dish which I normally use at home.

Homemade Granny Smith Apple Pie Recipe

 
Ingredients:
 
Pie Crust
 
  1. 2 2/3 cups flour
  2. 1 cup shortening
  3. 1/2 cups cold water with 2 tsp apple cider vinegar
  4. Pinch of salt
Granny Smith Apple Pie Filling
 
  1. 6 cups Granny Smith Apples Sliced and Peeled
  2. 1 cup brown sugar
  3. 2 tbsp flour
  4. Pinch of salt
  5. 1 tbsp lemon juice
  6. 1/2 tsp cinnamon
  7. 1/4 teaspoon nutmeg
  8. 1 tbsp unsalted butter cut into small chunks
Instructions:
 
To Make the Pie Crust
 
  1. In a mixing bowl, whisk together the dry ingredients: flour and salt. Mix in the shortening and add the ½ cup of water. Continue mixing with your hands and add more water if necessary. Mix until you have formed a ball of dough. Divide the dough into two balls.
  2. Using a floured work surface and a rolling pin, roll out one ball of dough. Make your circle of rolled out dough at least 5 cm wider than your pie plate. Place the dough in your pie plate making sure the edges align with the pie plate rim. Next, make the pie filling.
To Make the Pie Filling
 
  1. Get your oven warmed up and preheat it at 425 F. In a mixing bowl, mix apples, brown sugar, flour, lemon juice, cinnamon, salt, and nutmeg. Mix until the apples are well covered in the flour, sugar and spices. Transfer the apple pie filling into your apple pie plate. Sprinkle the butter chunks over the apples.
  2. Roll out the second ball of dough and place it over the apple pie filling that is in the pie plate. Using your fingers, pinch the edges of the apple pie crust to seal it with the piecrust below. Using a knife cut a circle into the middle of the apple pie crust.
  3. Optional: Use a pastry-brush to brush milk over the whole apple pie and sprinkle with sugar.
  4. Bake for about 15 minutes, then remove from oven and cover with tin-foil and return to oven to bake for another 25-30 minutes.

Tips and Tricks To Turn Your Kitchen Into a Baker’s Dream

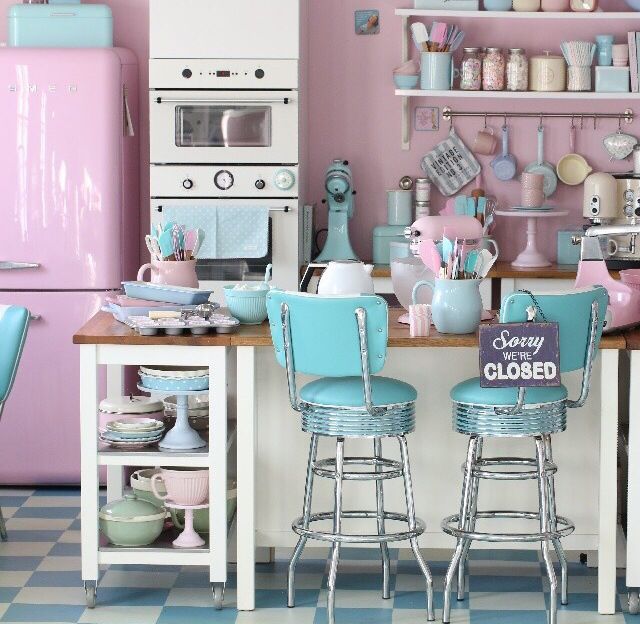
Maybe you bake so that you can take chocolate chip cookies to your office once a week, or perhaps creating a multi-layered Red Velvet cake is a way for you to relieve stress, or, perhaps, it’s always been your dream to open your own cupcake shop. Whatever the reason, if you love to bake, there are some ways to make your kitchen more baking-friendly!

We’ve outlined a few of the top home improvement projects, to help you make your baking dreams come true. 

Open shelves

The raw ingredients of baking involve a lot of dry goods and that means big jars of flour, sugars, grains, and other necessities. You want to access these items quickly and having an area with open shelves above your workspace is the best way to organize a dream kitchen for bakers. If you don’t have an open space already, you may need to remove a cabinet door and add shelving. A professional is your best bet to tell you what you’ll need to renovate your kitchen and perhaps reconsider its layout. 

Tray and baking pan storage

Do you have more baking trays and pans than you know what to do with? If your baking goes from cookies to cupcakes to cakes to pies to breads, then the answer is probably, yes. Upright storage will make it easier to get to the tray or pan that you need. Cabinets made specifically for trays will be narrow and tall with dividers, but if you don’t want to make a big investment you can place your tray storage in an upper cabinet and get a standup file divider from an office supply store to keep your trays organized. And in that case, you may also want to invest in a step stool.

Rolling cart

As an alternative to a complete kitchen storage overhaul, you can invest in a rolling cart that can hold all of your baking ingredients and tools. That way when you need it, you can move it around to the most ideal spot in your kitchen for easy access. 

Pastry table

To get serious, you’ll want a dedicated pastry table, which is lower than a typical kitchen counter. This area should be in your main work area, and will have a marble or wood top, which will make it ideal for rolling.

Double oven 

If you are often baking for a crowd or creating cakes with multiple layers, you might go for the ultimate upgrade — a double oven. If you have a large built-in microwave above your current oven, consider if you could remove it and add an oven in its place. When going for this indulgence, consider convection heat, which works with fans that recirculate heat, and is ideal for evenly-baked cookies and crusts. 

Book/tablet stand

Are you often consulting recipes on your tablet, or recipe books? For books, you can buy an inexpensive book stand, or get one built-in in your work area. You can also consider adding a charging station that is specifically for your tablet. 

Shelves for recipe books

Kitchens do not always come with bookcases, and if you have oodles of recipe books, you’ll want to be sure to have this amenity. You can turn a cabinet into a bookcase by removing a door and adding more shelves, or if you have the wall space, consider buying a bookcase to add to your kitchen. 

You don’t need a complete kitchen overhaul to be well on your way to your baking dreams, with a few simple upgrades you can make your space more baking-friendly. 

Staying Safe in the Kitchen – Understanding Fire Classifications

Whether you are a hobby baker or a professional one, fire safety should always be your top priority. Here are some ways to make sure your passion for baking doesn’t turn into a deadly one!

Whether you live in a city high-rise apartment or a rural farmhouse, fire doesn’t distinguish the difference and will leave one structure as devastated as another. Of course, an early warning signal for a fire is a smoke detector. But what can you do when the fire has just started and isn’t out of control yet?

That’s where a fire extinguisher comes into play. The early invention of a fire extinguisher was a few thousand years ago when Ctesibuius of Alexandria first used a pump to pump water used to extinguish fires. Although, it wasn’t until 1818, when a British Captain named George William Manby, invented the modern fire extinguisher and made of copper. It held three gallons combined of compressed air and the fire extinguishing agent – potassium carbonate.

However, before using a fire extinguisher, one important fact to remember is that not all fires are the same. In other words, the fire’s properties change depending on the original source or cause and that factor determines which type of fire extinguisher to use. The consequences for using the wrong extinguishing method may range from no effect to an explosion.

The US groups fire into five classes based on their properties – A, B, C, D, and K. This may differ around the world, for example Europe and Australia also use fire classes but the names and properties are different. Therefore, always check where a fire classification system is to know the standard used.

Class A Fire: Everyday Combustible Materials

Class A fires comprises everyday combustible materials, including, but not limited to – paper, wood, plastics, refuse, and fabric. This is the most common type of fire and is extinguished with water or monoammonium phosphate – the chemical agent used in most fire extinguishers.

Class B Fire: Flammable Liquids and Gases

Class B fires include flammable liquids, such as – kerosene, petroleum oil, paint, and gasoline; or flammable gases, such as – propane, butane, and methane. Although these fires can be found in residential or commercial settings, they are more likely found in an industrial environment.

Water is never to be used when fighting a Class B fire because the likelihood of it dispersing the flammable liquids and spreading the fire instead of extinguishing it. 

Below are two methods used in Class B fires.

  • Monoammonium phosphate – cuts the oxygen supply to the fire
  • Sodium bicarbonate – extinguishes the fire with a chemical reaction

Class C Fire: Electrical Fires

Class C fires are started by electrical sources by overheated wiring or shortages in equipment, etc. As with Class B fires, water is never to be used on Class C fires. Since water and electricity don’t mix well, if water was used it could cause a current to electrocute someone. Thus, there is a two-step process in fighting electrical fires – 

  1. Disconnect the power source.
  2. Use a non-conductive agent such as monoammonium phosphate and sodium bicarbonate used against Class B fires to extinguish Class C fires, as well.

Class D Fire: Combustible Metals

Class D fires consist of combustible metals such as – lithium, magnesium, and potassium and are most common in laboratories and industrial facilities. Never use water to fight a combustible metal fire because some metals will explode when mixed with fire. Instead use a dry powder agent to smother the fire. However, these dry powder agents require special training to handle.

Class K Fire: Kitchen Fire

Class K or Kitchen Fire involves unsaturated cooking oil used in food prep – includes cooking oil,  lard, grease, olive oil, and butter. These fires are a subclass of Class B fires, however, due to the distinct differences of how they burn have their own class. Just as with Class B, water is never to be used, but instead a Class K rated fire extinguisher.  These extinguishers contain a wet chemical extinguishing agent that turns the fire’s fuel to soap.

Conclusion

Fire is a disastrous and scary event, that is why it is very important to increase the safety in your home. The only defense is prevention and being prepared if a fire ignites in your home.  Also, to be sure your home and business complies with all local and state ordinances and codes, contact a fire or sprinkler engineer.

AUTHOR’S BIO

Michael Tobias is the founder and principal of Chicago Engineers. He is a graduate of Georgia Tech class of 2004, with a Bachelor of Mechanical Engineering with honors. His innovative approach to MEP engineering comes from graduating GE’s Engineering Leadership Program, where he designed wind turbines and biofuel power plant engines. Michael’s passion within design is energy efficiency and green technology.

Try these 5 Healthy and Easy-to-Make Recipes!

Are you looking to start off the new year on a healthy note? Here are some healthy and super easy-to-make recipes that you can whip up in no-time!

We all know whole grains, leafy greens, and omega fats are healthy foods that we should be including in our diets. Sometimes it can be a little tricky on how to incorporate these foods into our diets especially when we are always in a rush. Whether it’s rushing to our yoga class or hurrying up for work in the morning, eating healthy is easier said than done.

We’ve scoured the web for some easy-to-make recipes that you can even prepare in advance so you can grab-and-go and eat healthier! Keep reading!

Healthy Oatmeal Mix

Oatmeal can be much more healthier than plain water and oats. There are tons of ways to spice up your daily morning routine and make much more interesting and healthier. Oatmeal is a cheap and easy-to-make recipe that is packed with fiber and antioxidants. It’s also gluten free and 100% whole grain, which make it satisfying and leaving you full for longer. Check out the Fit Foodie blog for a list of easy oatmeal recipes you won’t regret making!

Banana Crunch Coffee Cake

Ripe bananas AND pecans make this coffee cake the perfect breakfast that you can make in advance! Filled with rolled oats, sour cream and eggs, this is one easy-to-make recipe that you can even bring with you to work or to the gym. Check our the original recipe by Pillsbury right here!

Green Strawberry Breakfast Smoothie

Heading out to the gym? We’ve all see how popular green smoothies are in LA, and they are also pretty pricey as well! This green strawberry smoothie is not only simple to make but also very budget friendly as well. Who knew that strawberries, spinach, and avocado could make such a great combination of flavors! BBC Good Food has the perfect recipe for you to try!

5-Ingredient No-Bake Granola Bar

When it comes to simple recipes we can always count on the Minimalist Baker for coming up with this easy-to-make granola bar recipe. Keep in mind, this is a no-bake recipe which makes it’s even better for those that are in a rush and looking for something fast to make. Almonds, rolled oats, dates, and peanut butter are to-die-for!

Guilt-free Veggie Dip!

Looking for a fun way to spice up your regular veggie dip? This vegetable dip we found here will quickly become your new go-to recipe! Using a base of sour cream and packed with interesting spices like dried dill and hot sauce takes this dip to another level. Make sure to try it out and let us know your thoughts in the comments!

Looking for more healthy recipes? Check out WorldRecipes.eu where you can search for endless recipes from various countries and nationalities. You are bound to find something interesting you will want to try out this weekend!

Staying Safe In Your Kitchen – Expert Tips To Protect You

While baking in the kitchen, make sure you keep safety first. Here are some expert tips to make sure your baking experience remains an enjoyable one!

Your kitchen might be the heart of the home, but it’s also a dangerous place. Sharp knives, boiling water, hot surfaces, and sizzling grease all add up to some major injuries, so it’s no wonder that many people end up in the emergency room every year due to kitchen incidents. With this in mind, here are some expert tips to ensure you stay well-protected from harm in your own cooking environment so you too don’t become a kitchen injury statistic.

1.Protect Your Skin

The first step to staying safe in your kitchen is to protect exposed skin from splashes and spills of hot foods, liquids, and fats. Whether you’re cooking at the hob, pouring boiling water into or out of a pan, or serving up fried dishes, you’ll find that the risk of burns is surprisingly high. You can protect yourself best by wearing a professional chef’s apron or chef’s jacket that covers your body, arms and exposed skin, keeping them safe from harm. If you’re wondering where to buy high-quality chef’s attire for you to wear at home you should check out professional specialists like ChefWorks. You’ll find protective clothing made from the best quality fabrics and designed to withstand the rigors of even a professional kitchen.

2.Clean Up Rapidly

If you’re making a meal while dealing with other things, it’s all too easy to spill some food, splash some water or drop some fat. If this happens, it’s important to clean up quickly as this will help to guard against any accidents. Even small amounts of food or water can create a slipping or tripping hazard, and oil and grease are particularly dangerous.

3. Keep A Fire Extinguisher To Hand

Your fire extinguisher represents your kitchen’s most vital gadget. Nobody expects their kitchen to go up in flames, but on the off chance that it does, you should have a fire extinguisher within easy reach and know how to use it properly so that you can stay safe in an emergency/

4. Be Wary Of Steam

Over 100,000 people every year have to go to the ER because of steam burns. Boiling water, hot beverages, and faucets that supply hot water on demand are all scald risks, and steam burns are extremely dangerous, often being more severe than burns from boiling water itself. If you’re taking the plastic wrap off a microwaved dish, taking a lid off a pot of boiling water or tearing open a steamable packet, you are at risk of steam burns, so take care and ensure your little ones also understand that this is a potential hazard.

5. Stay Hygienic

There are more bacteria in your kitchen than in any of the other rooms in your home, so remember to maintain a good level of hygiene. You can banish bacteria by cleaning your kitchen using a water and bleach solution on a regular basis. Clean your cutting boards with an anti-bacterial spray after each use, wet your sponges after each use then zap it in your microwave for 2 minutes. Change and wash your dish clothes regularly.

If you follow these top tips, your kitchen will be a very safe and hygienic place where you and your loved ones will be happy and healthy.

Classic Gingerbread Cookie Recipe – Easy No-fail Recipe!

Christmas is just around the corner, and one of my favorite holiday recipes is making its debut once again! This gingerbread cookie recipe was long lost on our blog and mistakenly deleted years ago! One of our regular readers wrote to us and managed to track down our recipe that was re-posted on another blog. Now we are back with the original recipe that is tried and tested, and looks like it is a favorite among many of our readers. If you are looking for the perfect gingerbread recipe that is simple, easy, and no-fuss – this is it! Keep reading and happy baking!

Classic Gingerbread Cookie Recipe with Icing! – Easy No-fail Recipe!

 
Ingredients:
 
  •  Melted butter, to grease
  •  125g butter, room temp
  •  1/2 cup brown sugar
  •  1/2 cup golden syrup
  •  1 egg, separated
  •  2 1/2 cups plain flour
  •  1 tbsp ground ginger
  •  1 tsp mixed spice
  •  1 tsp baking soda
  •   Plain flour, to dust
  •   1 cup pure icing sugar, sifted
  •   liquid food coloring
Instructions:
 
  1. Preheat oven to 180C and lightly grease 2 baking trays with melted butter.
  2. In a mixing bowl using an electric mixer, beat butter and sugar until pale and creamy. Slowly add in golden syrup and only the egg yolk, and keep beating until well incorporated.
  3. Stir in flour, ginger, mixed spice and baking soda.
  4. Turn dough out onto a lightly floured surface and knead until dough is smooth. Press dough into a disc shape and cover with plastic wrap. Place dough in fridge to cool for 30 minutes. Cool dough will help your gingerbread shapes hold their form until they are placed in the oven to bake.
  5. To make icing, using a mixing bowl and electric mixer, beat egg white until soft peaks for. Gradually add icing sugar and beat until stiff peaks form.
  6. Divide icing among as many bowls as the number of color you plan on using to decorate your cookies. Add a few drops of food coloring to each icing to get your desired color. Place the bowls in the fridge.
  7. Place dough between 2 sheets of baking paper and roll out until about 4mm thick. Use your cookie cutters to cut out shapes. Place the shapes on baking trays about 3 cm apart.
  8. Bake cookies for 10 minutes or until slightly golden/brown. Remove and transfer to a rack to cool. You can also place them in the fridge to cool off faster!
  9. Place prepared icing in small plastic bags and cut a small hole in the corner of each bag. Pipe icing over cookie to decorate as you wish!