5 Cake Decorating Tips and Tricks that Turn an Ordinary Cake into a Work of Art

Want to take your cake to the next level for that upcoming party or holiday get together? Here are some simple cake decorating tips that will make your cake look like it’s come straight out of a bakery box with a professional finish!

There is a plethora of great decorations you can do with little experience right from your own home. There are certain tools such as an angled icing spatula or wire cake cutter that will aid in creating perfect layers and smooth frosting. 

First, you will need a store-bought cake that is as simple and versatile as possible. You will not want to invest much in it, since the real pièce de résistance will be the decoration. All you have to do at this point is decide on the flavour and the number of servings you need. For an in-depth list of cakes prices and providers, make sure to visit CakesPrices.com.

Flawless Frosting

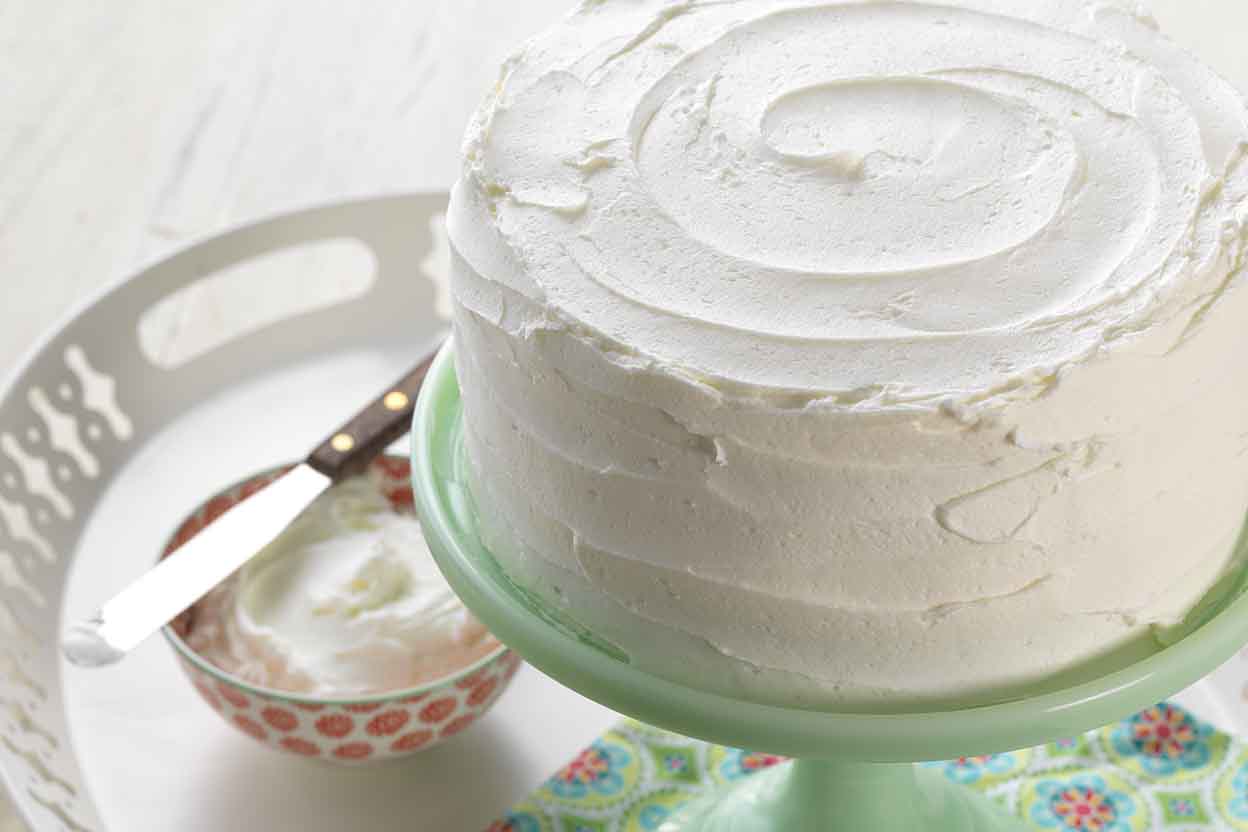
When it comes to getting a perfectly smooth layer of icing, a dough scraper is your best friend. Apply your icing as normal with a spatula or knife and be sure to apply enough icing for full coverage. A crumb coat can help to ensure your final coat looks beautifully smooth. Simply add a thin layer of icing to your cake and place in freezer for a just a few minutes. Next, apply your final layer of icing. Finish by using your dough cutter to lightly apply smoothing pressure to the sides and top of your cake, leaving you with flawless, full coverage.Your cake will look like one of those masterpieces that come from some of the most famous bakeries in town.

Homemade Pastry Bags

Cake decorating requires some supplies but for those just starting out making their own pastry bag is just as effective as buying one. A homemade bag is disposable and is great for simple piping and borders. It can be a great help if you are using multiple colors for decorating and do not want to continuously clean your bag. A quart or gallon storage bag works perfectly fine depending on how much icing you are using to decorate. For a homemade bag, you will cut off one of the bottom corners and squeeze the icing to that corner. A homemade bag is also compatible with metal cake decorating tips. Check out this tutorial for a DIY pastry bag.

Easy Decorations

The easiest decoration is simple piping. Cutting more or less off the corner of your bag changes the width of your piping line. Piping can be used for straight border, a swirl border, or a zigzag border. A piping tip is great for writing, creating vines, shape outlines, and perfect dots. 

The basket weave is a simple design that can make the sides and top of your cake look unique and professional. Just about any tip including the ordinary piping tip will work, however, Wilton tip #47 will give your design a more rustic, basket look. Create a vertical line and add short horizontal lines over top. Keep your vertical lines spaced evenly apart, and keep your horizontal lines alternating over and under each vertical line.

Adding Color

Fondant makes a tasty, smooth cover for your entire cake. It can take your cake from decorated to boutique and can be colored to brighten your cake. Laying fondant perfectly is not always an easy task and fondant cut outs can be another great way to take your cake to the next level. You can buy fondant premade or make very delicious fondant from marshmallows and powdered sugar. Marshmallow fondant can even be made in the microwave by melting a bag of marshmallows and adding powdered sugar and water until you have a dough formed.

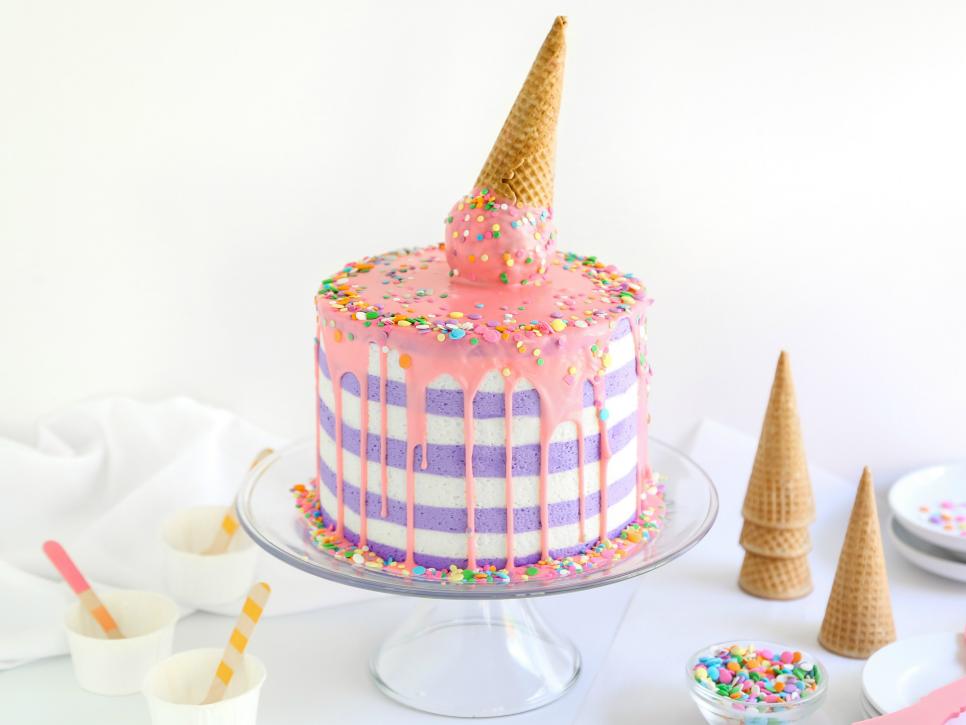
Gel food coloring is your best bet for coloring icing. It can be added to your icing by dipping a toothpick in the gel and then mixing it into your frosting. Continue to do this to darken the color of your icing or mix colors together for the desired color. Create streaks of color on your cake with an angled icing spatula or create an ombré design by layering a color in various hues. 

The Shell and Rope Border

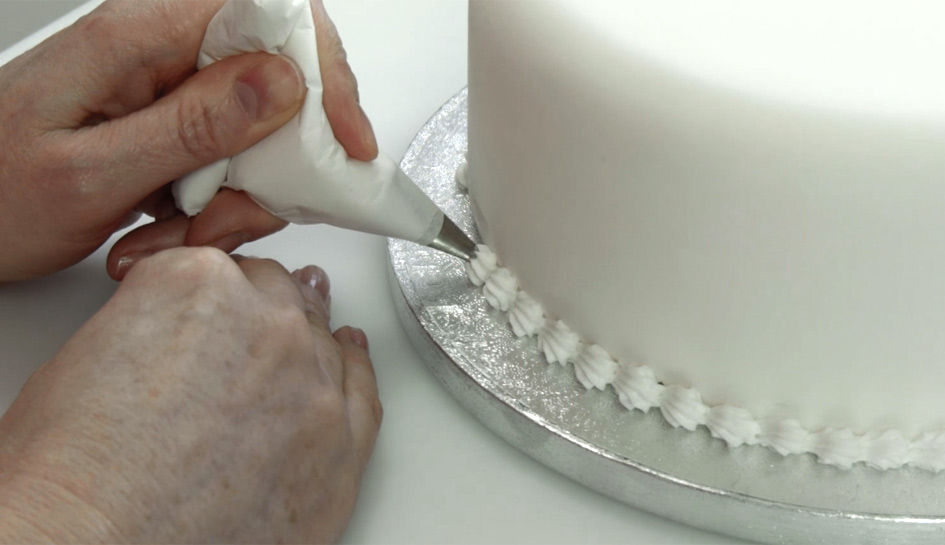
For making shell and rope borders it does require a Wilton 21 tip. The shell is the simplest type of border. To start a shell line, hold your bag at a 45-degree angle slightly above your surface. Apply pressure as the icing fans out and draw it slightly to you while decreasing pressure as you press the tip downward towards the surface. Continue to do this creating touching vertical shells. 

For the rope border use a 21 tip and hold your bag at a 45-degree angle slightly touching your surface. For a rope border you will want to apply steady pressure to your bag in the shape of a “S”. Start in the bottom curve of your first “S” and apply steady pressure to your bag again in the shape of an “S.” Continue this process to create a lovely rope border.

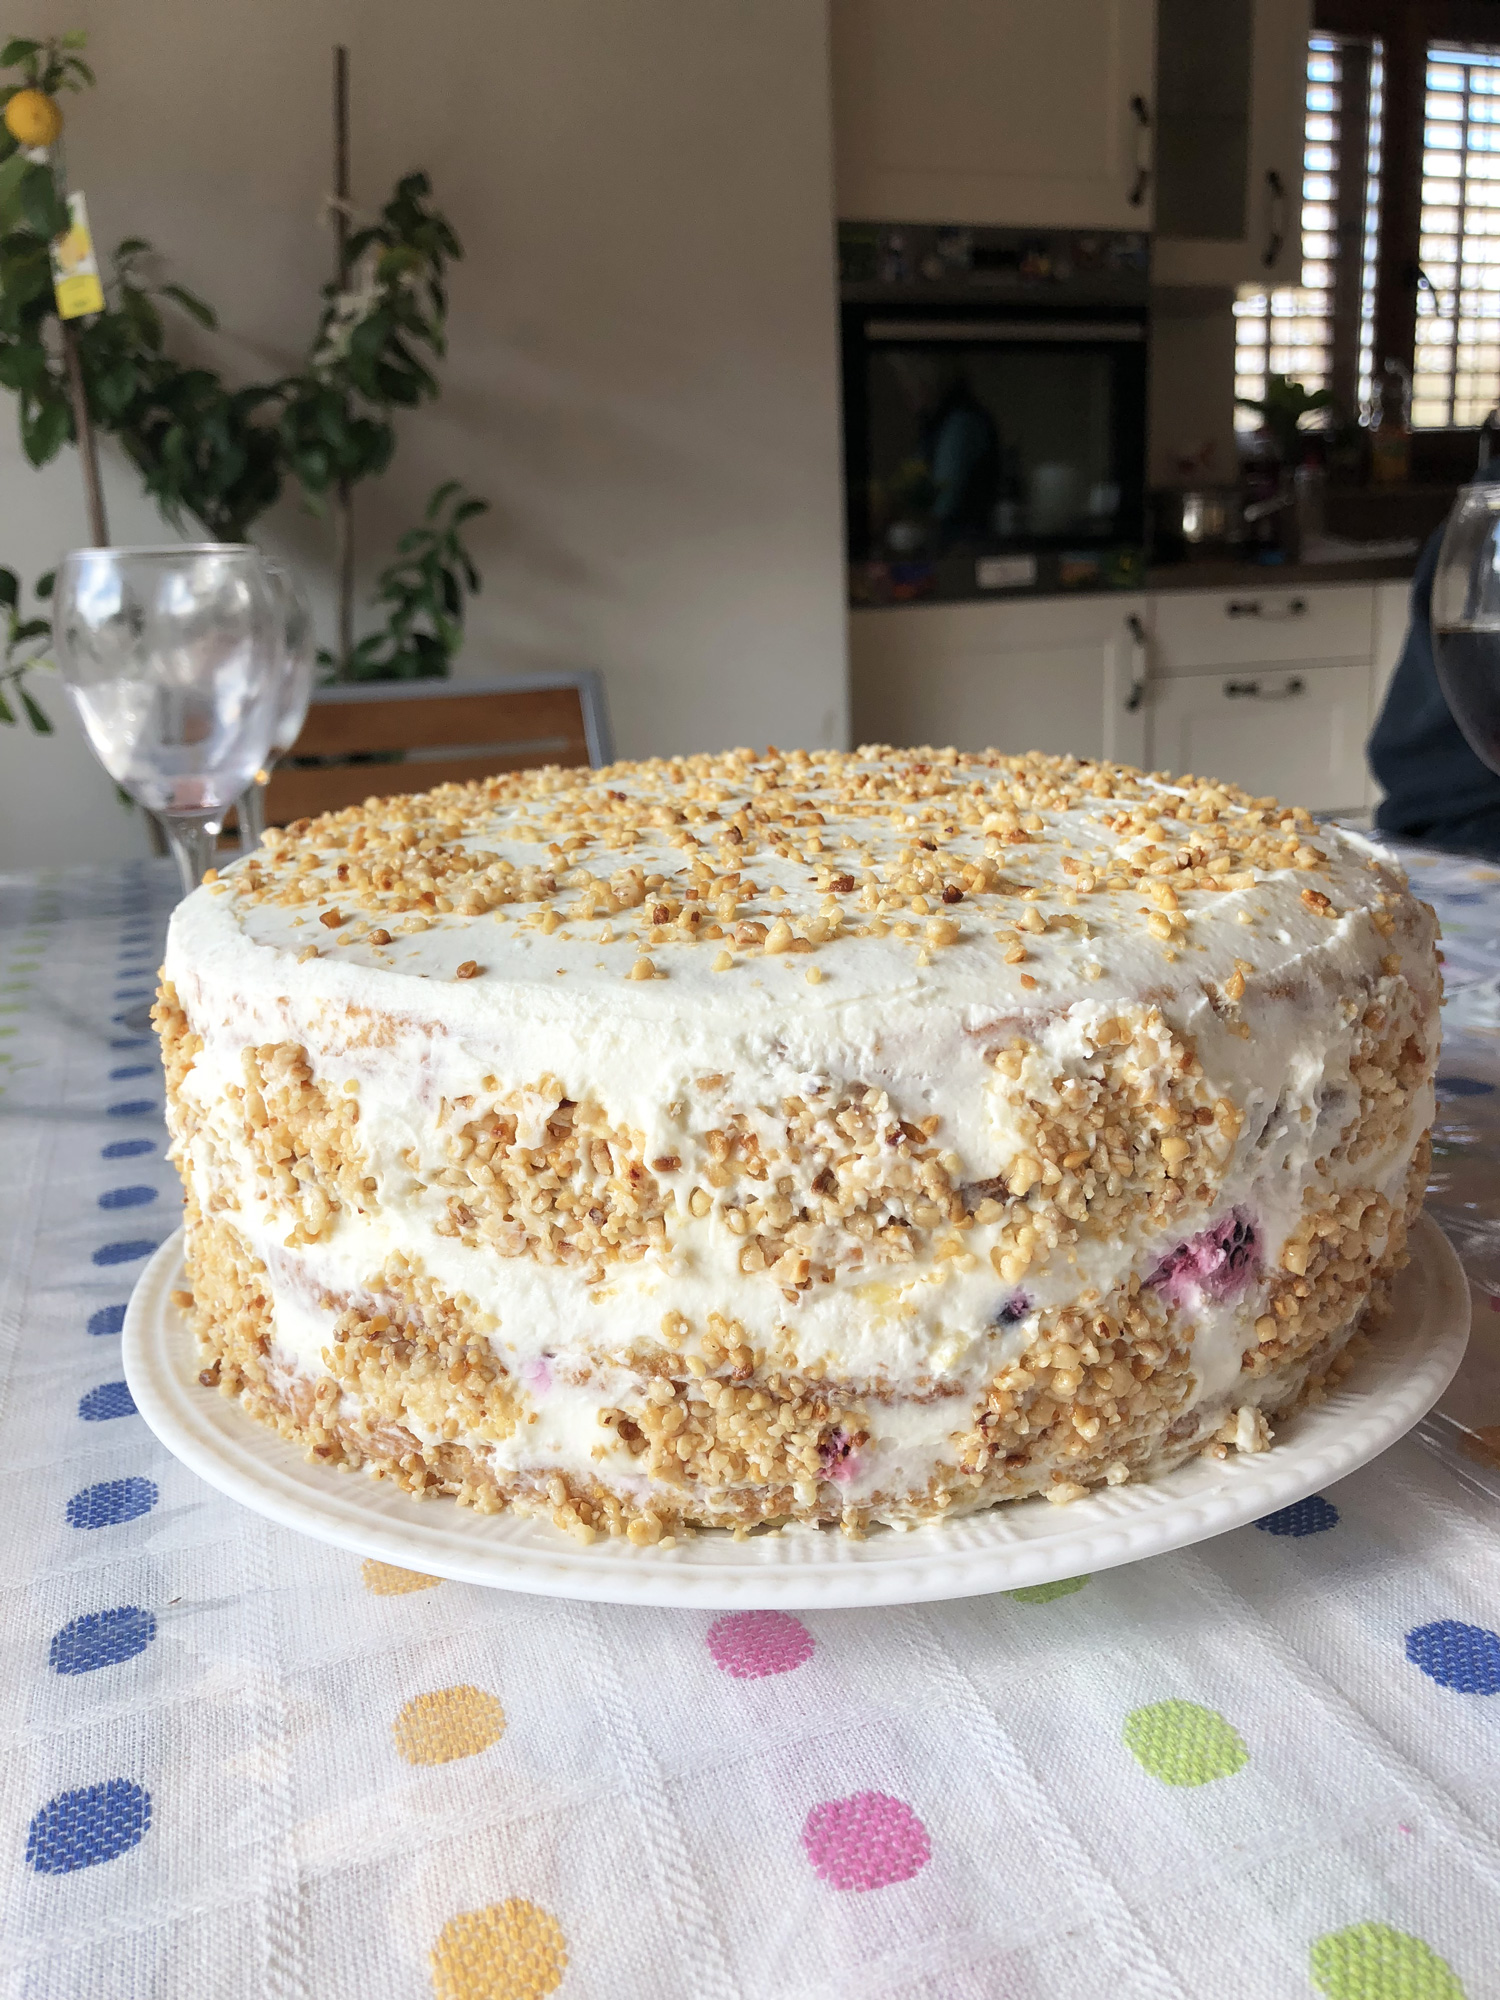
After reading these tips carefully you will realise that turning an ordinary cake into a work of art might not be just as hard as you thought. Take into account one of the possibilities you think it suits you better and will soon have the best cake you would ever think of.

Creative Tortilla and Wrap Recipes

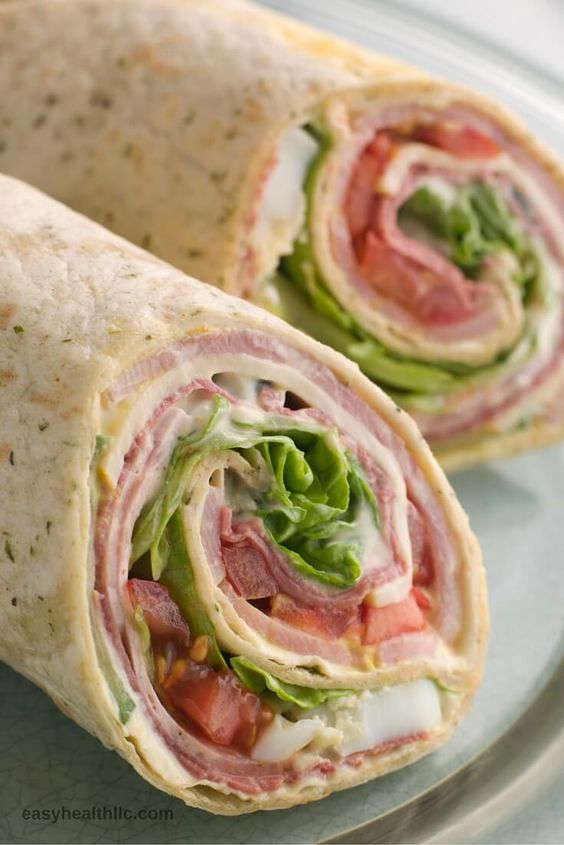
Looking for a quick lunch fix? These tortilla wrap recipes make it easy to have a healthy and easy lunch!

Tortillas are some of the most versatile types of wraps ever to have been invented by humankind, and that’s because they can be filled with most anything and they put up with quite a bit of abuse. Depending on their size and the way they are cooked, they can hold heaps of ingredients without breaking.

But many people tend to think of tortillas as a not particularly convenient type of food. In actuality, you can make anything you like with them. Best of all, you can even make the wraps at home and therefore use any healthy ingredients. In this way, you can also know for sure that what goes in your mouth is free of preservatives or artificial colors.

You can make tortillas either using a regular pan or one of the many electric tortilla presses available out there. It’s your choice.

Below you’ll find a list of some of the most creative tortilla recipes available today. Maybe they’ll give you a sense as to what this type of food can truly offer. Some of these suggestions are easy to make and take little to nothing in the way of the minutes you’ll spend in the kitchen. Moreover, you’ll even be able to take your food to work and enjoy a healthy meal instead of gobbling a fast-food meal when you’re in a hurry and on your lunch break.

Breakfast Roll-ups

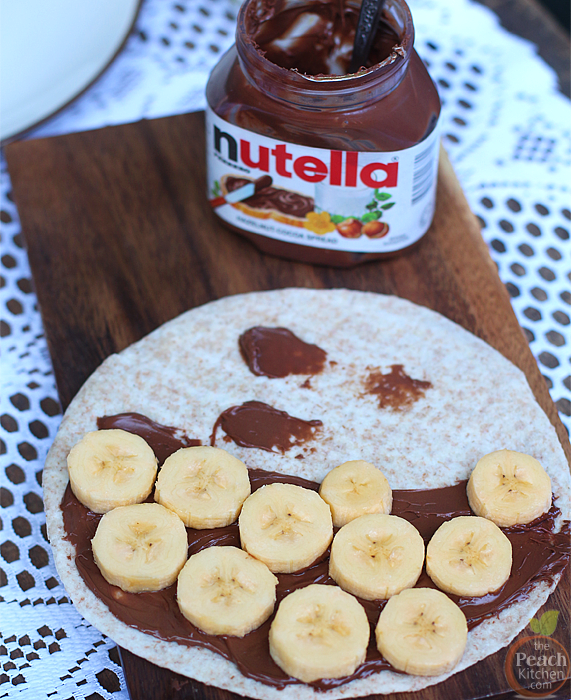
You’ll only need peanut butter or Nutella and one or two bananas for this recipe. Slather some nut butter on the tortilla, place the banana in the center, and then roll everything up. Slice it into bite-size pieces, and you’re all ready to go.

Tortilla Hot Dog Wraps

There are two main ways of making this meal. You can either use an unfried tortilla to wrap a hot dog and a piece of meltable cheese, place everything in a pan and pop it in the oven for several minutes, or you can fry the tortilla and then roll everything else up in it. If you have an excess of tortillas (or hot dogs), this treat can be great once in a while with ketchup or mustard.

Chicken Fajitas

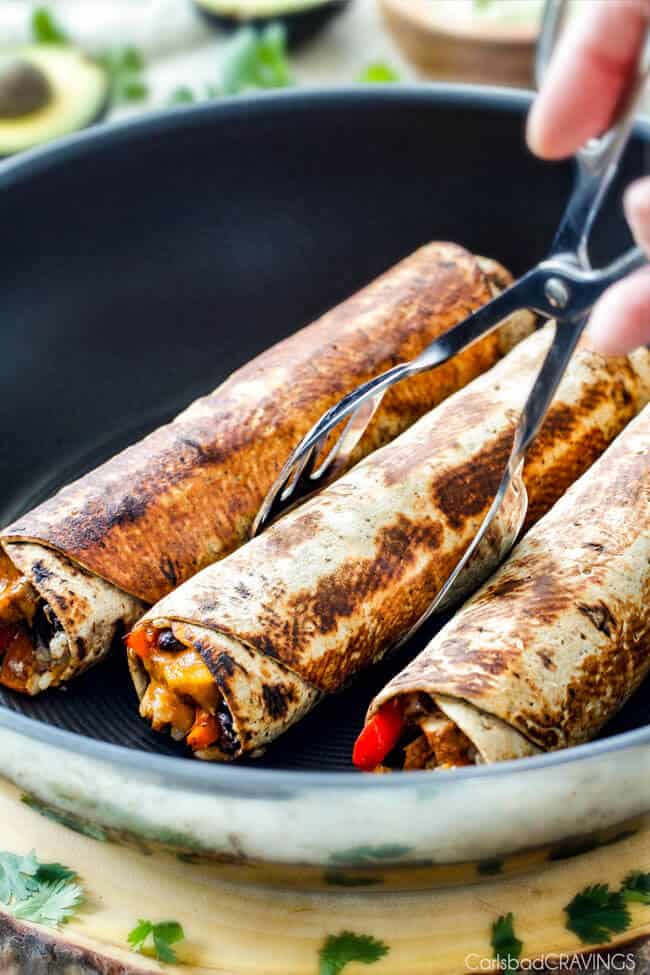
Everyone loves a fajita now and then. You can use chicken or seitan if you’re a vegetarian or vegan. You just have to grill the meat (or faux meat, depending on what you want to use), add steamed or grilled veggies, a little cilantro and a bit of guacamole, and you’ve got yourself a hearty and satisfying dish.

Fancy Brie and Pear Quesadillas

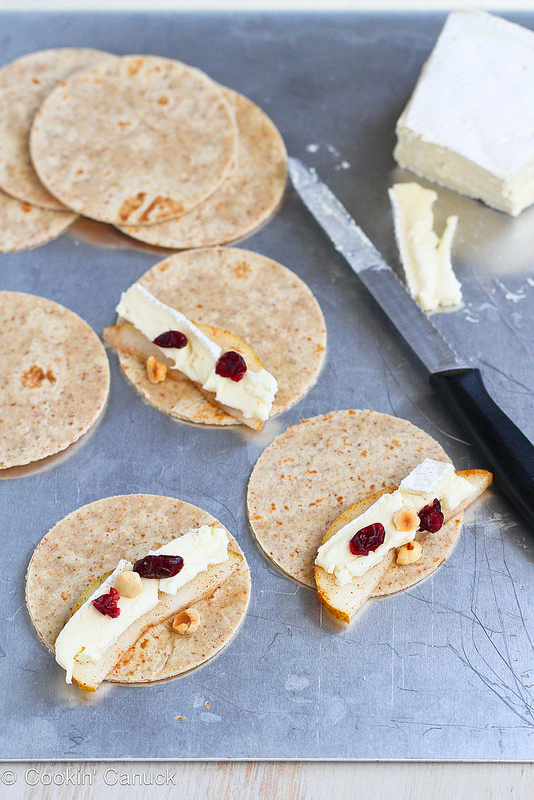
French cheese and tortillas don’t seem to get along, at least not at first sight, right? Actually, a tortilla is just like any other kind of wrap, so it works with any kind of ingredient you personally prefer. Slice some pears thinly and add generous chunks of brie to the tortillas. Place everything in the oven until the cheese starts to melt and you’re all set. If you like your pears cooked, you can saute them in a pan before putting everything in the oven.

5 Signs That You are in Need of a Professional Cater

Are you planning a big event? Here is why there are times when you should hire a professional cater!

Photo: Camille Styles

Planning, organizing and hosting events, no matter the size is a huge task. A long list of to dos awaits the planner and more often than not, not enough sufficient time is allowed before the big day. The lengthy to-do list can make the whole process a taxing ordeal. As caterers, we believe events ought to be fun-filled – both before and on the day.

A significant chunk of planning for an occasion goes to food and you need to have a reasonable estimate of the number of people you expect to come, figure the food you want to avail, prepare the food, serve the food, and clean up once the guests leave. The workload is heavy, but it mustn’t be done any other way.

Many a time you are torn between planning and interior decorating an entire event by yourself or getting some help to ease the pressure on you. While we understand why you may settle for the former, let’s explore the five signs that you need a professional cater to lend you a hand on your next planned event.

1. You are unsure of what to serve            

Still undecided on what you wish to dish out at your occasion? Not sure on preparation or presentation of what you desire to make? With a catering company such as the Art of Catering, the questions mentioned above have straightforward answers. They take you through the process, in great detail, and help you decide what will be presented to your visitors. Whether you opt for something off a menu or have particular requests, they can accommodate them to make your vision come true.

2. You are short on time  

When engaging a catering company, you delegate the planning, cooking, and serving to them, saving you lots of time. Figuring what to cook, shopping at the grocer, cooking, setting up and finally serving food, takes a hell lot of a long time. Bear in mind that when planning an occasion time is of the essence.

3. You are stressed out

As previously mentioned, planning any occasion requires a great deal of time and effort. From the food, cakes, beverages, and interior decorations, a lot of things go into event planning. A professional caterer assists in planning for one of many primary to dos: food. Determining what to serve is no doubt stressful and a professional caterer can ease the anxiety and does the hard work.

4. You are concerned with making a statement

A well-catered event leaves an enduring impression on guests. Great food make an event feel important and organized. Whether it’s an anniversary, birthday party, a reunion or a special day such as a wedding or an important event such as a business meeting, have an onsite cater demonstrates you took the time to make the event extra-special. Attention to detail courtesy of the cater shines through to guests.

5. You can’t settle on a theme  

You may have tons of ideas for your event, but if you are unable to choose between a chic Italian dinner or a backyard barbecue, you may need some assistance in planning your event. When you engage a caterer, you can deliberate the pros and cons of your guests’ likes and dislikes and the specifics of throwing each kind of event.

Eventually, a caterer helps in deciding the theme best suited for your occasion and the food that goes best with the theme.   

5 Ways You can Avoid Cooking around the Holidays

Relax during the holiday season and forget about having to cook with these 5 ways to avoid cooking during the holidays!

Photo: Roxana Yawgel

The holidays are here with us, and that means a hectic schedule of juggling between work, decorating your home, cleaning your home, and spending time with friends and family. That’s why it makes sense to avoid cooking since it will only drain you of energy, which defeats the whole essence of the holiday season. That’s because the holiday season is best when one is relaxed.  To help you have a happy and relaxed holiday, here are 5 ways you can avoid cooking around the holidays.

Order food ingredients from blue apron

Blue apron is one your best options if you want to avoid cooking around the holidays. That’s because they deliver pre-arranged ingredients. All you have to do is prepare them in a few minutes and you are ready to go. It’s so easy that you can’t compare it to actual cooking where you have to prepare the ingredients yourself. Besides, blue apron pricing is quite favorable for the quality of food that they sell.

Visit your friends

This is probably the easiest way to avoid cooking over the holidays. By scheduling lunch and dinner dates at your friends’ places, you are assured that they will cook for you. You just need to inform them that the whole reason why you are visiting them is so that you can enjoy a meal together since you don’t feel like cooking at your place. It’s quite probable that they will appreciate your company, especially if you have not interacted with them in a while.

Eat out

If you want to avoid cooking around the holidays, then you can schedule your time and eat out. Though this may be a bit expensive, it gives you the flexibility to try out different meals without having to cook. Besides, there are numerous locations where you can eat out, on a budget. This way, you can avoid cooking without negatively affecting your finances.

Order ready food

There are food outlets out there that provide food home delivery service. You can try one of them and avoid the hassle of cooking if you want to go that route. Warm yourself up during the cold winter nights by ordering hot food online. The first one is convenience. The food is brought to your house ready to eat. This way, you can spend maximum time doing the things that make you happy during the holidays such as watching movies, or any other activity that makes you happy.

Invest in a slow cooker

A slow cooker is one of the finest investments you can make if you want to avoid unnecessary cooking over the holidays.   With a slow cooker, you just need to put the food you want in the cooker and you let it cook all through the day.  You can then eat it later in the evening. The greatest thing about the slow cooker is that it gives you time to do the things you love. For instance, you can spend your time with friends and family, or even watch movies, while your food slowly cooks.  It’s a perfect way to avoid the hustles of cooking!

Strawberry, Kiwi, Banana Layer Cake Recipe (Ledeni Vjetar)

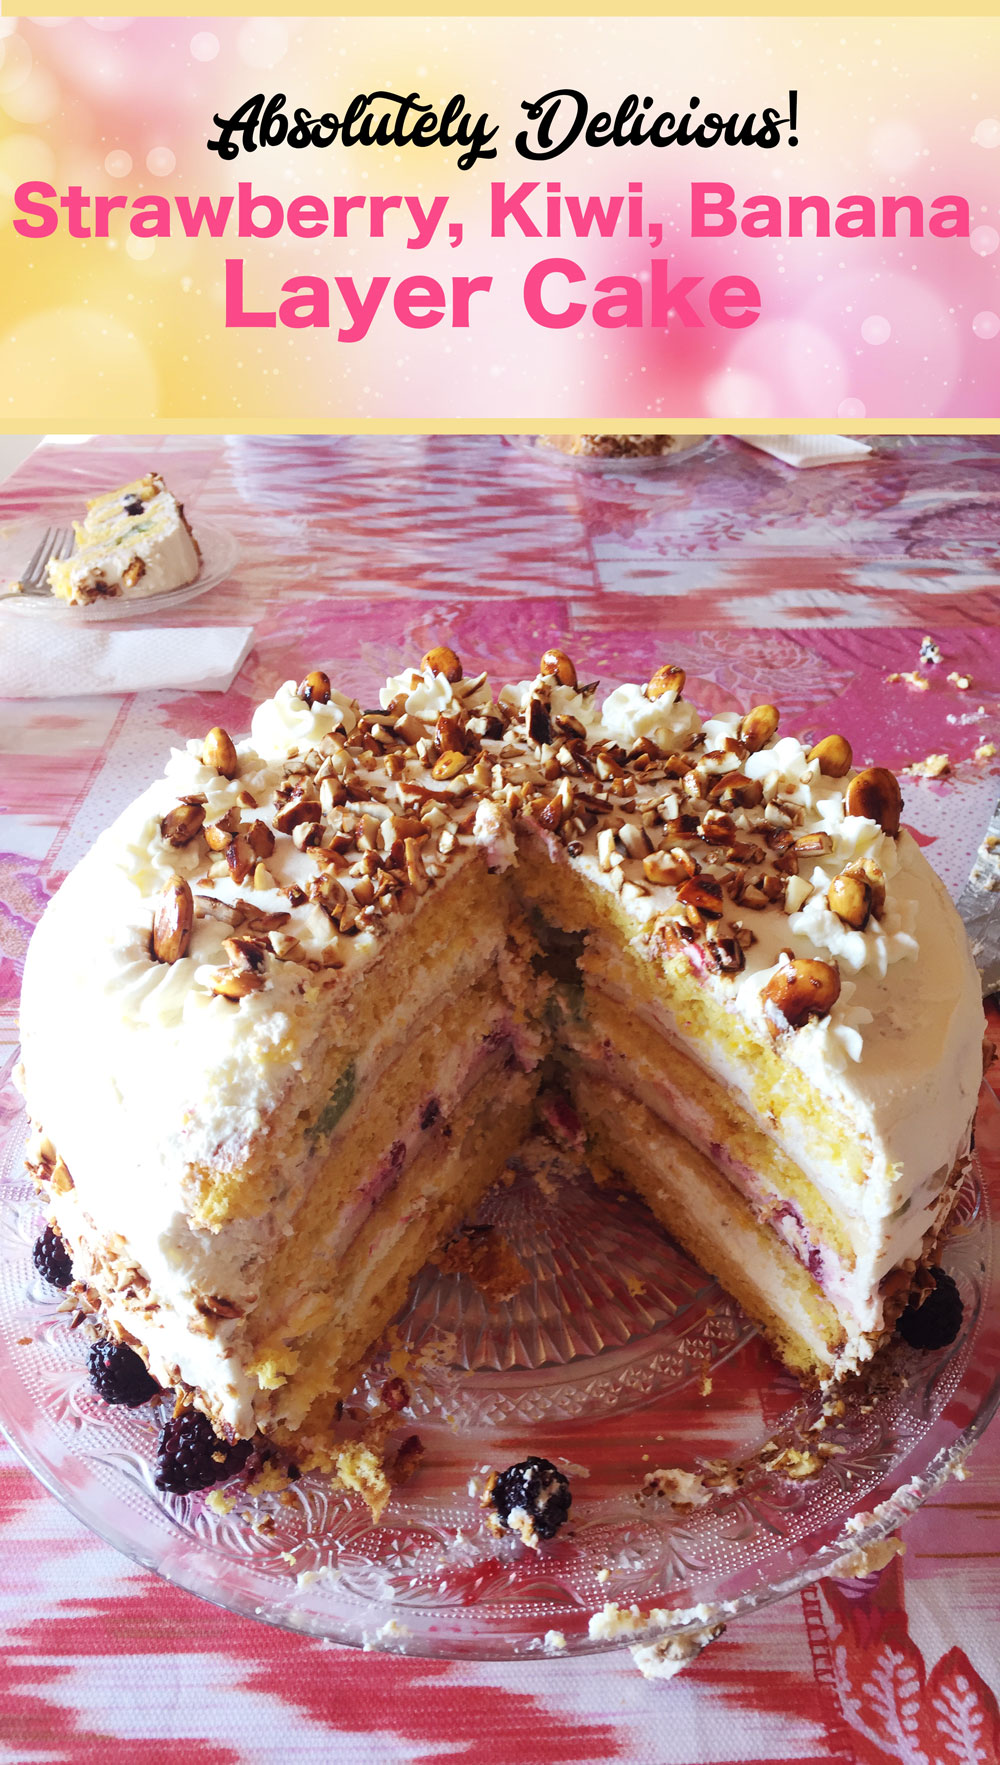
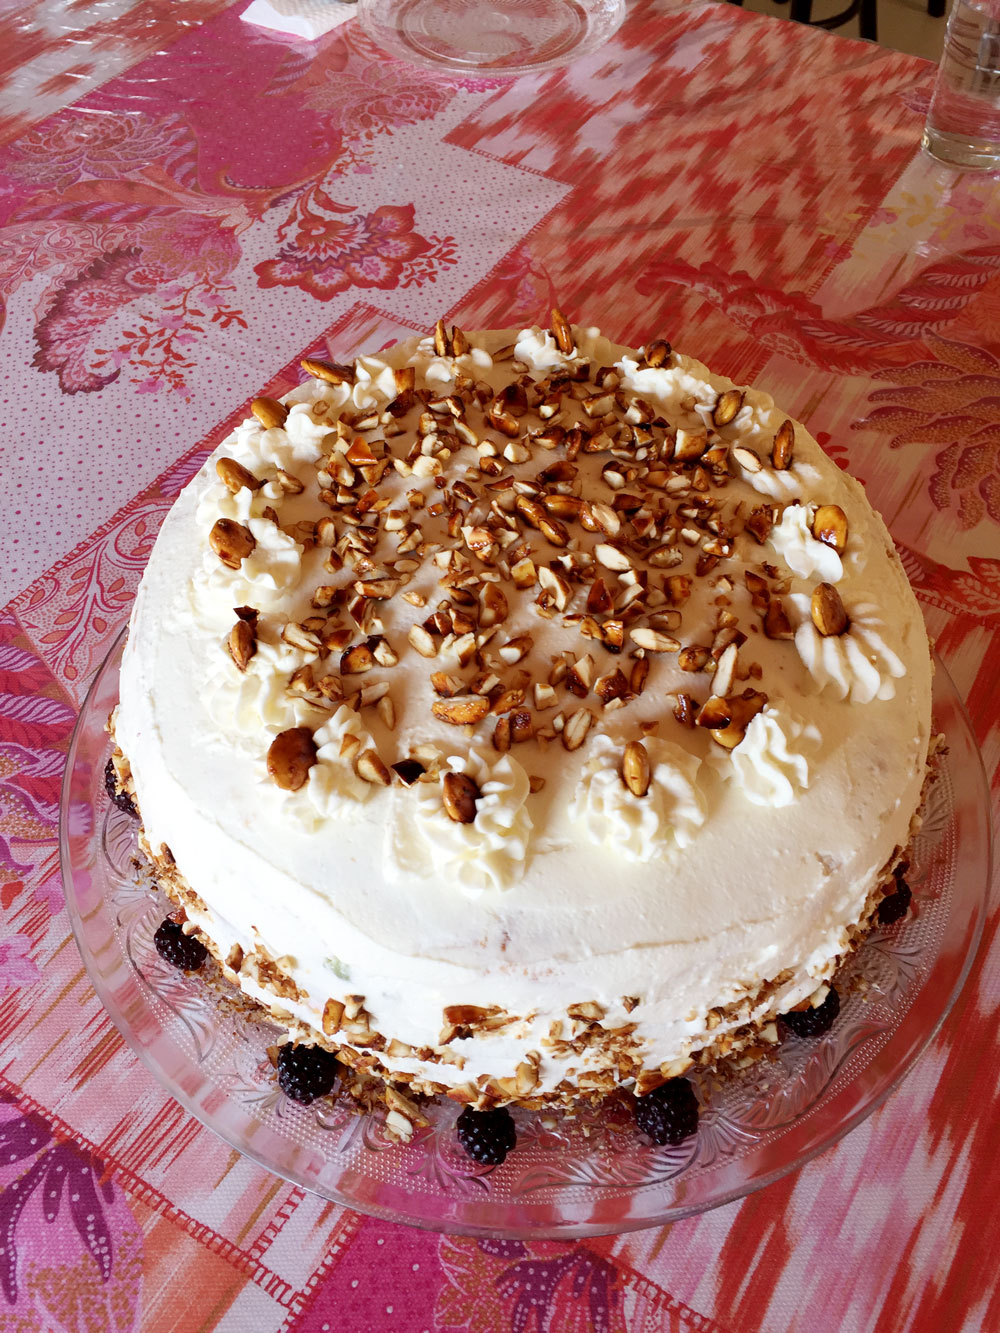
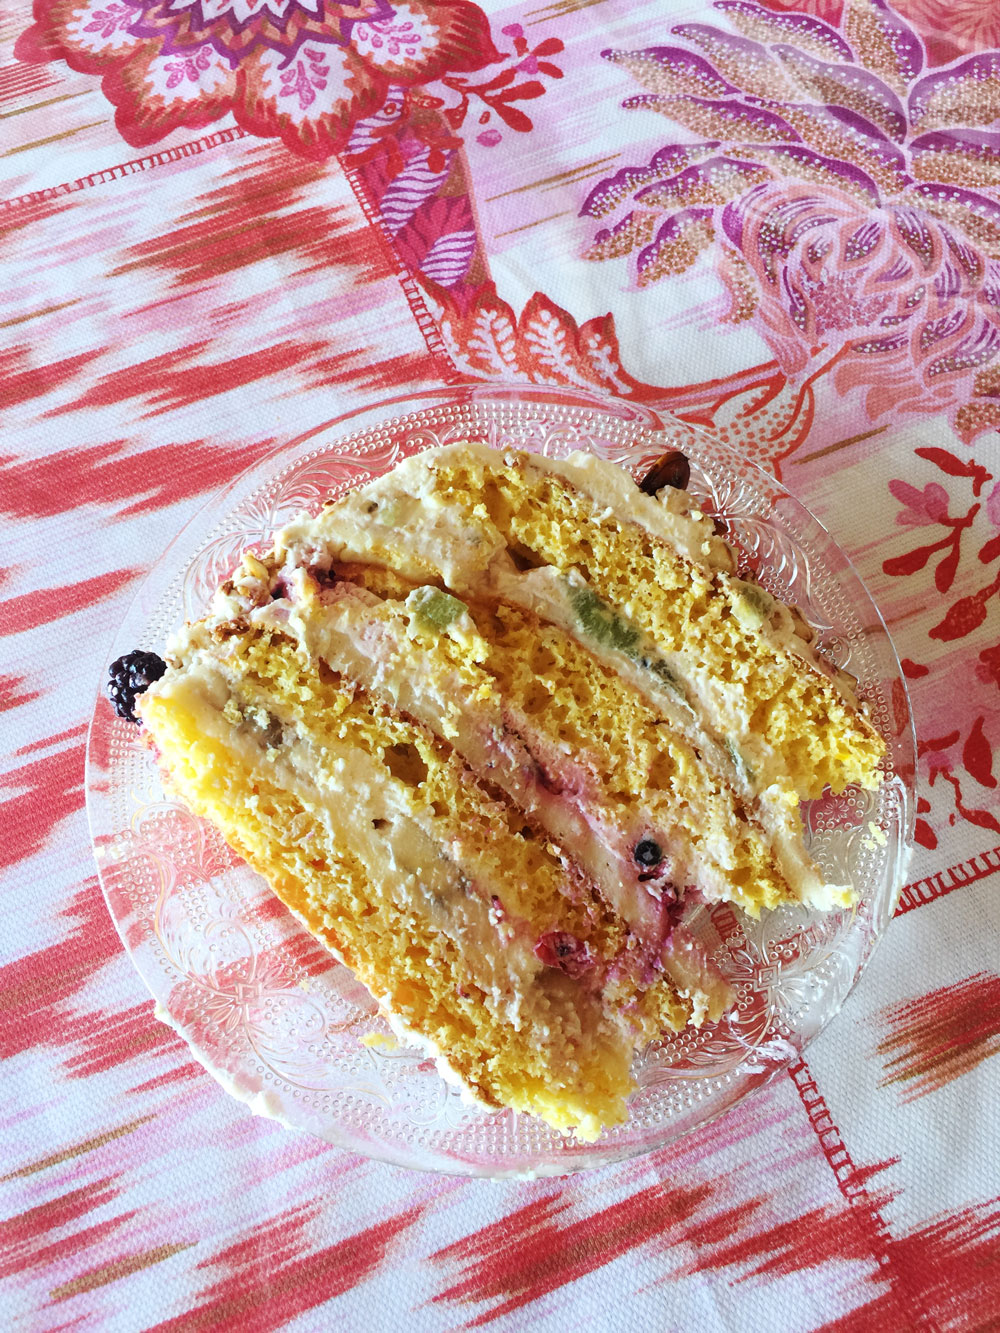
Summer is one of my favorite times of the year, and I like to keep up the spirit all year long! This fresh fruit layer cake is the perfect way to bring in a little summer flair into your home, no matter the season. Stacked on four cake layers, stuffed with fresh fruit and then smothered with cream, what else could you ask for? Not only is this cake really fruity, light, and appealing to look at, it’s also not that difficult to make. 

This cake was created for celebration and get-together I had at home. There is not one person that did not like this cake! It also lasted a few more days and made a delicious breakfast since it’s absolutely huge! When serving, it’s sliced pretty thin since it’s very tall and with each slice you really get a nice hunk of layered flavors that literally just melt in your mouth. That’s one of the reasons this cake makes the perfect choice if you plan on serving a lot of people, it really lasts a while.

If you are wondering where this recipe came from, it’s actually a really old Croatian recipe called “Ledeni Vjetar” which in translation means “freezing wind”. It doesn’t really make much sense, but the cake it delicious so who cares! Check out the recipe below!

*If you would like to share my recipe and photos please provide proper credit and a link back. Thanks!  

BTW: If you missed my other post on 7 Easy Ways to Make Your Kitchen Look Glamorous, be sure to check it out! Filled with photos of beautiful kitchens, brass hardware, rustic chandeliers, and really, really nice countertops.

Strawberry, Kiwi, Banana Layer Cake Recipe (Ledeni Vjetar)

Ingredients:

Cake Layers:
9 egg whites
300 grams of sugar
2 tsp apple cider vinegar

Cream:

9 egg yolks
4 soup spoons of sugar
4 soup spoons of flour
250 mL of milk
3 packages vanilla sugar (or about 4tsp of vanilla extract)
250 grams of unsalted butter
½ L of whipped cream
Sliced bananas
Sliced strawberries
Sliced kiwis
Lemon juice

Directions:

To Make Cake Layers:

Using an electric mixer, whip egg whites until stiff peaks form. Mix in sugar and apple cider vinegar. Prepare a circular cake pan by lining with parchment paper and then greasing. Pour batter into cake pan and bake for 1 hour at 150C (300F) or until golden. Remove from oven, allow to cool, and slice horizontally onto three separate layers.

To Prepare Cream:

1. Using an electric mixer, mix egg yolks with sugar until incorporated. Add in flour and vanilla sugar (or vanilla extract).
2. On medium heat, boil milk and slowly add in the egg yolk mixture and mix while boiling, until thick. Remove from heat and allow to cool.
3. Once cooled, using an electric mixer mix in butter. Set aside.

To Assemble:

1. Put down your first cake layer and evenly distribute a layer of cream on top. Lay down a layer of sliced bananas and sprinkle bananas with lemon juice. Then, distribute a layer of whipped cream over the bananas. Repeat this process with the other cake layers and sliced fruit.
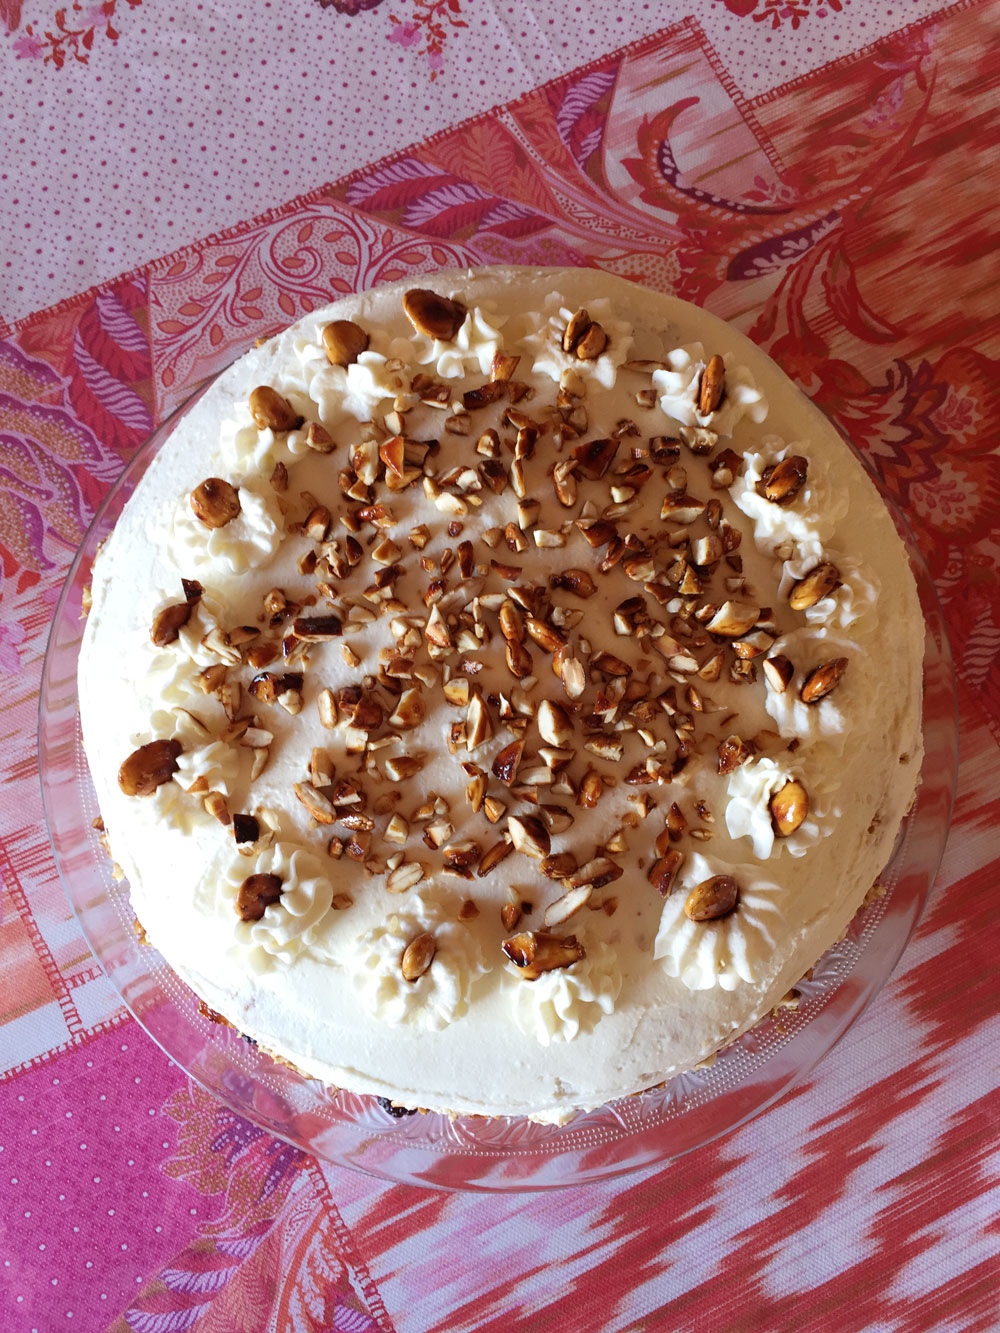
2. Once you have assembled your last cake layer, smooth whipped cream over the whole cake. Sprinkle and decorate with almonds. Place in the fridge to chill, preferably overnight. Enjoy!

Milka Chocolate Nut Cake Recipe

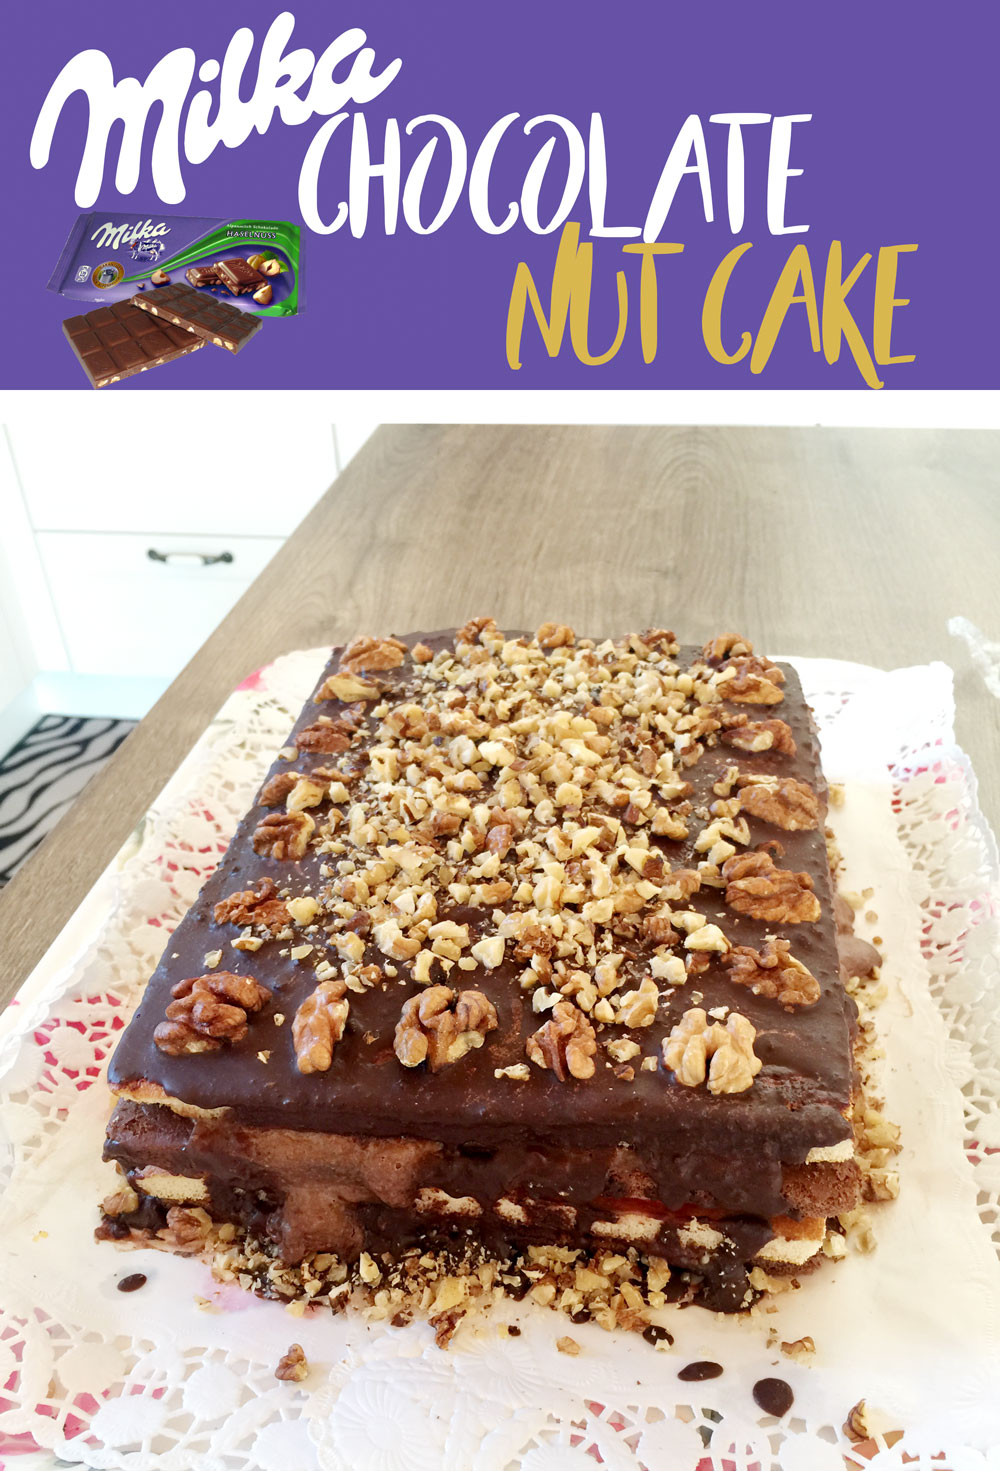
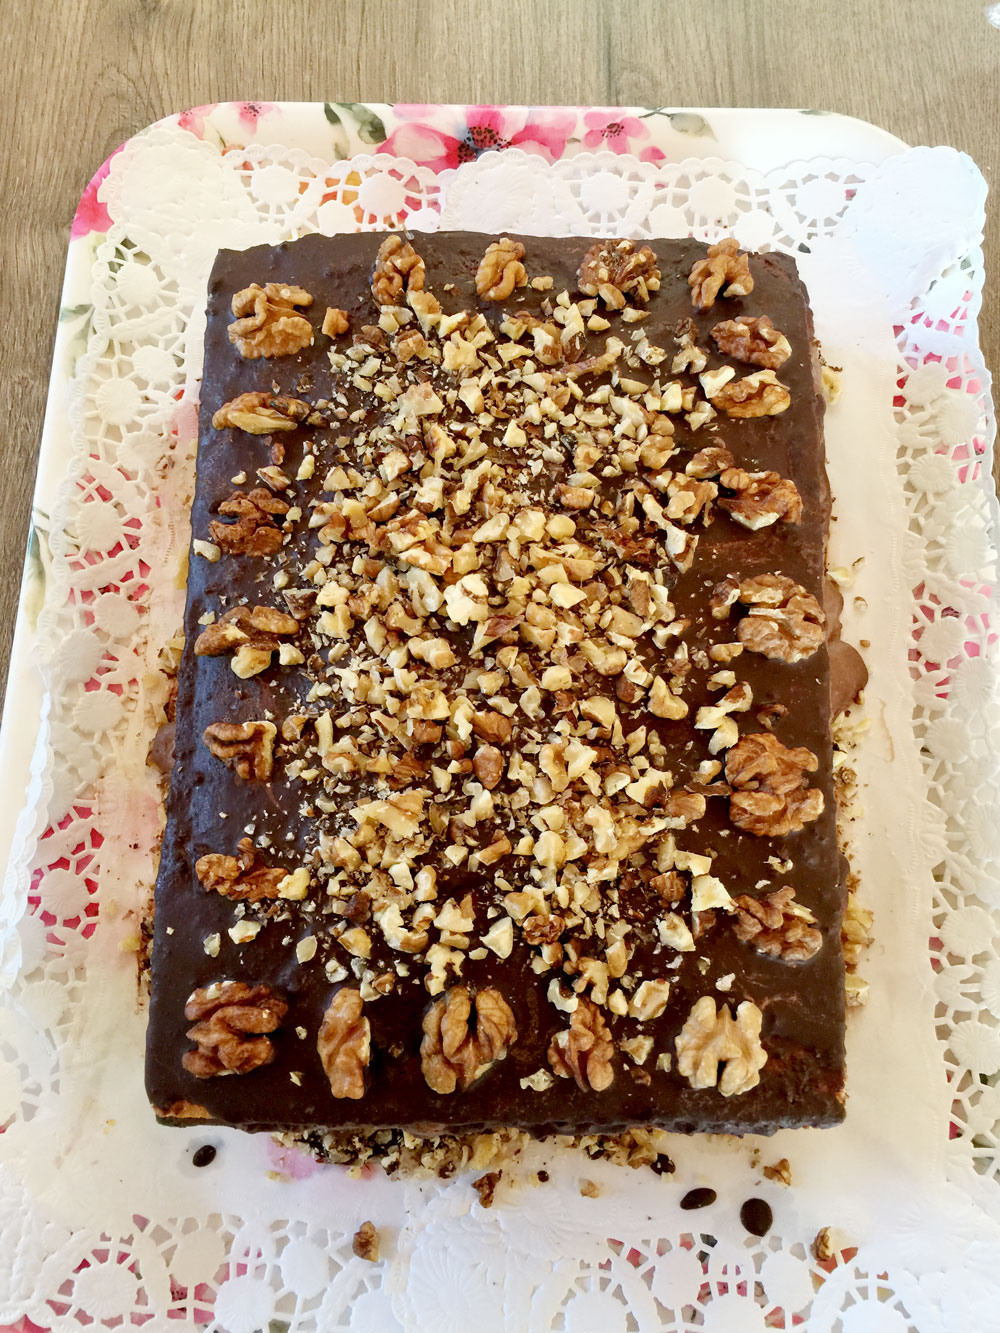
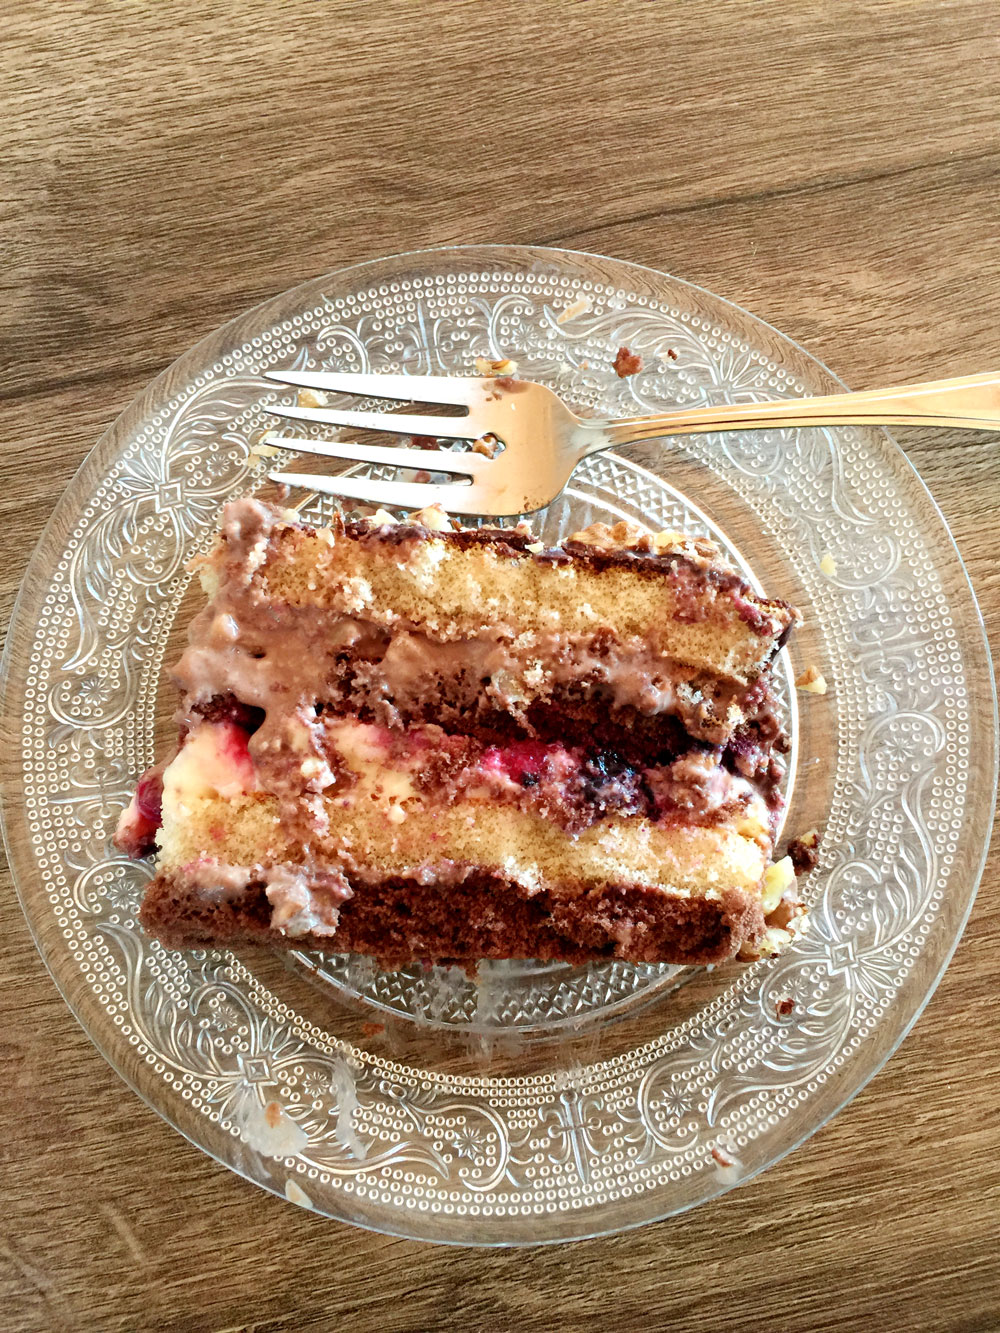
Are you a chocolate and nut lover? Then this incredibly easy-to-make Milka chocolate cake is for you! Loaded with white chocolate, milk chocolate, and frozen berries, this cake is full of flavour and tastes absolutely delicious! Tempting, addicting, and down-right pretty, the Milka chocolate nut cake is topped with walnuts for an even better crunchier taste!

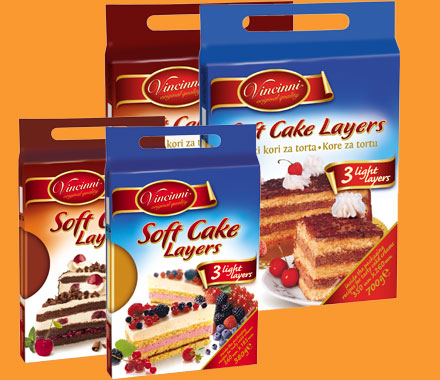
I made this cake for a birthday party, and honestly was rushing to find an easy-to-make cake recipe that could use store-bought layers. I managed to find the perfect chocolate cream recipe and added mixed frozen berries to add some freshness and flavor. I used chocolate and vanilla store-bought layers from Vincinni as seen below.

If you are unable to find this brand in the store, I am sure there is something similar to this available in your local supermarket.They are soft cake layers that are pre-baked and ready to assemble into a cake. Easy, peasy, and what I love the most: a very quick and fail-proof way to make a cake in a rush!

*If you would like to share my recipe and photos please provide proper credit and a link back. Thanks!

Milka Chocolate Nut Cake

Ingredients:

Cream:

1 L of milk
2 Packages vanilla pudding powder
4 teaspoons cornstarch
3 teaspoons flower
125 g unsalted butter
100 g white Milka chocolate
100 g regular brown milk Milka chocolate

To Garnish:

-Melted milk chocolate. Melt chocolate in a small pot and add a little bit of oil. Mix until smooth.
-Chopped Walnuts

Directions:

To Make Cream:
1. Separate a few tablespoons of milk into a small boil. Mix in powdered pudding, cornstarch, and flour.
2. Bring the rest of the milk to a boil and then add in the separated milk/pudding mix and boil for 10 minutes on medium heat. Set aside to cool.
3. Once your milk/pudding mixture has cooled, add in your butter and mix until incorporated.
4. Separate into two bowls, in one add melted milk chocolate, in the other add melted white chocolate.

To Assemble:
1. Lay down one chocolate cake layer and apply some of the chocolate cream. Then, top with a vanilla cake layer and add all of the vanilla cream. Sprinkle frozen mixed berries onto this layer.
2. Top with another chocolate layer, then the chocolate cream, and finally another vanilla cake layer.

To Garnish:
Pour melted chocolate over the whole cake and decorate with chopped walnuts.


The Top 4 Ways to Organize Your Baking Supplies

Get your baking supplies organized to make your baking experience, easy, fun, and stress free!

Photo: Better Homes and Gardens

Anyone who enjoys baking will know just how much time and money can be spent on this tasty hobby. From an endless amount of topping choices, different case shapes and cutters, hundreds of icing styles and so on, there is a lot to store in one kitchen. You also find that for many people, there is only a small section of the kitchen that can be dedicated to baking supplies, so it’s really important to organise and sort them properly to ensure you have them all ready for your next baking project.

Sort Through Everything

The first thing to do when organising and tidying your baking supplies into one neat space is to check everything. Baking products are often quite frustrating, because you want to stock up on everything, yet you may only use one certain item once or twice within its shelf-life, so you end up having to throw half of the product away.

Go through every baking supply you have, including your tools, and check every sell-by-date, as well as checking to make sure all tools are working and in good shape. If you find yourself throwing items away, then this will help to free up essential storage space, as well as preventing those annoying moments when you reach for the ingredient, to find its out of date and you need to run to the shop!


Photo: Wal-mart

Decide What Goes Where

It’s difficult to know exactly what you want to live where within the kitchen, especially when you have a whole range of different tools and equipment to bake with. Decide exactly what you want to go where, for example, you may want to add some drawer inserts into one set of drawers to keep your knives, wooden spoons and other utensils. You may then decide to have all electrical appliances in one cupboard, trays and pans in another and so on. This will help you to know exactly what is where and you’ll be utilising the space you have really well.

Containers are a Must

Storing certain ingredients can be frustrating, especially when flour and sugar is packed into thin paper bags. By adding all of your ingredients into containers, preferably clear ones, you can keep everything stored safely and neatly, with no worry of any ripped packaging. Having a cupboard filled with clear containers is also ideal for keeping track of how much you have left of each item, as you can see the exact level that the ingredient is at and therefore you will know when you need to go and buy some more. It’s also much easier to stack the containers together, so your cupboards will be much neater and items will be easier to reach.

Photo: HGTV

Keep it Labelled

When you store ingredients in clear containers, it’s pretty easy to identify what’s in each one. The problems do start to occur, however, when you have multiple items that look similar, such as caster sugar and granulated sugar, or sugar and salt. This is why it’s important to label your containers, as this will make the whole baking process much, much easier. It’s also really nice to label everything so that your cupboards are organised and neat, which will make you feel much more on top of the things and together. There are lots of different labels available that you can buy that have wipeable surfaces so you can switch them around whenever needed.