5 Ways to Make Your Wedding Cake Unique

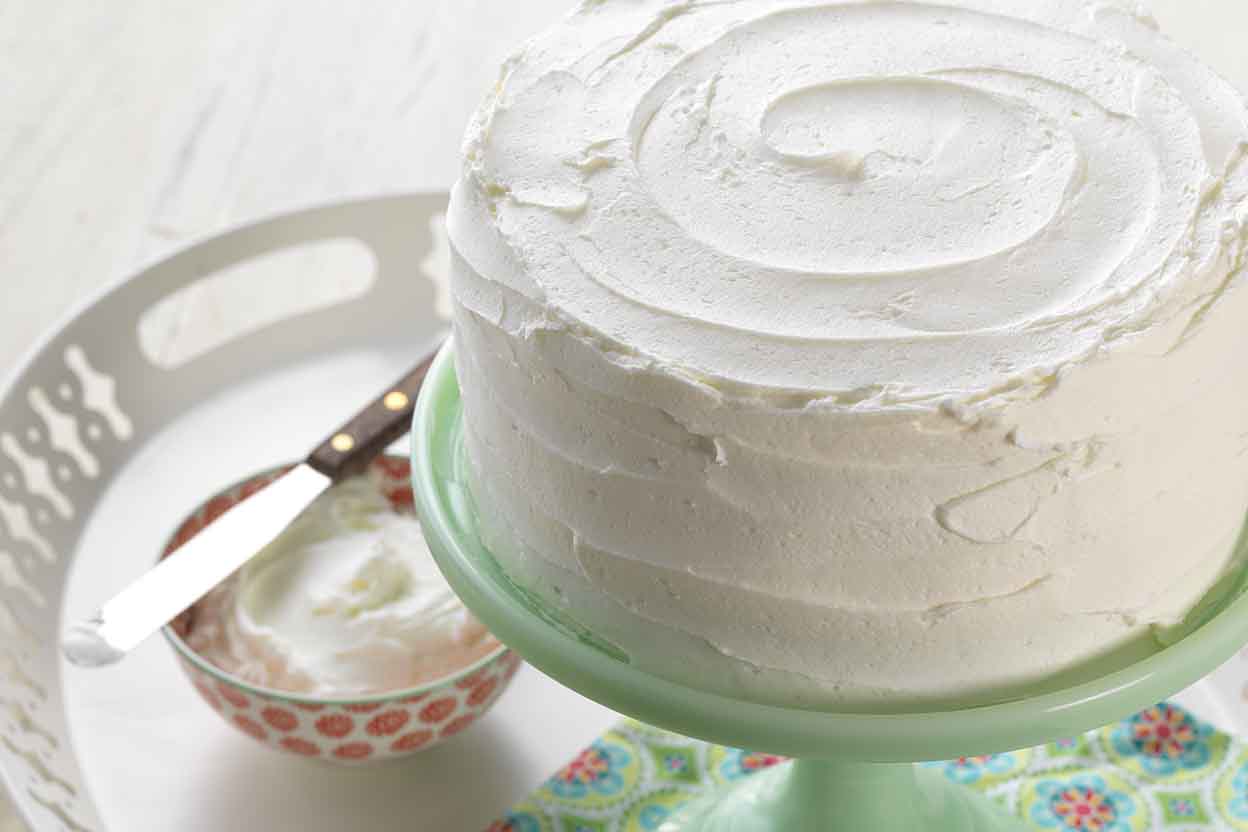
Sure, the traditional wedding cake with three or four layers, white frosting, and red roses can be beautiful!

(Really, if that is your wedding vibe and personal style, go for it!) But nowadays, there are so many different trends in wedding cakes and decor, you shouldn’t feel limited to traditional wedding cake design. So, if you’re looking to make your wedding cake more unique, you’ve come to the right place. Here are five of our very favorite ways to make your wedding cake unique, trendy, and stunning. Take some time to peruse these ideas, and then use your own personal wedding aesthetic to create a wedding cake style that you will love!
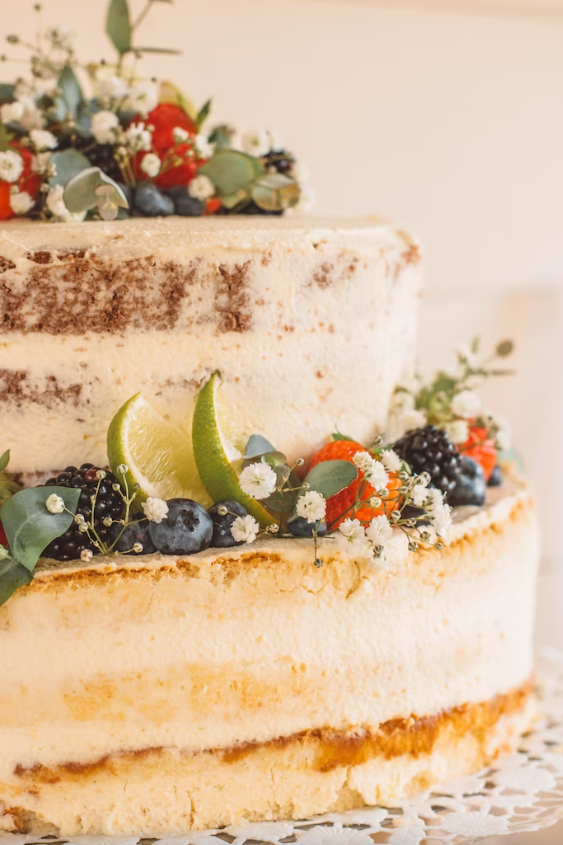
1. Top With Treats

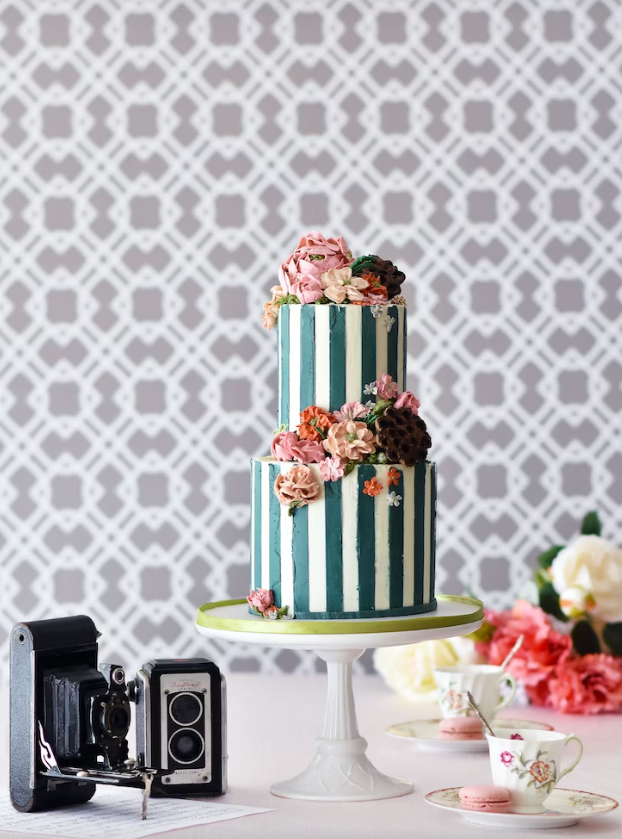
After years of ruling the wedding cake scene, it is possible that floral cake toppers are a tiny bit overrated. If you want your wedding cake to look extra special and unique, you should top it with more beautiful, intricate treats. Delicate, beautiful sweet treats can give your wedding cake the unique, show-stopping look that it needs to become a true statement piece on your wedding day. Plus, then you won’t only have the yummy cake to enjoy, but you’ll also have another treat to go along with it! Here are a few ideas of sweet treat cake toppers that you can use to decorate your wedding cake.

  • Mini Macarons
  • Fancy Chocolates
  • Meringue Cookie Swirls
  • Spun Sugar
  • Marbled Cake Pops
  • Coconut Macaroons
  • Churros
  • Sugar Crystals
  • Mini Donuts
  • Croquembouche
  • Cream Puffs
  • Sugar Flowers

2. Add Some Sparkles

If you’re going to have a glamorous, bedazzled theme for your wedding, your wedding cake should definitely match. You can use a few different types of metallic edible spray paint to make your cake literally shine. You could also scatter some edible, sparkly sprinkles down the top and sides of your cake. For a more intricate approach, you can create sugar crystals and embed them into the side of your cake, creating an illusion that the interior is like a geode crystal. You can also add non-edible sparkles to your wedding cake that can be removed before eating. For example, you could add a border of some sparkly lace or ribbon. You could add pearls, beads, or small crystals scattered throughout the face of the frosting. Finally, while this approach might seem a little simple, a healthy coat of edible glitter will always give you the glitz and glamour that you desire.

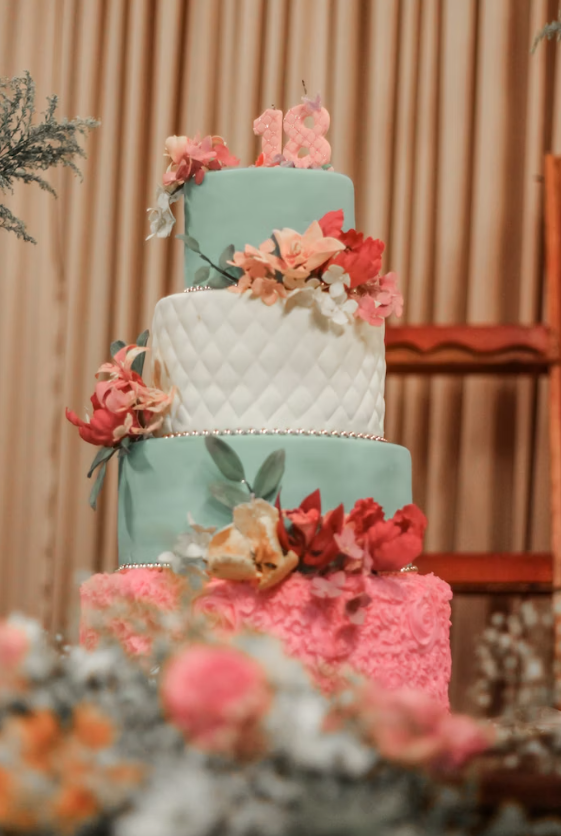
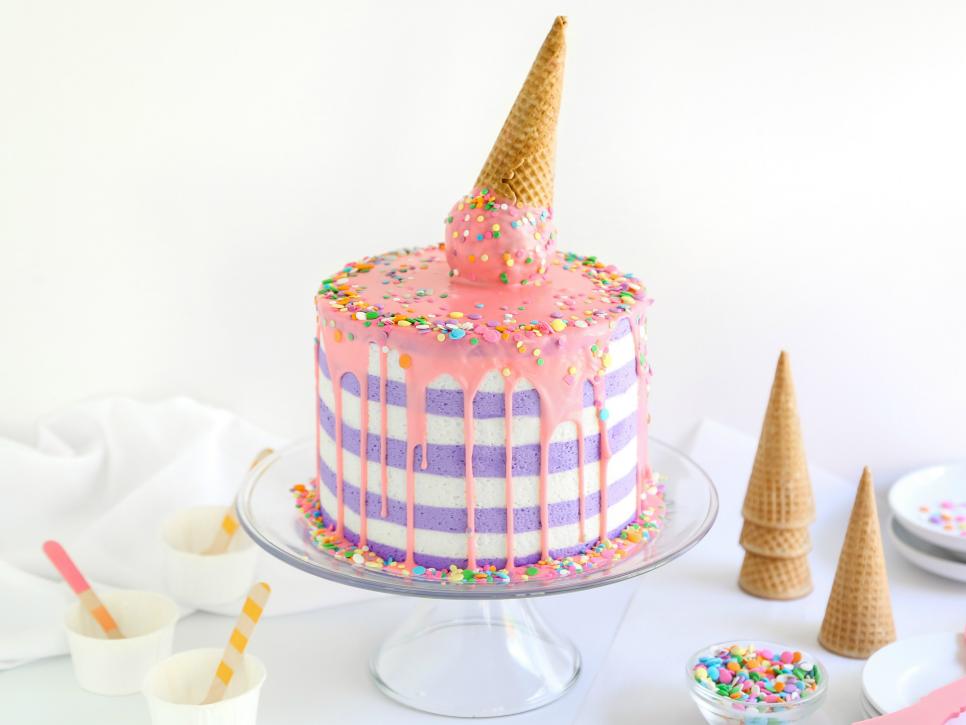
3. Go Bold With Frosting Colors

Colorful frosting can give your wedding cake the surprise element in the very best way. If you don’t want to have a cake covered all in one solid color, you can also make a gradient or color block out of your wedding cake frosting colors. For example, if one of your wedding colors is a beautiful lilac, you could have one tier of your cake colored in lilac while the other tier is colored in a creamy white shade. For an extra unique look, try coloring your frosting with edible metallic frosting paint. Your cake will truly stand out with this shiny pop of color. This would be a great choice if you have silver, gold, or rose gold as part of your wedding color palette! If you find an experienced wedding cake bakery, you might even be able to request that they decorate your cake with a watercolor-like effect of different wedding colors. This is especially beautiful if you have sweet frosting flowers on the top of your cake and painting-like frosting petals trailing down the sides. Or you could go for a more abstract look with frosting smears that look like paint covering the sides of the cake. You can even have patterns painted on with frosting and stencils! When you are able to get creative with the right baking tools and a little bit of colored frosting, the possibilities are endless.

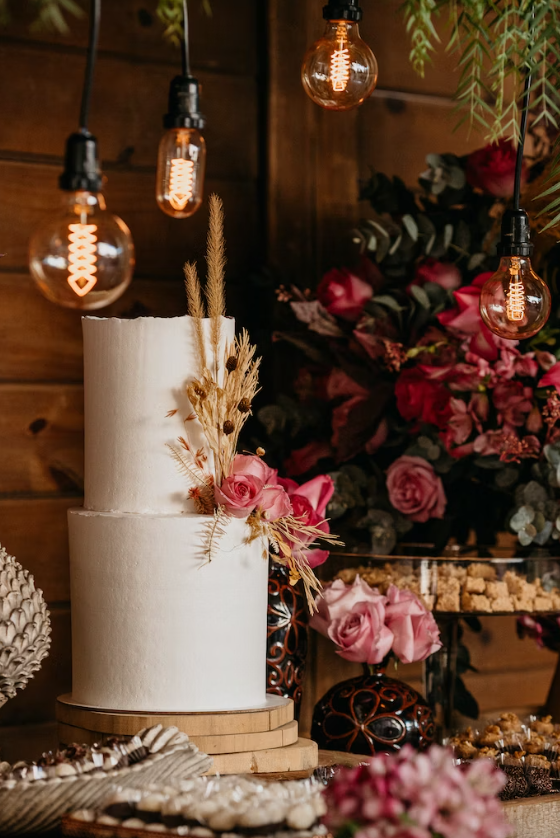
4. Decorate With Wood Flowers

Do you love the look of flowers but want to use something more unique? If so, you should try to include wood flowers in your wedding cake flower arrangements. Wood flowers are gorgeous flowers that are eco-friendly and handmade to look highly realistic. Some wood flowers even have rustic, wood bark details that can add more intricacy to your wedding cake. Wood flowers come in almost any color imaginable since they can be hand-dyed, which is great if your wedding colors are hard to match. When you use wood flowers to decorate your wedding cake, you won’t have any pollen, dirt, or debris left behind. You also won’t have to worry about your flowers wilting halfway through the day since your wood flowers will look beautiful forever. Simply create a small cake topper arrangement and attach it to the cake with some toothpicks or clean floral wire that can be inserted into the cake. You can even press mini wood flowers or greenery petals into the side of the cake if the frosting is soft, creating a patterned wallpaper look. Other preserved and dried flowers such as eucalyptus, lavender, and baby’s breath can also give a beautiful touch to your wedding cake. You’ll fall in love with the look of wood flowers on your wedding cake.

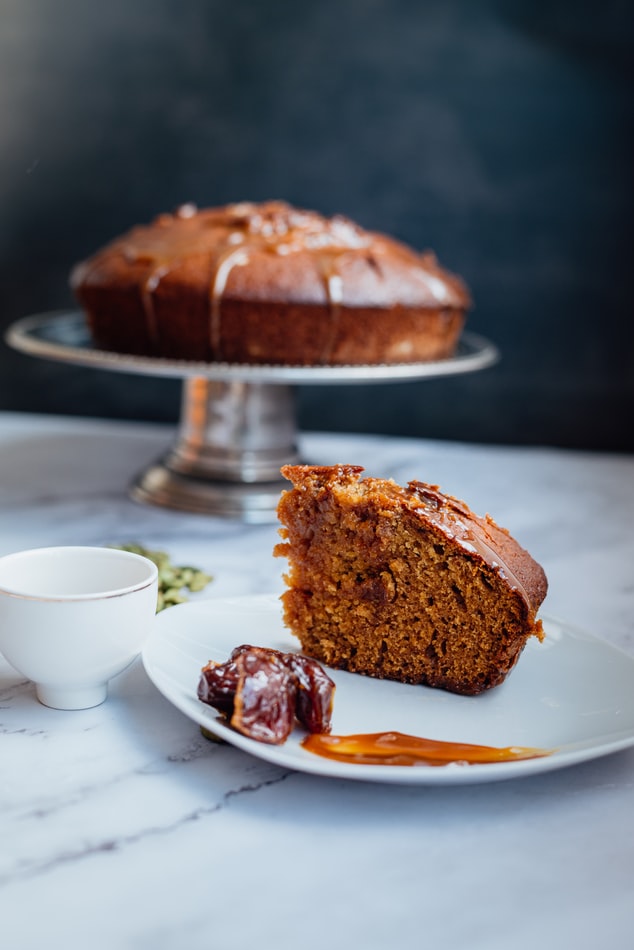
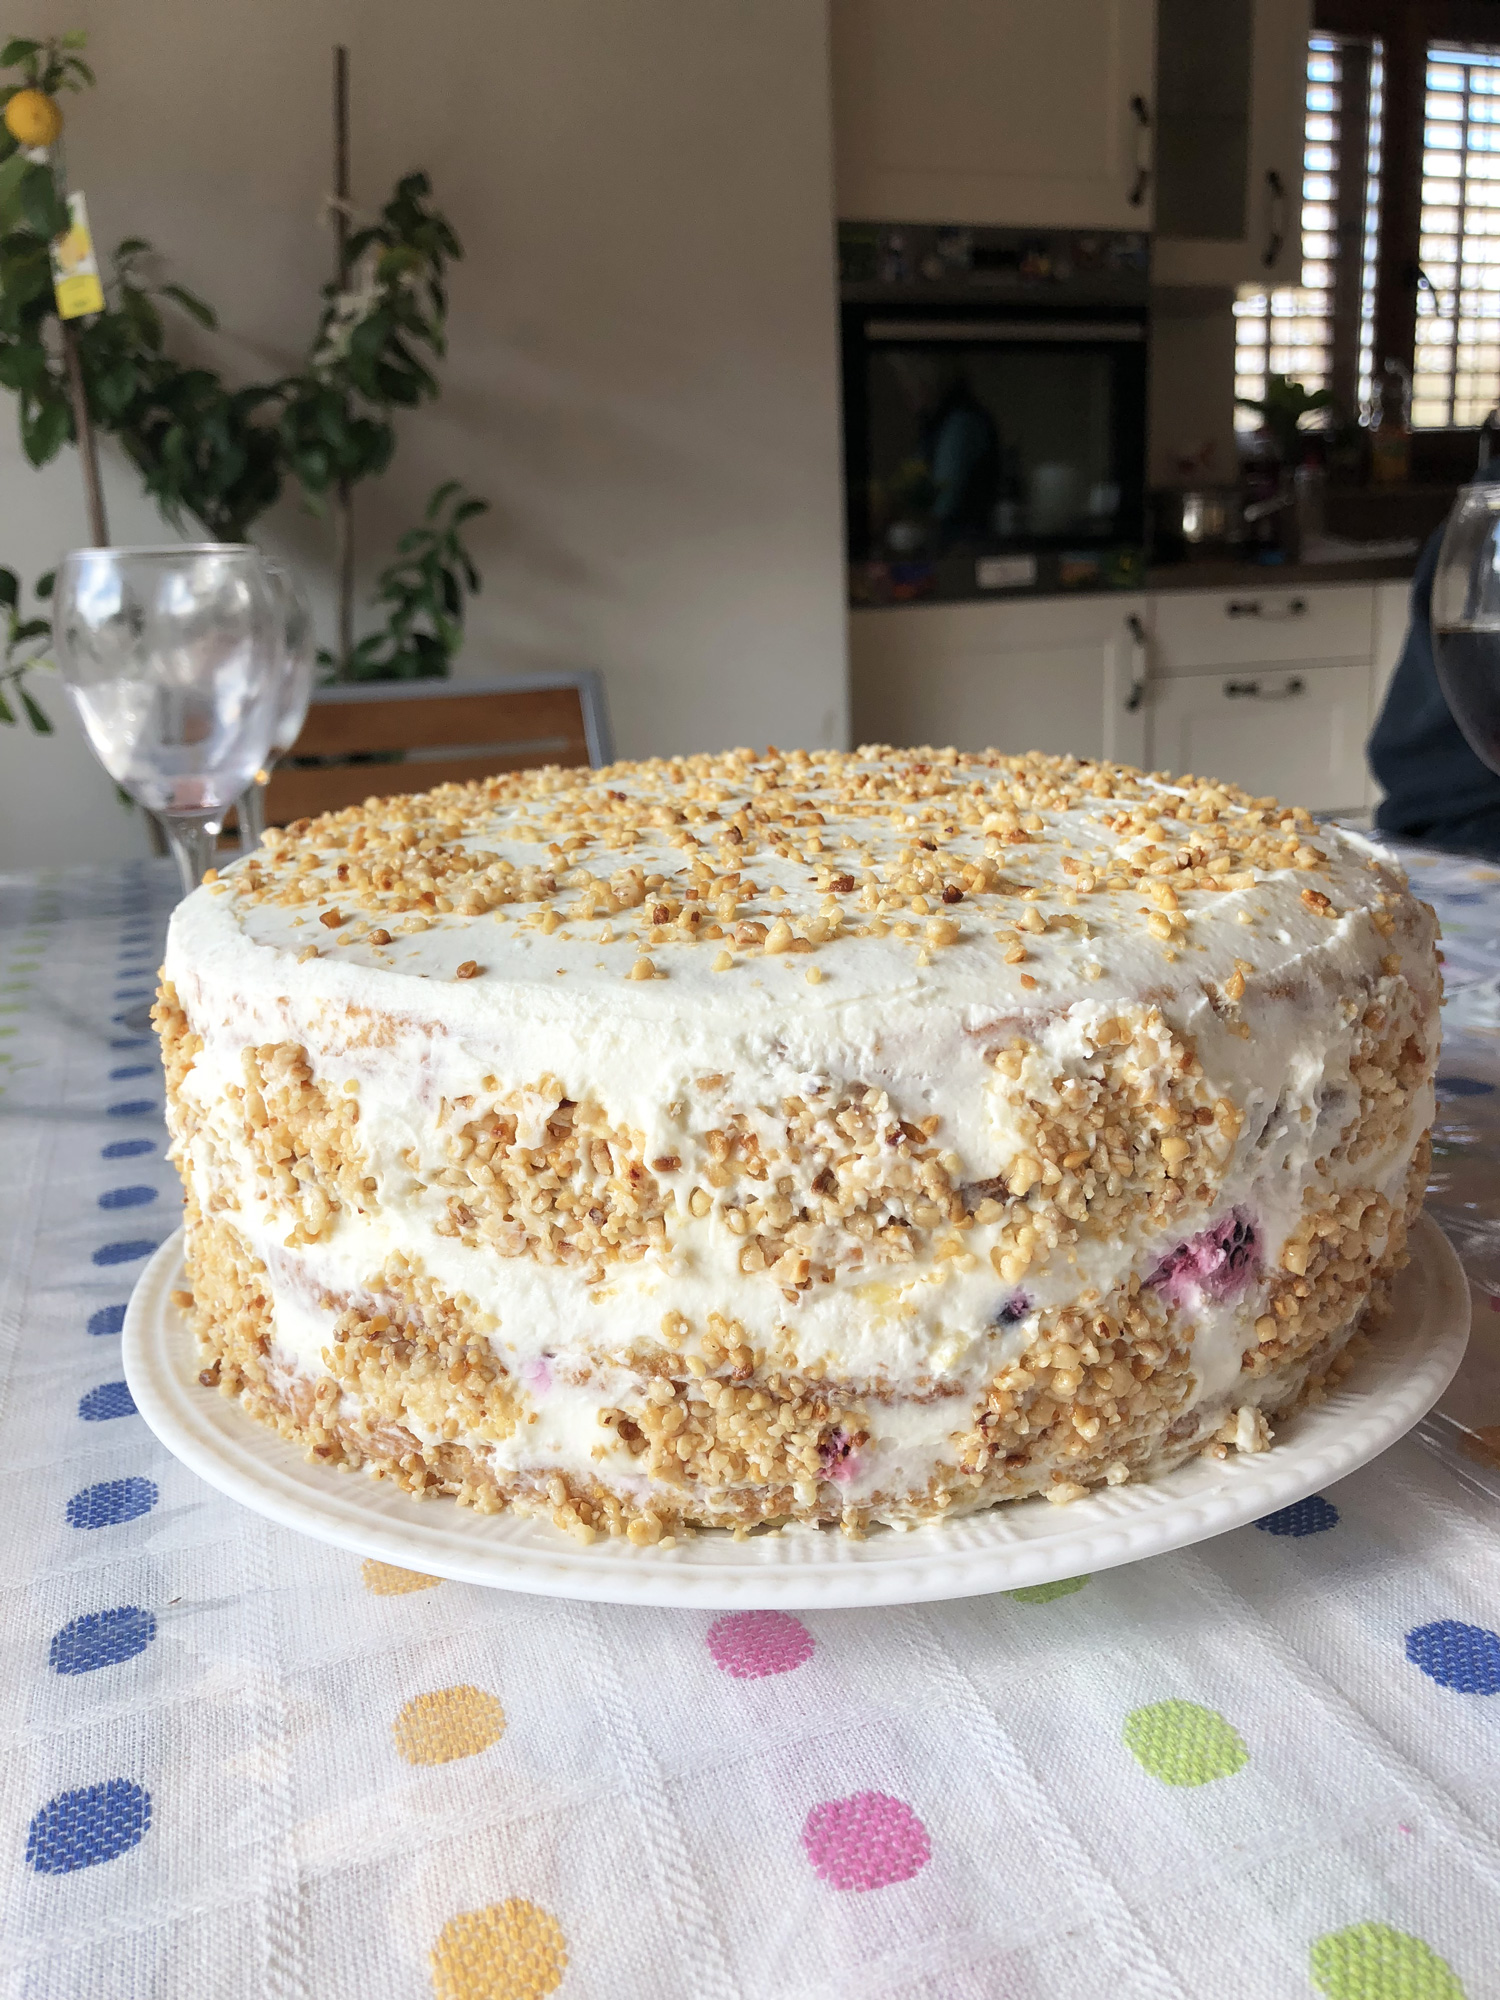
5. Try Unique Cake Alternatives

If you aren’t sold on the idea of a wedding cake, you should consider having a different, more unique dessert for your wedding. For example, if you love the flavors of cake but don’t like the size and price of a traditional wedding cake, you should try using a tower of wedding cupcakes instead! Or you could go for an option that is entirely different, such as a crepe cake, a stack of donuts, or a bunch of your favorite cookies. You can still display them in a way that gives off wedding cake vibes, and even share a first bite with your new spouse. However, having a unique, different dessert option might just make your wedding day that much more sweet. It will be your big day, so you should ensure that you’ll have a sweet treat that you’ll love to enjoy together. Here are a few great ideas of what you can have as a wedding cake alternative!

  • Wedding Cupcakes Tower
  • Wedding Donut Cake
  • Wedding Crepe Cake
  • Stacked Wedding Cheesecake
  • Wedding Pie
  • Wedding Cookies
  • Wedding Fruit Parfaits
  • Wedding Bundt Cake
  • Wedding Brownie Stack

How To Buy Dates Online And Make Sure They’re Fresh

For those who don’t know, dates are one of the sweetest fruits you can eat!

Photos By: Unsplash

They grow abundantly in the Middle East on large trees called Date Palms. They are sold either dried or fresh, and can be eaten in many ways. Fresh Dates have a very high sugar content, and can be added to your salads or used as a topping for your cooked dishes.  

Date Palms grow best in the desert; hence, they are found in the deserts of Arizona and California. If you’re looking to buy fresh dates, they’re available at supermarkets and farmer’s markets. However, if you’re looking to purchase dates online, you should ensure that they’re fresh for better quality and taste. 

Here are a few tips to help you buy dates online while ensuring freshness.

Look out for online date sellers that grow their own Date farms

Buying dates online may be difficult compared to buying them in supermarkets and farmer’s markets. In supermarkets, you have the luxury to check each pack for their manufacture date and look at them up close to see whether they’re plump. Meanwhile, if you buy them online, you can only browse pictures and rely on descriptions before deciding to order one.

However, there are reliable brands selling fresh dates online, especially if they have their own farms. You can guarantee that these online brands produce fresh dates regularly, and they don’t have to outsource from far-away companies, which only delays production.  

Sellers with their own farms have full control over the quality of their fruits, assuring you that they’re fresh, ripe, and handpicked. Take the time for research, and you’ll soon find the best online website to buy your Dates.

Check their delivery coverage

Once you’ve found a reliable brand to buy from, it’s time to do further research on the service they offer. You can call or email them and ask for their delivery coverage, or try to find this information online. Do they deliver to your area? Do they deliver on the same day the dates were harvested?

If they do, then you’re in luck. You just saved yourself plenty of time spent going to supermarkets and buying dates yourself. Moreover, don’t forget to ask them how they pack their products, as this can affect the quality of your dates.

Know when they’ll be able to deliver the dates to your doorstep

After making sure that they deliver to your area, ask them how long it will take for the dates to be delivered to your address. In case it takes them a few more days to get the dates to you, make sure to check their packaging policy and storage. You should browse their websites for more information on how they store their dates before delivery, and how they make sure that the packaging preserves freshness and quality.

Store them in an airtight container

Finally, your online-bought dates are at your doorstep! Now it’s up to you to keep them fresh until you eat them. Store your dates in an airtight container before placing them in a cool place. They can last up to a month if they are appropriately stored at room temperature. Otherwise, you’ll only end up drying them out, diminishing their sweet taste, and bringing about their early expiration. For optimal flavor, dates are best eaten within a week after they’re bought.

Keep them refrigerated

If you’ve bought large quantities of dates for a long-lasting supply, you must keep them refrigerated at all times. Freezing the dates will help to retain their sweetness and prevent them from expiring. However, dates must be consumed within six weeks after they’ve been defrosted and thawed. 

Fresh dates can also be stored in a freezer bag. Remove any air from the bag using a vacuum sealer, and make sure that it’s tightly sealed when filling it with dates. Never store them anywhere near hot surfaces such as stoves, microwaves or even near the windows where sunlight can get in. Additionally, divide your dates into smaller portions and smaller containers before freezing them for better results.

Final Thoughts

You can get plenty of health benefits from dates. They are naturally sweet, which makes them an excellent alternative to sugar when flavoring your dishes and desserts. That’s why it’s essential to store them properly in order to retain that sweetness even for long periods. Better yet, eat your dates within a week after you bought them for the best flavor.

Turn Your Love for Baking into a Business

Are you passionate about baking? Why wouldn’t you want to turn your passion into a profitable business then!

This may sound complicated at first, but with a good plan, everything is possible. Let’s take a look at a few interesting ideas, and some useful advice which we’ve singled out for you.

What are the pros and cons?

First things first, you should weigh all the pros and cons of turning your baking hobby into a business before you make your final decision. For example, one of the obvious advantages of doing this is that you’ll be able to do something that you really enjoy. On top of that, you already have a lot of experience which will make the job a piece of cake. However, don’t forget that all food-related businesses require numerous licenses. Additionally, keep in mind that, unlike at home, you’ll have to deal with tough competitors and give your maximum to outshine them.

What baked goods will you sell?

Once you’ve decided to embark on this business journey, you must make sure to set clear goals and decide on what kind of baked goods you want to sell. It’s highly advisable to start small and choose a few products that will become your trademark. Once you’ve attracted customers and expanded your business, it will be much easier to experiment further with new ideas and come up with more innovative recipes. Lastly, don’t forget to pay attention to decoration as well since this detail can turn an ordinary-looking pastry into a true work of art.

Invest in quality equipment

Another crucial step in this process is investing in quality equipment. With them, you’ll be able to produce bigger quantities of your baking goods and thus stay ahead of your competition. For example, combination weighers from Yamato will help you pack your products efficiently and thus further improve your business. Additionally, don’t hesitate to invest in other essential gadgets, such as cooling racks, mixers, food processors, and pastry brushes that will make your job much easier.

Come up with a solid marketing plan

You may be a master chef, but if you don’t advertise your business properly, don’t be surprised if things don’t end up the way you imagined. So, instead of waiting for potential customers to discover you on their own, you can start by printing flyers and distributing them in your neighborhood.

Additionally, don’t forget the power of social media, like Facebook and Instagram, where you can set up your business profile. Of course, just doing this is not enough if you don’t make sure that your page is transparent and that it contains all the necessary information about your baking goods. Finally, in case you feel that you could use some help, feel free to contact experienced marketing agents that can do an amazing job for your new business.

Determine the right prices

Finally, determining the right prices for your goods may be tricky especially if you don’t have any experience in sales. However, there are a few tricks that can help you out. For example, checking out your competition is a great start and can help you realize what the reasonable prices for this kind of products are. On top of that, lowering your prices in comparison to theirs or making two-for-one deals is a great way to divert customers from other businesses towards yours.

As you can see, turning your passion into a business can be a fun experience. You just need to come up with a good plan and a marketing strategy, as well as be open to accept professional help. Finally, make sure to be innovative and unique since that’s the true key to success.

5 Cake Decorating Tips and Tricks that Turn an Ordinary Cake into a Work of Art

Want to take your cake to the next level for that upcoming party or holiday get together? Here are some simple cake decorating tips that will make your cake look like it’s come straight out of a bakery box with a professional finish!

There is a plethora of great decorations you can do with little experience right from your own home. There are certain tools such as an angled icing spatula or wire cake cutter that will aid in creating perfect layers and smooth frosting. 

First, you will need a store-bought cake that is as simple and versatile as possible. You will not want to invest much in it, since the real pièce de résistance will be the decoration. All you have to do at this point is decide on the flavour and the number of servings you need. For an in-depth list of cakes prices and providers, make sure to visit CakesPrices.com.

Flawless Frosting

When it comes to getting a perfectly smooth layer of icing, a dough scraper is your best friend. Apply your icing as normal with a spatula or knife and be sure to apply enough icing for full coverage. A crumb coat can help to ensure your final coat looks beautifully smooth. Simply add a thin layer of icing to your cake and place in freezer for a just a few minutes. Next, apply your final layer of icing. Finish by using your dough cutter to lightly apply smoothing pressure to the sides and top of your cake, leaving you with flawless, full coverage.Your cake will look like one of those masterpieces that come from some of the most famous bakeries in town.

Homemade Pastry Bags

Cake decorating requires some supplies but for those just starting out making their own pastry bag is just as effective as buying one. A homemade bag is disposable and is great for simple piping and borders. It can be a great help if you are using multiple colors for decorating and do not want to continuously clean your bag. A quart or gallon storage bag works perfectly fine depending on how much icing you are using to decorate. For a homemade bag, you will cut off one of the bottom corners and squeeze the icing to that corner. A homemade bag is also compatible with metal cake decorating tips. Check out this tutorial for a DIY pastry bag.

Easy Decorations

The easiest decoration is simple piping. Cutting more or less off the corner of your bag changes the width of your piping line. Piping can be used for straight border, a swirl border, or a zigzag border. A piping tip is great for writing, creating vines, shape outlines, and perfect dots. 

The basket weave is a simple design that can make the sides and top of your cake look unique and professional. Just about any tip including the ordinary piping tip will work, however, Wilton tip #47 will give your design a more rustic, basket look. Create a vertical line and add short horizontal lines over top. Keep your vertical lines spaced evenly apart, and keep your horizontal lines alternating over and under each vertical line.

Adding Color

Fondant makes a tasty, smooth cover for your entire cake. It can take your cake from decorated to boutique and can be colored to brighten your cake. Laying fondant perfectly is not always an easy task and fondant cut outs can be another great way to take your cake to the next level. You can buy fondant premade or make very delicious fondant from marshmallows and powdered sugar. Marshmallow fondant can even be made in the microwave by melting a bag of marshmallows and adding powdered sugar and water until you have a dough formed.

Gel food coloring is your best bet for coloring icing. It can be added to your icing by dipping a toothpick in the gel and then mixing it into your frosting. Continue to do this to darken the color of your icing or mix colors together for the desired color. Create streaks of color on your cake with an angled icing spatula or create an ombré design by layering a color in various hues. 

The Shell and Rope Border

For making shell and rope borders it does require a Wilton 21 tip. The shell is the simplest type of border. To start a shell line, hold your bag at a 45-degree angle slightly above your surface. Apply pressure as the icing fans out and draw it slightly to you while decreasing pressure as you press the tip downward towards the surface. Continue to do this creating touching vertical shells. 

For the rope border use a 21 tip and hold your bag at a 45-degree angle slightly touching your surface. For a rope border you will want to apply steady pressure to your bag in the shape of a “S”. Start in the bottom curve of your first “S” and apply steady pressure to your bag again in the shape of an “S.” Continue this process to create a lovely rope border.

After reading these tips carefully you will realise that turning an ordinary cake into a work of art might not be just as hard as you thought. Take into account one of the possibilities you think it suits you better and will soon have the best cake you would ever think of.

How to Make Your Own Homemade Oatmeal Flour in Just One Step!

how-to-make-your-own-oatmeal-flour-oat-recipe-gluten-free-easy-better-baking-bible-blogMaking your own oatmeal flour at home is the easiest thing you can do to increase the nutrition of your baked goods in a snap! Oatmeal is naturally gluten free which makes it the perfect alternative to using white all-purpose flour in baking recipes. It also makes baked goods slightly chewy, moist, and a lot more filling. 

To make your own oat flour at home, all you need is a blender or a food processor. Pulse the oat for a few minutes, stop, stir, and pulse again until you reach a flour-like consistency. Depending on what kind of food processor you have, this can take about 60 seconds or less! One cup of rolled oats will yield 1 cup of oat flour. 

When it comes to using oatmeal flour as a replacement in your recipes, you may want to be careful. You can’t ALWAYS just substitute white all-purpose flour with oat flour. Oats contain zero gluten which means baked goods such as breads will not rise at all. 

You can though make gluten free oatmeal cookies that need no rising at all. You can also add a little nutrition to your cake or pastry recipes, substitute only 1/4 of the all-purpose flour with oat flour.

*If you would like to share my recipe and photos please provide proper credit and a link back to this original post. Thanks!  


Tutorial: How to Make Mascarpone Cheese at Home for Cheap! All You Need is Heavy Cream and Lemon Juice!

how to make mascarpone cheese for cheesecakes easy diy cupcake filling recipe better baking bible blog low fatMASCARPONE / DAVID ERICSON / CC BY , CHEESECAKE / FREDERIQUE VOISIN-DEMERY / CC BY , MASCARPONE / STU_SPIVACK / CC BY, CARAMEL / ROSENBEGAL / CC BY

We all know that mascarpone cheese can be expensive, but did you know that there’s a way to make it at home? This budget-friendly recipe is truly a keeper, and you’ll never want to buy mascarpone from the store again! All you need are two basic ingredients to make this delicious cheese. Heavy cream and lemon juice are all you need to put this together, and a little bit of patience. Use your homemade mascarpone with your favorite tiramisu recipe, or simply spread it on a bagel for a tasty breakfast!

Ingredients:

1) Saucepan

2) 2 cups heavy cream (this recipe makes approximately 2 cups of mascarpone cheese)

3) 1 lemon

4) Strainer

5) Unbleached cheese cloth

6) Large bowl

7) Candy thermometer

Steps:

1.) Take out your saucepan, pour in the 2 cups of heavy cream, and stick in your candy thermometer. Bring the cream to a simmer. The temperature on the thermometer should be around 180 F. Keep the temperature around 180 F.

2.) Allow the cream to simmer at 180 F for 3 minutes. Add in lemon juice. Allow it to simmer for an additional 3 minutes, then take the cream off the heat. Leave it to cool until it’s room temperature.

3.) Take out your strainer and line it with 3 layers of cheesecloth. Place a bowl under the strainer. Pour the mascarpone into the strainer.

4.) Place the strainer with the bowl underneath into the fridge. Leave it there overnight. In the morning, your mascarpone will be thick and creamy. The mascarpone will be good in the fridge for 1 week.