5 Simple Decoration Ideas to Make Your Kitchen Feel like A Super Room

The kitchen is one of the essential rooms in the home. In fact, some people regard it as the powerhouse of the home!

Photo By: Unsplash

A good kitchen must be visually appealing and hygienic. Both features move hand in hand, and you can determine both outcomes. 

Nothing is appealing about bland or tattered walls. The proper arrangement of your kitchen starts with the use of suitable decorations. You can even eliminate kitchen problems like dark space, cluttered kitchen, and space management with appropriate kitchen décor. 

Are you confused about the good decorating idea for your kitchen? Don’t overburden yourself with thoughts. Here is a list of some of the best kitchen décor ideas to help you upgrade and improve your kitchen. 

1. Use Suitable Wall Arts 

Using wall arts is one of the best ways to decorate any room and wall. Your kitchen is not an exception to this case. Using suitable wall arts will make your kitchen warm and welcoming. Besides, it improves your wall’s quality and makes it more appealing.  

There are many wall art concepts and ideas you can use for your kitchen décor. Simple concepts like fruit slices, wine glass, and bottle, a cup of coffee, etc. are all good ideas. So, if you want something simple, classy, and beautiful, go ahead and decorate your kitchen wall with wall arts

2. Shabby Chic Concepts 

Do you know what shabby chic is? It is the use of antique and distressed materials in a decorative concept. The distressed materials are usually wood, furniture, and textiles. It also includes other elements to complement the distressed feel of these materials. 

Shabby chic décor is ideal for kitchen setup. It can boost your kitchen love with the depth it adds to your kitchen. You can add simple elements like flower vases, potted flowers, and the likes. You can also distress wooden components like wall hanger and plate racks. 

3. Canvas Wall Prints 

Canvas wall print is another viable décor idea for your kitchen. Canvas wall prints are visually appealing and warm. Besides this, they allow you to integrate various design concepts into your home. 

You can add varieties of canvas wall print concepts as long as they flow correctly. Examples of canvas wall print concepts you can consider include food maps, food image recipes, decorative fruits, etc. 

4. Use Decorative Lighting 

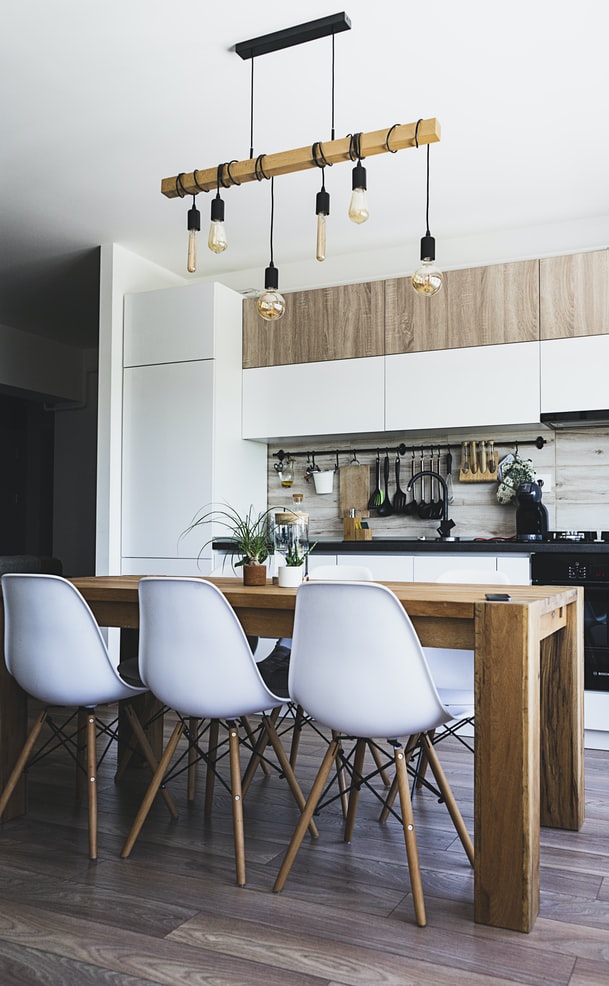
You can hit two birds with a single stone with this décor idea. Firstly, it will help you solve dark room problems in your kitchen. Also, it will improve your décor and add life to the entire kitchen. 

There are several types and forms of decorative lights. Feel free to choose suitable options that will suit your purpose. You can also consider one that will fit your existing decorations. 

5. Hideaway Furniture 

Furniture forms an integral part of kitchen décor and arrangement. You can also achieve dual goals by creatively selecting suitable furniture for your kitchen. Practical furniture will help you conserve space, ensure proper formatting, and improve your décor. In fact, the design of some décor is oriented to enhance your decoration. 

Conclusion

The kitchen is one of the essential rooms in the home, and you can make it a room you always want to be with good décor ideas. Kitchen designs don’t have to be clustered up or complicated. Simple, appealing designs can give you excellent results than you imagine. Feel free to try out any of the ideas above, and you can introduce your thoughts as well. 

4 Popular Layout Designs To Consider For Your Next Kitchen Remodel

Trends in kitchen designs have changed tremendously over the past decade.

Photo By: Unsplash
According to a study by the  National Kitchen and Bath Association, organic and natural designs are rising quickly in popularity, and some of the traditional layout designs like the L-shaped are still ranking as the most popular design in America. However, when you decide to do a kitchen remodel, getting the right layout design is the most important factor in ensuring a functional and practical cooking area. A clever kitchen layout design will make a difference in helping you get the most storage space and enhance the comfort and safety of your kitchen. Here Are 4 popular layout designs to consider for your next kitchen remodel.

U- Shape Design

This design consists of counters flowing around 3 walls uninterrupted to create a “U” shape. It is known to be the most functional and efficient design due to its ideal work triangle. The design also provides enough open space for you to add a seating area, which helps in keeping the cooking social. According to Magnum, open layouts allow modern-style homes to shine, especially when they combine spaces that allow a natural flow of activity. Additionally, U-shaped kitchens are also designed to be user–friendly as having benchtops on three sides allows you to have ample cooking space and appliances easily accessible.

Solo Wall 

Also known as “Single line kitchen,” the solo wall comprises cabinets, countertops, and major work services arrayed along one wall. The other sides of the kitchen are always open and often facing the living area. This design is generally found in studio or loft spaces because of its ultimate space saver. The design also offers a good workflow, as all of the major cooking functions are kept within a few feet of each other. If you have enough space, an island can be used to add storage and workspace, although this may be a tight fit.

L- shaped Design

This is one of the most popular kitchen layout designs. The L-shaped design is ideal for small and medium-sized homes as it allows for maximum use of the available floor. It consists of countertops on two adjoining walls that are perpendicular, forming an “L” shape. Having this design will help you free up space and offer great flexibility in the placement of appliances and work zones. It is also a great proponent of the working triangle.

Walk-Through

Also known as a “walk-through” kitchen, this design is ideal for smaller spaces and one-cook spaces. It is characterized by two parallel countertops with a walkway in between them. With additional rows of cabinetry, the galley design offers more flexibility when it comes to storage space. It may also be open on both remaining sides, to allow your kitchen to serve you a passageway between the spaces. However, with the two sides being open, foot traffic through the kitchen can be inconvenient.
Ready for your next remodeling project? These layout designs will help you open your eyes and mind to selecting the best possible design you will want for your kitchen. Not to mention, give you a better insight into the ideal design that will suit your entire home space and layout.

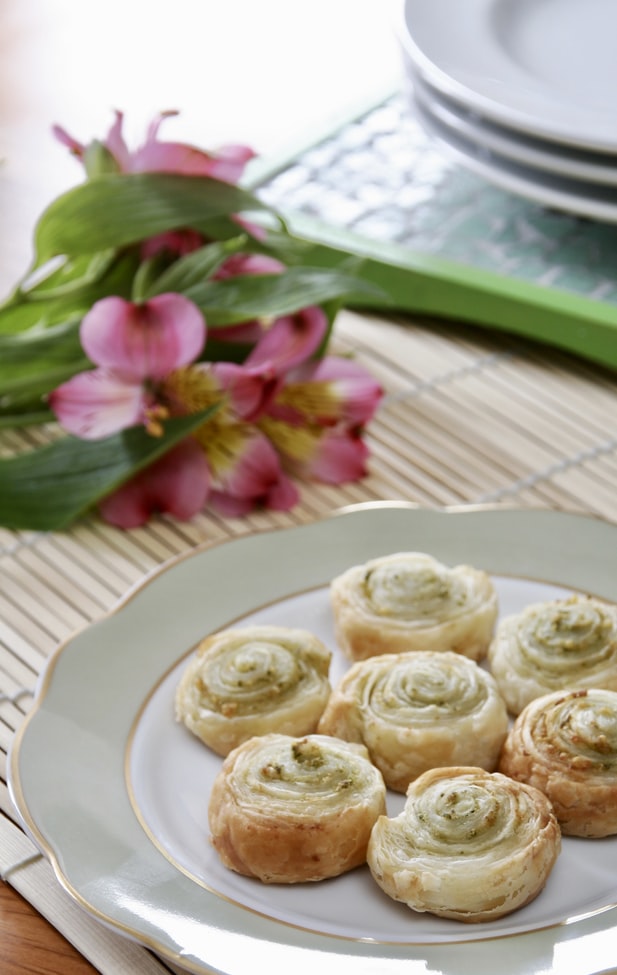
Puff Pastry with Tofu

If you love stuffed savory puff pastry, you’ll adore this recipe. This is a vegan equivalent of the traditional Venezuelan ‘pastelitos’ (little pastries), which are usually stuffed with ricotta cheese and spinach!

Photo By: Unsplash

Our vegan equivalent uses tofu and packs lots of flavor into these crispy little packages. We also use store-bought puff pastry, though you can make your own if you wish.

We’ve also included some recipe variations (in the FAQs below) if you want spicy pastries. Enjoy!

Ingredients

  • 4 cups fresh spinach (baby spinach is best)
  • 1 ten-ounce packet of tofu (extra firm)
  • 1 shallot, finely diced
  • 2 garlic cloves, peeled and minced
  • 1 teaspoon onion powder
  • 1 teaspoon salt
  • Zest of 1 lemon
  • 1 tablespoon lemon juice
  • 3 tablespoons nutritional yeast
  • 2 tablespoons tahini (sesame seed paste)
  • 2 sheets store-bought or homemade puff pastry (about 18 ounces, or 500 grams)

Method

  1. First, remove the tofu from the package and press out any excess water. You can do this in about 5 minutes with a TofuBud style tofu press. Alternatively, wrap your tofu block in a clean towel, and put it in a colander. Put a weight on top and press out the water. Leave the weight on top of the tofu for another 20 minutes or so.
  2. While your tofu is draining, steam the fresh spinach for 5 minutes or till it wilts. Put the spinach in a colander or sieve and let it drain.
  3. Leave the spinach to one side, and preheat your oven to 425 degrees F.
  4. Now crumble your tofu (using your hands) into a mixing bowl, and add the rest of the ingredients except for the puff pastry sheets. Mix well.
  5. Your spinach should now be cool enough for you to squeeze out as much water as you can. Once you’ve drained your spinach, chop it and add it to the mixing bowl. Stir it into the tofu mixture.
  6. You are now ready to fill the puff pastry sheets. Set the pastry sheets out on top of parchment paper. You want your sheets to be nice and thin – if you find they are too thick, roll them out with a rolling pin. The thickness of the pastry depends on your personal taste, but generally speaking, you want the pastry to be as thin as possible without breaking.
  7. Trim the edges of your puff pastry sheets so that you have a square. Next, cut diagonally across the square so that you have two triangles. If you like large puff pastries, two triangles per pastry sheet are fine. Otherwise, you can cut your square across the other diagonal so that you end up with four triangles or four small puff pastries.
  8. Using a spoon, put some filling in the center of each triangle. Fold the triangle over on itself to cover the filling (as if you wanted to fold it to make another triangle). Press the edges of the pastry together so that they form a tight seal. Repeat this process until you’ve made all of your pastry puffs.
  9. With a small knife, cut some slits diagonally across the top of each puff. The slits will allow steam to escape as they cook. Put your puffs on a baking sheet lined with parchment paper. The parchment paper will keep the pastries from sticking. If you don’t have parchment paper, use a non-stick spray or aluminum foil underneath.
  10. Cover your puffs with foil, and bake them for 20 minutes.
  11. Remove the foil and let them bake for another 5 or 10 minutes, or till the tops of your puffs are slightly golden brown. Serve hot.

Note: If you happen to have any leftover filling, keep it for sandwiches or to serve on toast.

Puff Pastry with Tofu FAQs

What else could I add to the filling to get different flavors?

  • There are many other ingredients you could add to the filling to spice things up a bit. This recipe is essentially a tofu scramble inside a pastry, so any scramble ingredients would work well.
  • This recipe would work well with any additional veggies that you fancy, such as mushrooms, chopped sweet peppers, corn… anything goes!
  • For an Indian-inspired pastry filling, you could add 1/2 cup green peas along with a teaspoon of your favorite curry powder.
  • For a Mexican-inspired filling, try 2 teaspoons chopped jalapeno peppers, 1 medium tomato finely diced, a few sprigs of fresh cilantro, and 2 teaspoons taco seasoning.

What can I serve with puff pastries?

These pastries are delicious when accompanied by a hearty vegetable soup, a selection of savory dips or your favorite tossed salad.

How to Create the Perfect Beef Tortilla Casserole: Enchiladas in a Dish

It’s highly possible that there is nothing on Earth better than Mexican food. Okay…maybe puppies. But besides that…nothing better. No wonder that so many people want to make perfect recipes that get their mouths watering just thinking about them. A casserole recipe is an absolute favorite for the whole family, so we’re taking a look at exactly how to create the perfect beef tortilla casserole!


Photos By: Unsplash

What is a beef enchilada casserole?

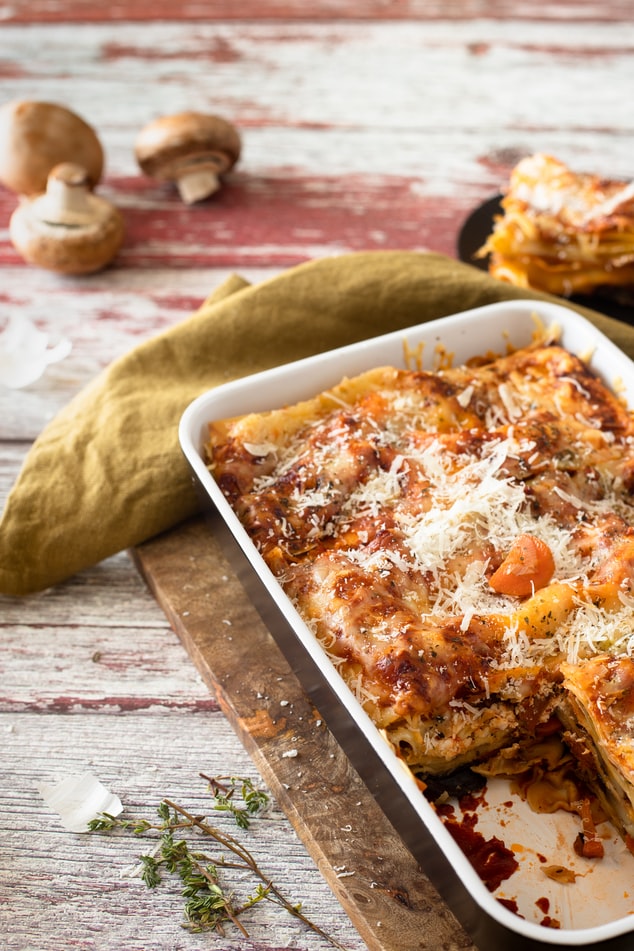
Imagine taking all the juicy delicious goodness of an enchilada: The enchilada sauce, the beef, the cheese, even some refried beans, and layering it all in a casserole dish, instead of rolling it up. Not only is it way easier to eat (no food ending up on the floor with this one), but it also means the sauce is going to get right into the inner machinations of the casserole. And what does that mean? An explosion of absolute Mexican heaven right in your mouth.

How to make beef enchilada casserole

All wonders of the culinary world in one place, that’s what! Basically, your beef enchilada casserole is made up of some of the best food ever known to man, including:

#1. Tortillas 

You can use either flour tortillas, which are softer, or corn tortillas which will provide a more authentic experience. Remember that corn tortillas are smaller than flour tortillas so make sure to use a few more. You can even make your very own tortillas at home with this tortilla press exactly the way you like them.

#2. Red enchilada sauce

This is the best part, and like we said because this meal is made in a baking dish, the sauce gets right into the heart of the beef enchilada casserole – which we love!

#3. Ground beef 

Feel free to season your ground beef, or create a beef mixture with onions. Any beef enchilada casserole is only going to taste better with onions.

#4. Cheddar cheese 

What would this beef enchilada casserole be without cheese? Any kind of cheddar cheese will do. Just make sure it’s heavenly. That’s all that really matters.

This is only the start…

This is the base; the not-so-humble beginnings. Once you’ve got these ready, we dive into the actual beef enchilada casserole recipe proper. And with a cook time of anywhere between 10 minutes and 30 minutes, it’s a super meal to make for when friends get together. The prep time is also minimal. So, your total time is enough to welcome in your guests have a drink, put on a Mexican hat, and voila! Beef enchilada casserole ready to go!

Beef enchilada casserole recipe.

Ingredients:

(makes 6 servings of beef enchilada casserole)

  • 1 pound ground beef
  • 1 tsp taco seasoning
  • 1 diced onion
  • 1/4 tsp salt
  • 1 10-oz can enchilada sauce
  • 3/4 c water
  • 1/2 c medium thick and chunky salsa
  • 12 (6-inch) corn tortillas
  • 1/4 c fresh cilantro, chopped, divided
  • 1 c shredded cheese (or 2 c if you’re feeling you need more cheese than usual)
  • sour cream and lime wedges, for serving

Instructions

  1. Preheat the oven to 350ºF.
  2. Heat a large skillet over medium-high heat. Put your ground beef, taco seasoning, and salt into the skillet and cook, while stirring. Make sure you’re breaking up the beef as it cooks. You’ll know it’s done when the beef is brown and cooked through (with any excess fat drained).
  3. Now it’s time to add the enchilada sauce, water, and salsa. Bring this to the boil and stir together. After 4 to 5 mins remove from the heat (most of the liquid will have evaporated by now).
  4. Stack your corn tortillas or flour tortillas and cut them into 1-inch strips. Spread 1/4 cup of the enchilada sauce over the bottom of the dish. Now, place half of your tortilla strips at the bottom of a 9-inch-deep baking dish. Once they’re arranged, place half of the ground beef mixture over them. Now sprinkle 3/4 cup of cheese over your ground beef. Sprinkle the 2 Tbsp of chopped cilantro over the top. Pour another 1/2 cup of enchilada sauce over this. Keep repeating with the ground beef, the cheese, and the enchilada sauce until the ingredients have almost all been used up.
  5. Place the remaining flour tortillas or corn tortillas on top, adding the cheese, any remaining beef, and remaining enchilada sauce on top of the tortillas to complete your beef enchilada casserole.
  6. Cover with foil and bake in the oven for a cook time of approximately 30 minutes, or until the cheese is melts and starts bubbling. You can sprinkle any leftover cilantro over the top before serving. The best part is serving it with sour cream and lime wedges.

Nutrition facts

This enchilada casserole recipe is mostly full of goodness, and because it’s easy to make with a short prep time, you’re able to get in that goodness without much fuss. But while we give it 5 stars for taste, there is quite a bit of saturated fat in this dish, so be aware of that.

Take a look at this Men’s Health article to read about why too much saturated fat isn’t good for you.

There’s also a lot to read on Wikipedia about fats and their health effects.

Nutrition information: Serving Size: 1/6 of recipe Calories: 365 Sugar: 6g Sodium: 711 mg Fat: 18g Saturated Fat: 7g Unsaturated Fat: 1g Trans Fat: 0 g Carbohydrates: 28 g Fiber: 5 g Protein: 23 g Cholesterol: 67 mg

Beef enchilada casserole FAQs

This dish is easy to prepare at home when you have all the right ingredients. Here are some FAQs we get to make your casserole even more satisfying.

What else can you make a casserole with?

Honestly, there are tons of options. All kinds of different ingredients can be added or substituted to change up this recipe.

Black beans

Refried beans

Red enchilada sauce

Beyond just using your normal enchilada sauce, ground beef, and cheese, try a red enchilada sauce instead to give a different spin on this casserole dish.

Homemade enchilada sauce

The homemade variety of enchilada sauce is also worth trying out if you want a more authentic casserole, and if you have the time.

Monterey jack cheese

Instead of using cheddar, you could use this semi-firm washed cheese. Or you could combine cheddar and jack cheese too.

The options are endless

There are so many wonderful and divers eways you can make beef enchilada casserole dishes. Whenever you make this dish, you have the potential to come up with brand new recipes, which is always exciting.

What can I put on top of beef enchilada casserole tortillas?

Cheese, cheese, and more cheese. Did we mention we love cheese? This casserole really is variable and you can add a lot of delicious variety to it. You can also add green chilies for more of a bite.

How do I prevent tortillas from getting soggy in a casserole?

The trick here is to create some kind of a barrier so that the tortillas don’t soak up too much of the sauce. Fry your tortillas in oil very briefly, before you put them into your casserole and that should help with the soggy factor.

This leads us to a question which we get a lot:

Do I have to fry tortillas for my enchilada casserole?

Not neceserally, but it does make the whole experience much more satisfying. All they need is three to four seconds per side in the frying pan and they’re ready for all the enchilada sauce in the world.

The Final Word:

This recipe is going to deliver bite after bite of heaven every time. Remember that you can swap out ingredients for other things so that you keep your casserole interesting. Black beans, green onions, red enchilada sauce…the possibilities are endless. Keep exploring. When it comes to the question “How to make tortilla casserole” there are no rules. Be creative, enjoy yourself, and remember, the more cheese the better.

Go ahead and bookmark this recipe for your next Mexican get-together.

Everything you Wanted to Know about Cooking Twine

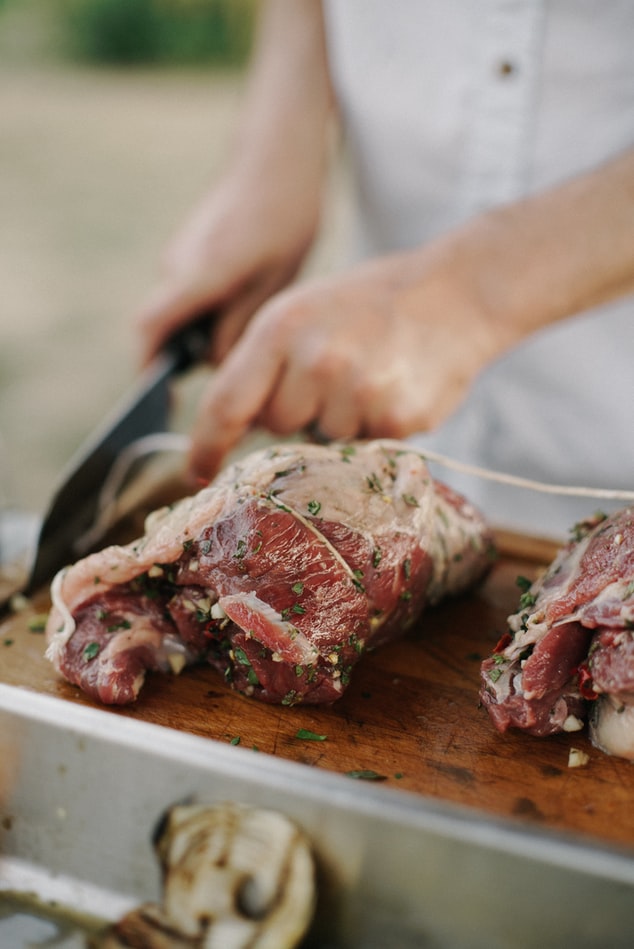
If you are a cooking enthusiast or take a particular interest in culinary skills, you may have come across the term ‘trussing’ quite often. Trussing refers to tying up meat or, for that matter, any food material while preparing a recipe.tyitying me

Photo By: Unsplash

You can imagine how cooks cut and prepare turkey, for instance. And in this process, they use one of the most versatile kitchen tools, such as twine. The use and application of this tool can vary based on your cooking needs. Let’s explore these aspects quickly.

Twine as an efficient cooking tool

The construction and material of the twine can determine its utility in the kitchen. Some can tolerate heat without leaving a smell on the food. Then, some can come in handy as a decorative item or for more heavy work. Whether you call it a kitchen twine or something else, the fact is that this simple rope can accomplish various tasks.

When you work with meat or poultry, you use butcher’s twine. It helps you with trussing and tying for roasting so that stuffing and shape don’t mess up. You can also use it to prepare sausage. This type of twine can be cotton, linen, or polyester material.

Another variety is baker’s twine that can be colorful cotton or polyester rope. You cannot use this for cooking. However, it is durable and flexible. The best use for this type of twine includes tying up boxes of goodies. In plating also, it can be useful for its decorative appeal. Then, there is industrial twine, which is not suitable for food. It can help with packaging or bundling.

That means if you need help with meal preparation, you should focus on a butcher or cooking twine. It will secure the tenderness of the item by retaining its original juice. Plus, the shape will also not change while facing the heat as it would keep the stuffing in its place.

Best cooking twine for use

Manufacturing companies use various materials, of which cotton rope is most sought-after for its affordable price and strength. You can use it on food and in heat. Also, it is an eco-friendly product. Another organic construction is hemp twine. It is biodegradable and compostable. It is food-safe, so you can use it for tying food. However, you cannot expose this to heat. If you want to give your food a decorative touch, it can again be the ideal choice.

If you want an excellent quality twine for cooking, you can trust linen. An extract of flax plants, linen doesn’t take time to dry up and has antibacterial traits. It is safe for use in food and the oven. It doesn’t stretch much. But it makes the strongest knot. Do you need to smoke your meat? You can use linen twine to hang the piece. From roasting to stuffing, it can have a role in everything that you do.

Some people tend to get creative with their cooking skills. Sometimes, they use dental floss in its place to wrap up their job. However, you should have the proper cooking twine if you don’t want to take any risk.

Delicious Cake Recipes For Your Mom’s Birthday

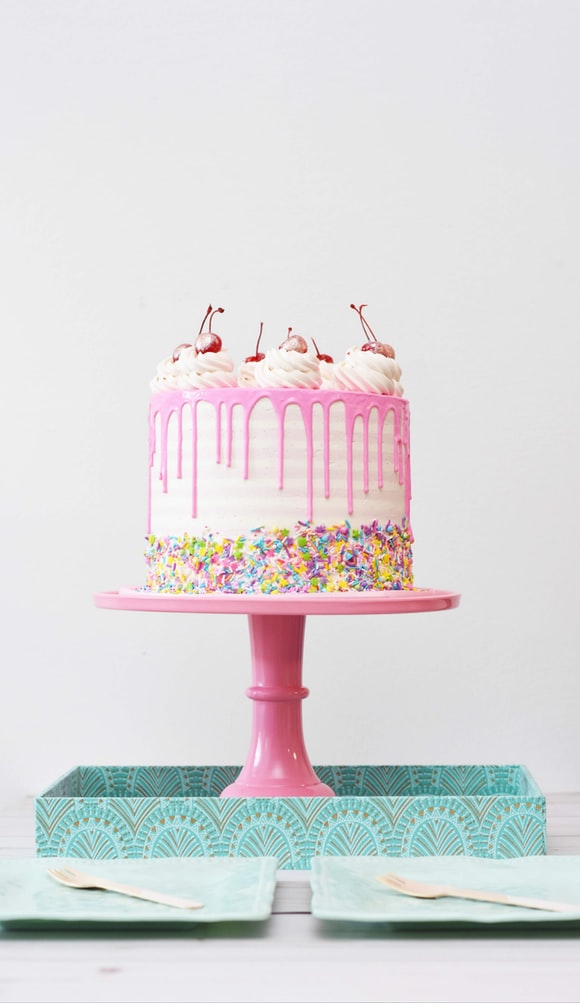
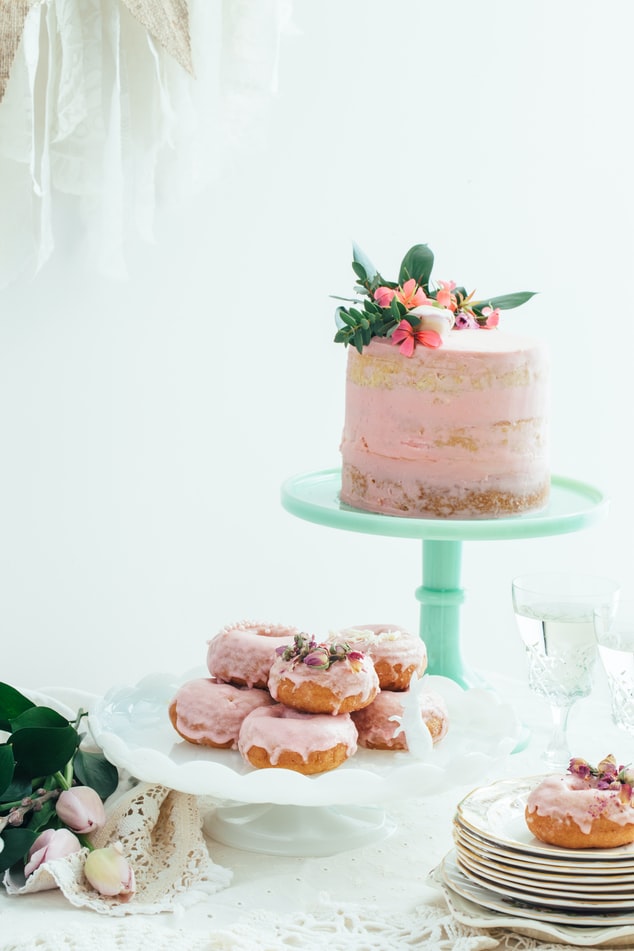
Make your mother’s birthday memorable by baking her an exceptional treat!


Photos By: Unsplash – for demonstration purposes only

Bake your mother a cake that is made with love and affection. You can go through a few of these recipes to find a treat that will make their day extra special!

Coconut Angel Cake

This low-fat delicious treat is a soft and airy delight that moms will surely love! Start by preheating the oven to 350℉ and coat three 8” round cake pans with nonstick cooking spray. Line them with parchment paper, then grab a bowl to mix your dry ingredients.

Whisk in 3 cups of cake flour, 4 ½ teaspoons baking powder, 1 ¾ cups granulated sugar,  and ½ teaspoons kosher salt. In a separate bowl, whisk together 5 large egg whites and ½ cup unsweetened coconut milk until the mixture becomes frothy. 

Place your electric mixer on medium speed and beat the 1 cup of softened butter until smooth. Add in another half cup of coconut milk in small amounts and beat for 2-3 minutes or until light and fluffy. Lower the mixer’s speed before adding in your dry ingredients, and egg mixture in three partial additions. 

Once you have your batter, pour them equally over the 8” pans, and bake for 25-28 minutes. Insert a toothpick in the middle and see if it comes out clean to determine if your cake is cooked. Cool them completely before adding the frosting.

To make the frosting, use your electric mixer to whisk together a block of 8-ounce cream cheese and ¼ cup powdered sugar for about 4 minutes on medium speed. Add in 1 cup of heavy cream and beat until you have achieved stiff peaks.

Use another cup of heavy cream, whisked in the mixer for 2 minutes to frost the top and sides of the cake. Sprinkle your cake with toasted coconut, and serve!

Lemon Layer Cake

Make this stunning and elegant layered cake with a touch of zesty lemon flavors and smooth buttercream frosting. The folks at Chris’ Kitchen have an amazing assortment of cakes that feature this popular lemon taste. With the taste as bright as it looks, this cake will surely make your mother’s birthday extra special.

Here is an easy alternative that you can cook at home.

Start by preheating the oven to 350℉ and lining three 8” round pans with parchment paper, and non-stick cooking oil. Prepare your dry ingredients by mixing 2 ½ cups cake flour, 2 teaspoons baking powder, and ½ teaspoon salt. 

Using an electric mixer, beat 1 cup butter on medium speed for 2-3 minutes. Incorporate 2 cups of granulated sugar in 3 additions, then pour 1 teaspoon vanilla. Set your mixer’s speed to low and gradually beat in the flour mixture alternating with 1 cup sour cream in partial additions. Finally, add in ¼ cup milk, ¼ cup lemon juice, and 1 tablespoon lemon zest.

In another bowl, beat 4 egg whites at a high speed using your electric mixer to achieve soft peaks. Stir in a third of this mixture into your cake batter and gently fold the remaining egg whites. Pour the batter into the pans and bake for 30-35 minutes. Cool your cake completely before decorating.

Make your own frosting by beating 1 ½ cups of butter on medium speed, then adding your 16-ounce package of confectioners’ sugar. Beat in 1 ½ tsp vanilla, 1 tbsp lemon zest, 3 tbsp, lemon juice, 3 tbsp heavy cream until the mixture becomes light and fluffy. Add in any decorations as you please and enjoy!

Birthdays have always been a special occasion for everyone. Since we were young, mothers organize our birthday parties and make sure that the guests have a great time. Often we forget that they deserve a bit more effort on their special days too. Take time off your busy schedules to make our family members feel extra love.

How To Buy Dates Online And Make Sure They’re Fresh

For those who don’t know, dates are one of the sweetest fruits you can eat!

Photos By: Unsplash

They grow abundantly in the Middle East on large trees called Date Palms. They are sold either dried or fresh, and can be eaten in many ways. Fresh Dates have a very high sugar content, and can be added to your salads or used as a topping for your cooked dishes.  

Date Palms grow best in the desert; hence, they are found in the deserts of Arizona and California. If you’re looking to buy fresh dates, they’re available at supermarkets and farmer’s markets. However, if you’re looking to purchase dates online, you should ensure that they’re fresh for better quality and taste. 

Here are a few tips to help you buy dates online while ensuring freshness.

Look out for online date sellers that grow their own Date farms

Buying dates online may be difficult compared to buying them in supermarkets and farmer’s markets. In supermarkets, you have the luxury to check each pack for their manufacture date and look at them up close to see whether they’re plump. Meanwhile, if you buy them online, you can only browse pictures and rely on descriptions before deciding to order one.

However, there are reliable brands selling fresh dates online, especially if they have their own farms. You can guarantee that these online brands produce fresh dates regularly, and they don’t have to outsource from far-away companies, which only delays production.  

Sellers with their own farms have full control over the quality of their fruits, assuring you that they’re fresh, ripe, and handpicked. Take the time for research, and you’ll soon find the best online website to buy your Dates.

Check their delivery coverage

Once you’ve found a reliable brand to buy from, it’s time to do further research on the service they offer. You can call or email them and ask for their delivery coverage, or try to find this information online. Do they deliver to your area? Do they deliver on the same day the dates were harvested?

If they do, then you’re in luck. You just saved yourself plenty of time spent going to supermarkets and buying dates yourself. Moreover, don’t forget to ask them how they pack their products, as this can affect the quality of your dates.

Know when they’ll be able to deliver the dates to your doorstep

After making sure that they deliver to your area, ask them how long it will take for the dates to be delivered to your address. In case it takes them a few more days to get the dates to you, make sure to check their packaging policy and storage. You should browse their websites for more information on how they store their dates before delivery, and how they make sure that the packaging preserves freshness and quality.

Store them in an airtight container

Finally, your online-bought dates are at your doorstep! Now it’s up to you to keep them fresh until you eat them. Store your dates in an airtight container before placing them in a cool place. They can last up to a month if they are appropriately stored at room temperature. Otherwise, you’ll only end up drying them out, diminishing their sweet taste, and bringing about their early expiration. For optimal flavor, dates are best eaten within a week after they’re bought.

Keep them refrigerated

If you’ve bought large quantities of dates for a long-lasting supply, you must keep them refrigerated at all times. Freezing the dates will help to retain their sweetness and prevent them from expiring. However, dates must be consumed within six weeks after they’ve been defrosted and thawed. 

Fresh dates can also be stored in a freezer bag. Remove any air from the bag using a vacuum sealer, and make sure that it’s tightly sealed when filling it with dates. Never store them anywhere near hot surfaces such as stoves, microwaves or even near the windows where sunlight can get in. Additionally, divide your dates into smaller portions and smaller containers before freezing them for better results.

Final Thoughts

You can get plenty of health benefits from dates. They are naturally sweet, which makes them an excellent alternative to sugar when flavoring your dishes and desserts. That’s why it’s essential to store them properly in order to retain that sweetness even for long periods. Better yet, eat your dates within a week after you bought them for the best flavor.