How to Create The Ultimate Baker’s Dream Kitchen

Love baking? Check out these ingenious ideas to create your own baker’s dream kitchen at home! We promise, it’s actually easy and fun!

Photo: Torie Jayne

Baking is one of my passions, and I’ve learned from experience that if you want to do be a master at it, you need to have all the right tools and a professional environment. Tweaking your kitchen a bit to make baking easier is not as hard as you may think. Take a look at some of these easy ways to transform your kitchen that will make baking easy peasy!

USE CONTAINER PRINTABLE’S

It’s so easy to make plain storage containers look adorable using container printables! These are super easy to make thanks to our friends at The Creativity Exchange for sharing this wonderful idea. Since I started decorating my dream kitchen, I have scoured the web trying to find clever ideas like this that make a huge difference. I have a load of plastic and glass containers that I have been waiting to spruce up a bit using labels or stickers. There stickers are simply printed on silhouette clear sticker sheets that you can find on amazon. What’s even better is you don’t need to have a silhouette machine to use these sheets, they can work on all standard printers!
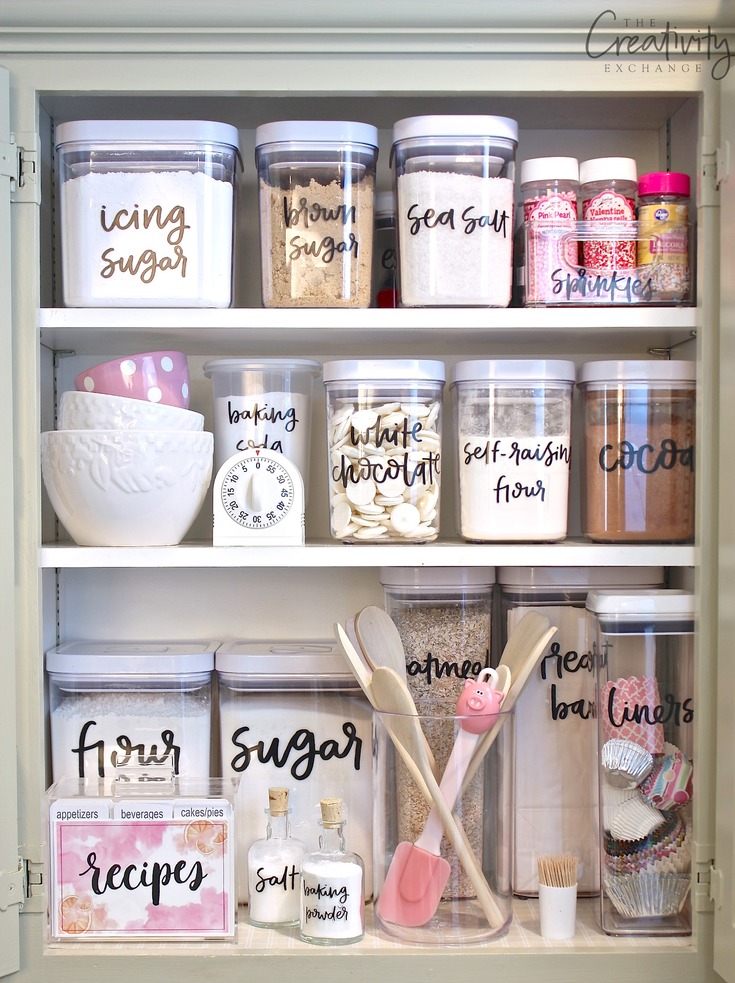
Photo: Creativity Exchange

ROLL OUT AN ORIENTAL RUG

To liven up your kitchen a bit and get you in that baking mood, I always recommend my readers to roll out a colorful oriental rug. These rugs, also known as Persian rugs come in some many different styles, colors, and patterns which makes them suitable for just about any type of decorating. My favorite color combination is pink and orange, making the one shown below a definite must-have on my wish list. Not to mention, these rugs are life-savers when you are standing for hours on your feet! You can purchase these types of rugs at specialty stores that carry authentic Persian rugs such as FineRugCollection.com.


Photo: Apartment Therapy

ORGANIZE YOUR DRAWERS

I can’t stress how important it is to have your kitchen organized and in tip-top shape or baking. To avoid wasting time searching for tools, sprinkles, and that long lost cookie-cutter, have it all at the tip of your fingers. Organize your drawers with special dividers and containers to store your sprinkles, cupcake moulds, chocolate chips, and anything else you may have. These organizers are actually from IKEA, so head on over there to start transforming your kitchen into a baker’s dream.
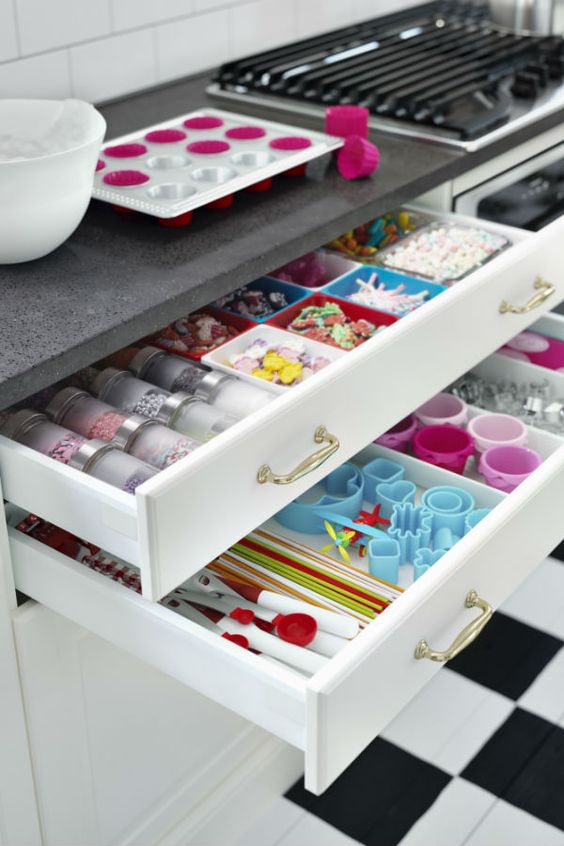

Photo: Ikea

CREATE EXTRA SPACE WITH A BAKING CART

If you don’t have enough space in your home for a pantry or have a small kitchen that can’t hold all of your baking needs – consider using a bar cart and turning it into a baking cart! This is a smart way to make your kitchen look big and help you bake like a pro! These carts are so convenient since they can be rolled into the kitchen when needed and rolled back to save space. You can hold all of your sugar, flour, baking utensils, measuring cup and so much more. What are you waiting for? Get organized and start baking up a storm!


Photo: Maillardville Manor

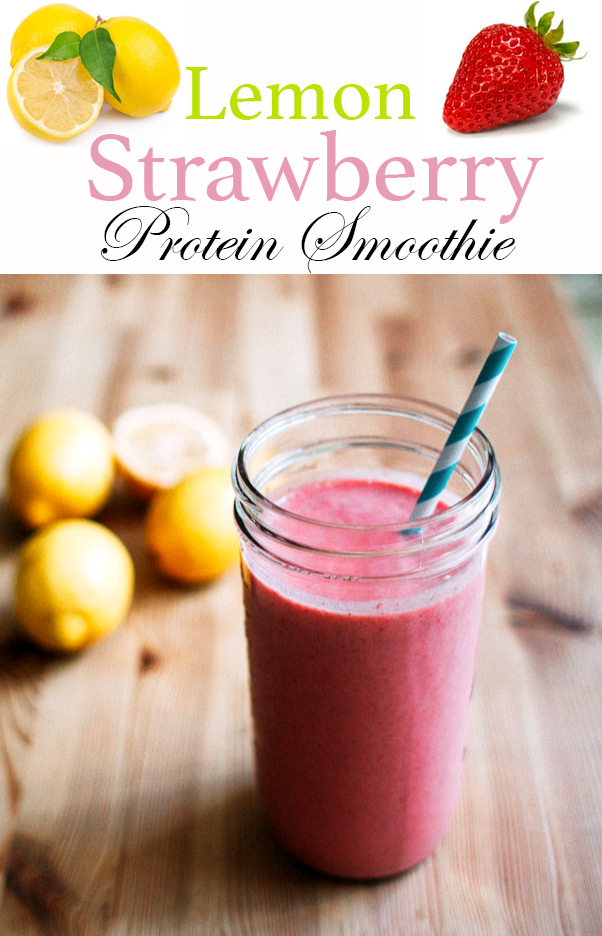
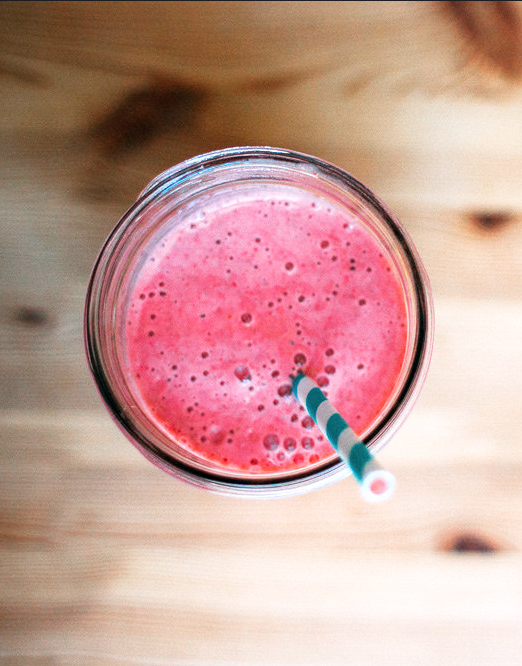
Lemon Strawberry Protein Smoothie with Natural Ingredients!

lemon-strawberry-protein-smoothie-milkshake-healthy-recipe-easy-summer

lemon-strawberry-protein-smoothie-milkshake-healthy-recipe-easy-summer-2STRAWBERRY LEMON SMOOTHIE / VANESSA PORTER / CC BY 2.0

Looking to shed some pounds before the holidays? This lemon strawberry natural protein smoothie is just the fix to get you slim, looking great, and giving you tons of energy at the gym! When I say natural, I mean no artificial ingredients and those “protein mix” powders that I will get into later on. 

Protein smoothies are an easy and fast way to get the right nutrients you need all in one, cool glass. Lemon and strawberry is the perfect combination that not only limited for summertime, but all year long. It gives a refreshing feeling that is perfect after a long day at work, a gruelling session at the gym.

Before we get into the recipe I just want to break down why I choose NATURAL protein sources for my smoothies and stay far away from artificial products they sell in most health food stores:

You Gain Weight – Most people will simply have too large of a serving and get more calories than they need. If your workout isn’t intense, then these added calories will make it more difficult to lose weight and get the body that you want. If you have the protein powder drink after your workout, your defeating the purpose of working out. If you drink these drinks often, then you may gain weight over time.

It’s Harder – It would be easier to have a drink with natural ingredients like honey, yogurt, flax seeds and a banana. If we had a drink like this, we would get the energy our body needs after a workout without the added calories that a protein powder drink provides. 

Fake Ingredients – Many protein powders contain a lot of artificial ingredients that should be removed from your fridge forever, such as Acesulfame Potassium. According to HealthGuideReviews.info, this is an artificial sweetener which is 200 times sweeter than sugar is. If you’re concerned about your health, you may not want to consume this sort of sweetener.

[yumprint-recipe id=’305′]

You Might Want to Try This Too!

Strawberry Spinach Mango Smoothie – Dairy Free!

strawberry-mango-spinach-smoothie-recipe-healthy-better-baking-bible-blog-4

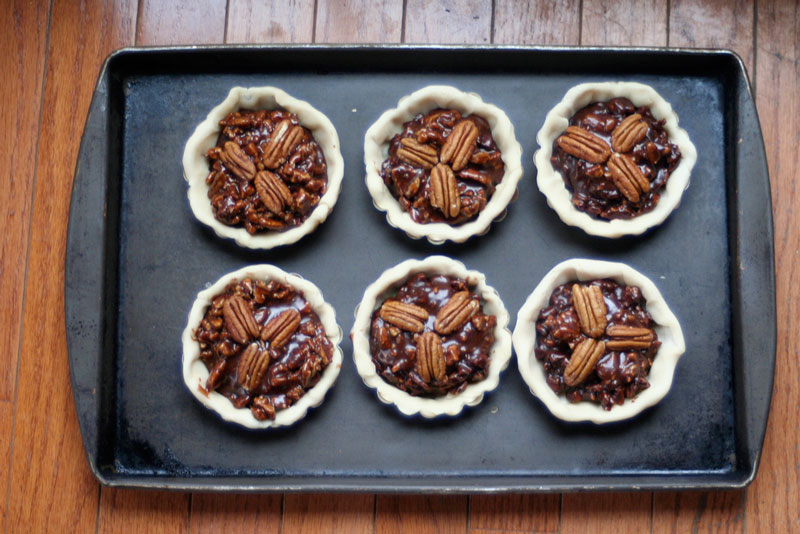
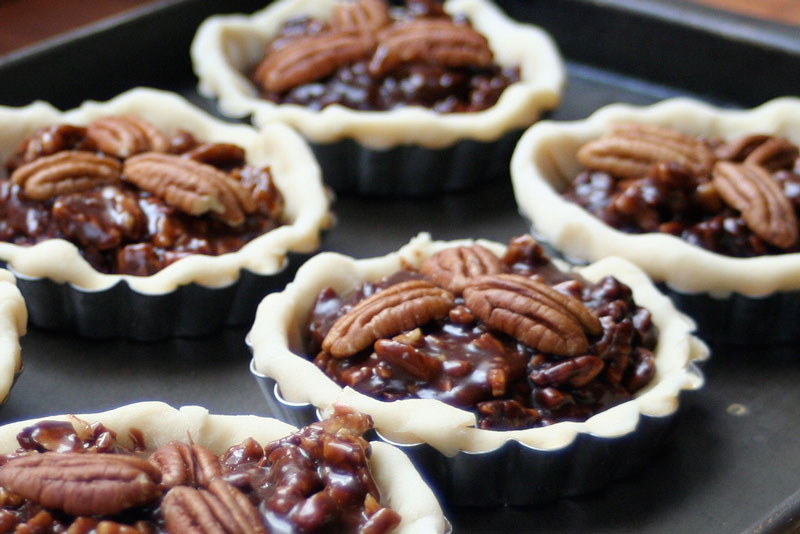
Mini Chocolate Pecan Tarts for the Holidays!

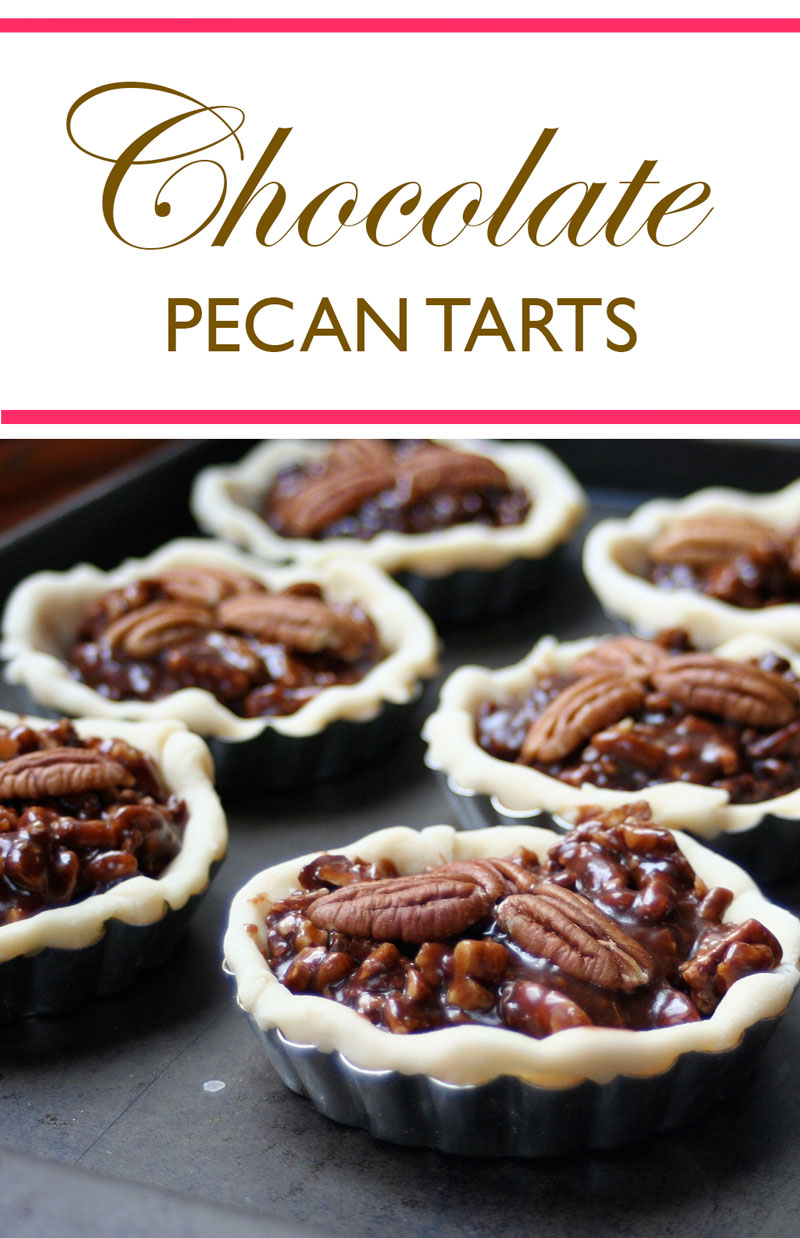
2-chocolate-pecan-butter-tart-recipe-thanksgiving-christmas-holidays-mini-dessert-easy3-chocolate-pecan-butter-tart-recipe-thanksgiving-christmas-holidays-mini-dessert-easychocolate-pecan-butter-tart-recipe-thanksgiving-christmas-holidays-mini-dessert-easy CHOCOLATE PECAN TARTS / WHITNEY / CC BY 2.0

Thanksgiving and Christmas are just around the corner and these chocolate pecan tarts are the perfect dessert to make during this time of year! I love the look of mini-desserts that don’t require cutting like a cake and are more of a grab and go type of dessert. I will assure you on this one, these pecan tarts will be a favorite dessert anywhere you take them. The crumbly crust and gooey soft inside – there really is nothing like them! 

Aside from preparing my holiday baking, I have piled myself up with a ton of housework. My apologies for not posting on this blog for a while now! To cut down on some chores, I decided to do some home renovations that would make my life a little easier. After a long summer of trying to keep my grass green, I finally decided to rip it out and settle for artificial grass from Grono Lawns. Real grass feels amazing, but I just couldn’t do the up-keep any longer. If any chance you are considering installing artificial grass, make sure to ask the artificial grass company if they will do the installation first. We attempted to do it ourselves at first and made a huge mess – get it done professionally to save money and time in the long run!

Now back to these delicious pecan tarts! These make WONDERFUL gifts and can easily be wrapped up and tied with a ribbon. It looks like an amazing customized and hand-made gift that really doesn’t cost that much to make. Hope you enjoy and happy holidays!

Mini Chocolate Pecan Tarts

Easy chocolate pecan tarts for the holidays!
 
Ingredients:
 
For Tart Crust
 
  1. 2 Cups of unsalted butter
  2. 5 Cups all-purpose white flour
  3. 1 Cup of water
For Tart Filling
 
  1. ½ Cup of sugar
  2. 1 Tbsp all-purpose white flour
  3. 4 Large eggs
  4. 1 Cup of corn syrup
  5. 1 Tbsp unsalted butter
  6. 2/3 Cup chopped pecans (or you can use walnuts)
  7. 2/3 Chocolate chips (or chopped dark chocolate)
  8. 1.5 Cups pecan halves

Instructions:

To Make Crust
 
  1. 1. Prepare tart pans by greasing with PAM spray or greasing with butter and flour. In a mixing bowl, combine butter and flour, gradually sprinkling in water and mixing together until dough forms.
  2. 2. On a floured surface roll out the dough to a 1/8” inch thickness. Cut 6-inch circles and fit into the prepared tart pans, cutting off the extra on the sides. If you have individual tart pans/cups, place them all on a baking sheet now. Preheat your oven to 325 F.
To Make Filling
 
  1. In a large mixing bowl, sift together flour and sugar. Mix in eggs, corn syrup, and butter until well combined. Mix in the chopped pecans and chocolate chips.
  2. Using a soup ladle, evenly divide the mixture between the tart pans. Place pecan halves at the top of the tartlets and bake for 25 minutes or until the edges of the tarts are golden. Transfer to a wire rack and allow to cool overnight.

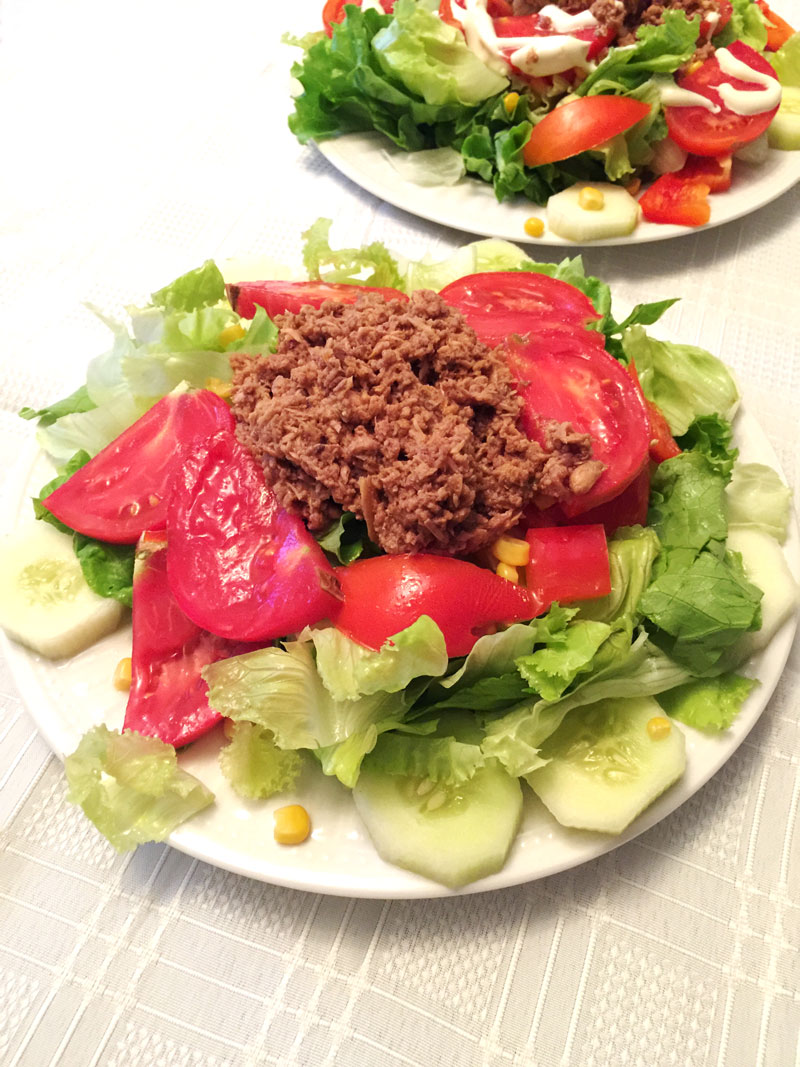
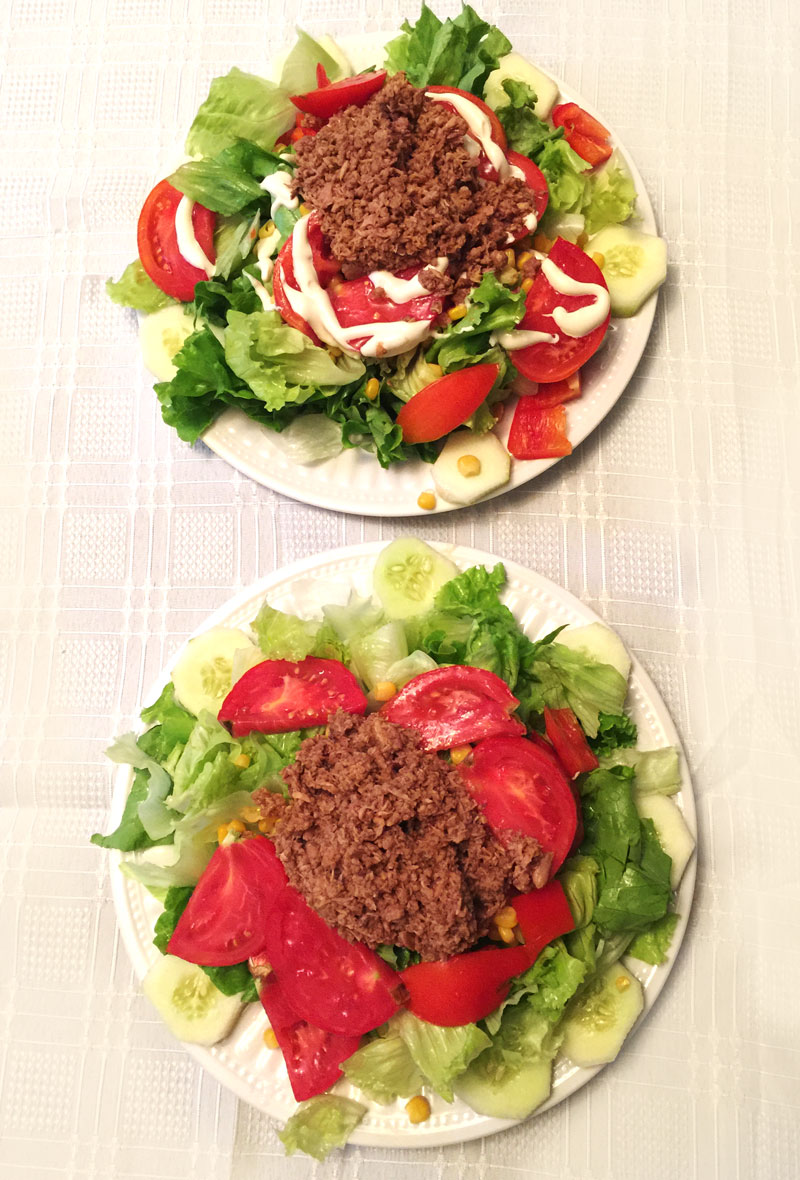
Simple Low Calorie Tuna Salad

low-calorie-super-easy-tuna-salad-recipe-corn-lettuce-lunch-diet-food-better-baking-bible-recipeslow-calorie-super-easy-tuna-salad-recipe-corn-lettuce-lunch-diet-food-better-baking-bible-recipes-2low-calorie-super-easy-tuna-salad-recipe-corn-lettuce-lunch-diet-food-better-baking-bible-recipes-3

Out of lunch ideas? This easy tuna salad takes just five minutes to whip up! Not only is it a low-calorie meal, it’s also super healthy loaded with all kinds of veggies and vitamins. Prepare this salad in the morning and take it to work with you for a cheap and wholesome lunch. You can easily customize your salad using whatever you may have in your fridge. Add red onions, crumbled feta cheese, and some black olives for a Greek-style tuna salad. Or maybe some grated Parmesan and croutons for a caesar tuna salad? The choice is yours!

*If you would like to share my recipe and photos please provide proper credit and a link back. Thanks!  

[yumprint-recipe id=’303′]

You Might Want to Try This Too!

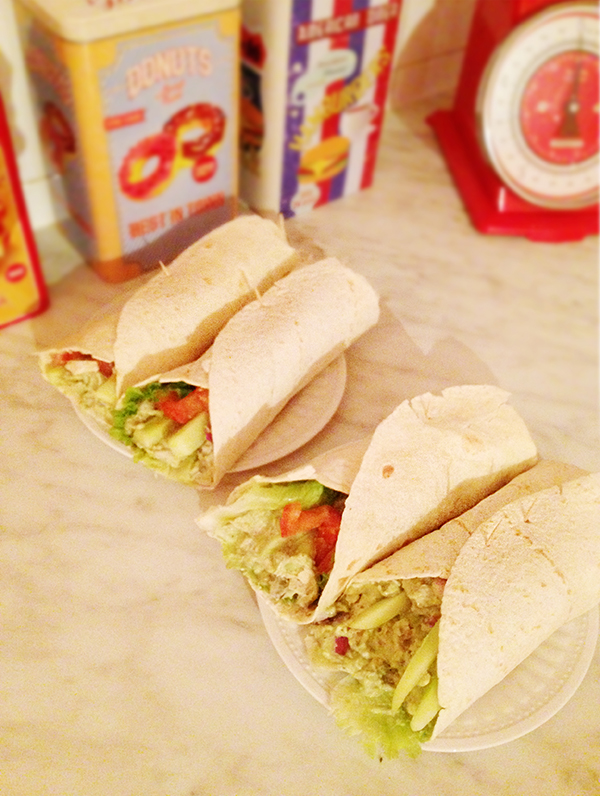
Low Cal Greek Yogurt Chicken Tortilla Wraps
1 low fat chicken greek yogurt tortilla wraps avocado easy recipe sandwiches better baking bible blog ideas tomatoe cucumber lettuce yogurt pita

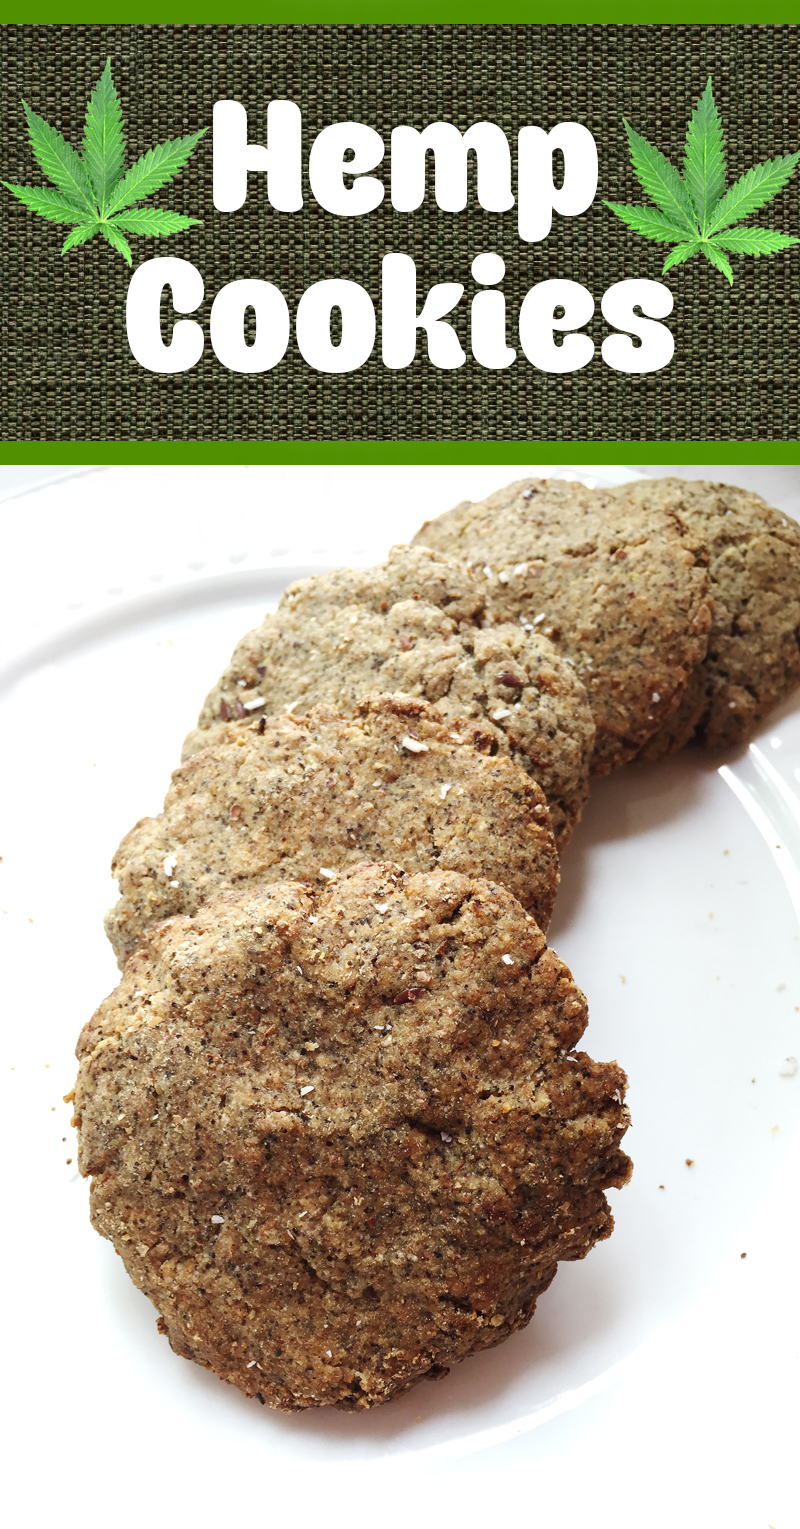
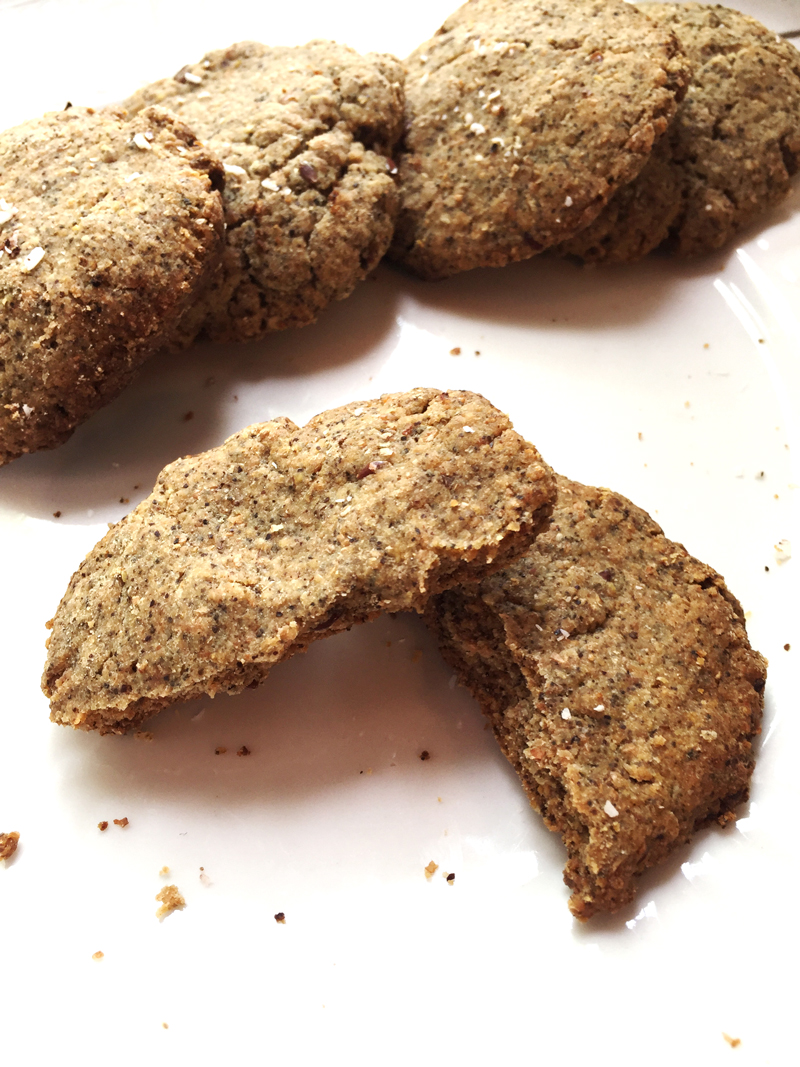
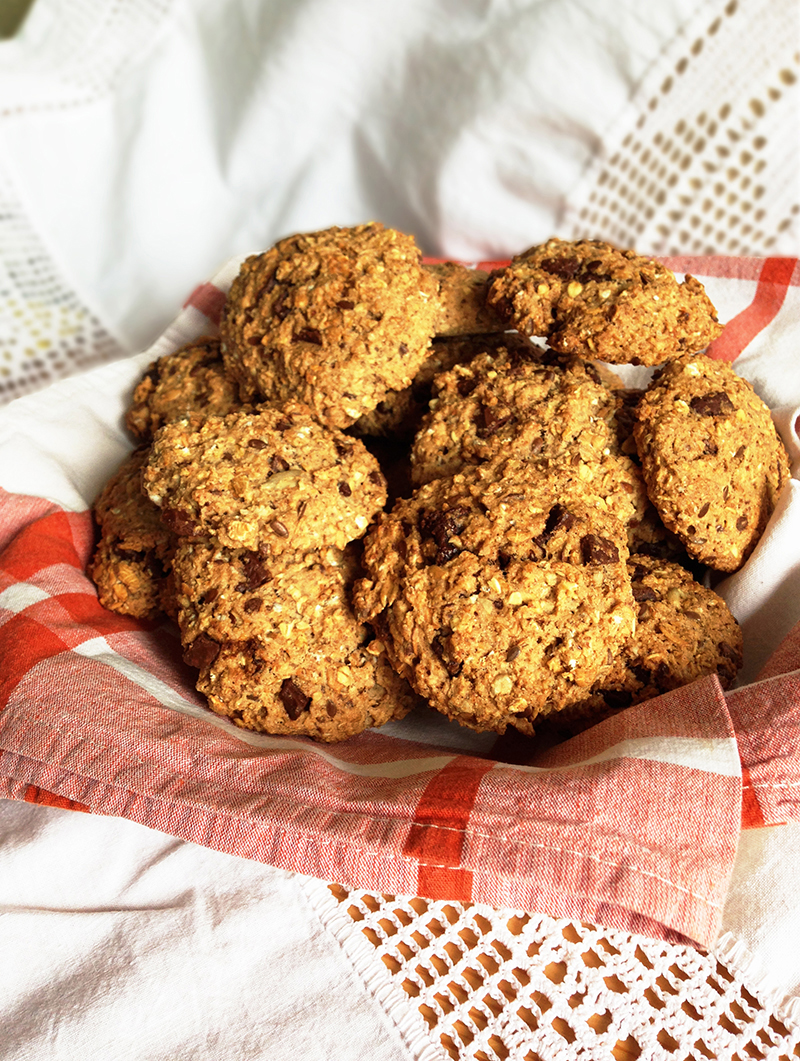
Gluten Free Hemp Cookies with Oatmeal and Coconut

hemp-cookies-healthy-gluten-free-fibre-diet-recipeshemp-cookies-healthy-gluten-free-fibre-diet-recipes-2

Everything tastes guilt-free when it’s gluten free and oh-so healthy! These hemp cookies are loaded with protein, fiber, and energy-boosting nutrients. With a combination of hemp, oatmeal, coconut, and bananas, you are sure to be left feeling satisfied and full for a long time.

If you are looking for a recipe for pot cookies – sorry this is not one for you. These delicious cookies are made from a different variety of cannabis than marijuana. Hemp is a high protein seed that contains all nine essential amino acids. It’s also includes omega 3 and 6 fats as well as vitamin E and tons of minerals.

If you are on a diet, these cookies are the perfect snack before hitting the gym. Loaded with muscle-building protein, they are a lot healthier than store-bought energy bars. With no sugar added and all natural ingredients, what are you waiting for? Let’s get baking!

*If you would like to share my recipe and photos please provide proper credit and a link back. Thanks!  

Gluten Free Hemp Cookies with Oatmeal and Coconut

Protein-packed hemp cookies with rolled oats and coconut flour.

Ingredients:
 
  1. 1.5 cups Hemp flour
  2. 1/2 cup oats
  3. ½ cup coconut flour
  4. 1 tbsp flax seeds
  5. 2 bananas, mashed
  6. 2 tbsp honey
  7. 1.5 cups raisins (optional)
  8. 2 tsp vanilla extract
  9. 4 tbsp water – add more if it’s too dry
Instructions:
 
  1.  Preheat oven to 350 F and line a baking sheet with parchment paper.
  2.  In a mixing bowl, combine hemp flour, oats, coconut flour, and flax seeds.
  3.  In a separate bowl, mash together the bananas, honey, raisins, vanilla extract and water. Your dough should resemble cookie dough. If it’s too dry, add another tbsp of water.
  4. Drop tablespoons of the dough onto baking sheet and then flatten into circles. Bake for about 10 minutes. Remove from oven onto a cooling rack.
 

 More Delicious Cookie Recipes:

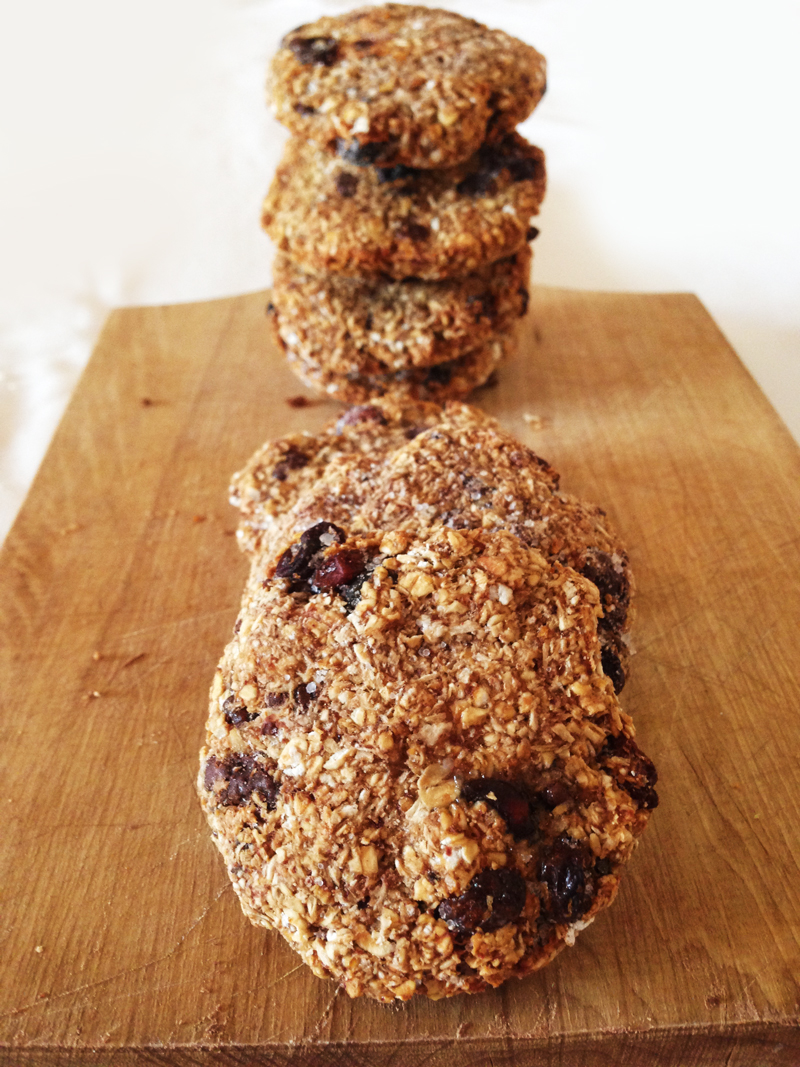
3 Step Gluten Free Oatmeal Chocolate Chip Raisin Cookiestwo-ingredient-gluten-free-chocolate-chip-raisin-cookies-healthy-low-calorie-recipe-1

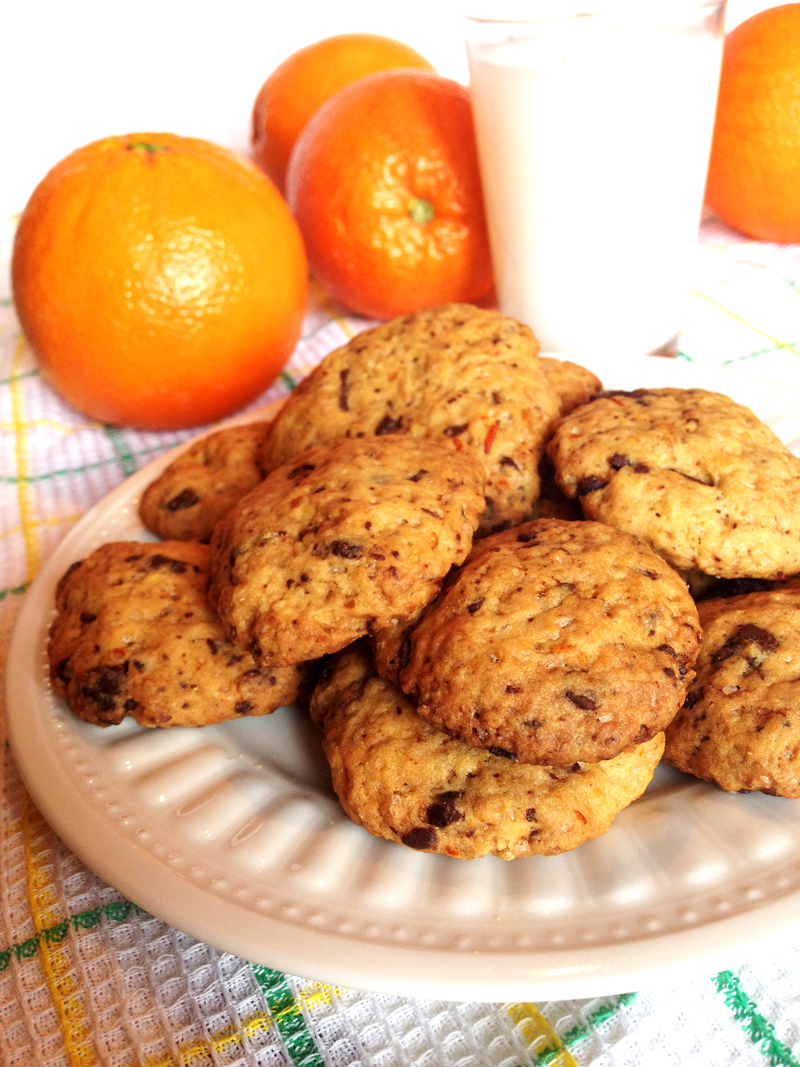
Chocolate Chip Orange Cookies Recipechocolate-chip-orange-cookies-infused-whole-wheat-easy-recipe-better-baking-bible-blog-2

Old Fashioned Oatmeal Chocolate Chip Cookies3 easy-oatmeal-chocolate-chip-cookies-how-to-make-muesli-bobs-red-mill-coconut-oil-honey-raisins-choco-chips-dairy-free

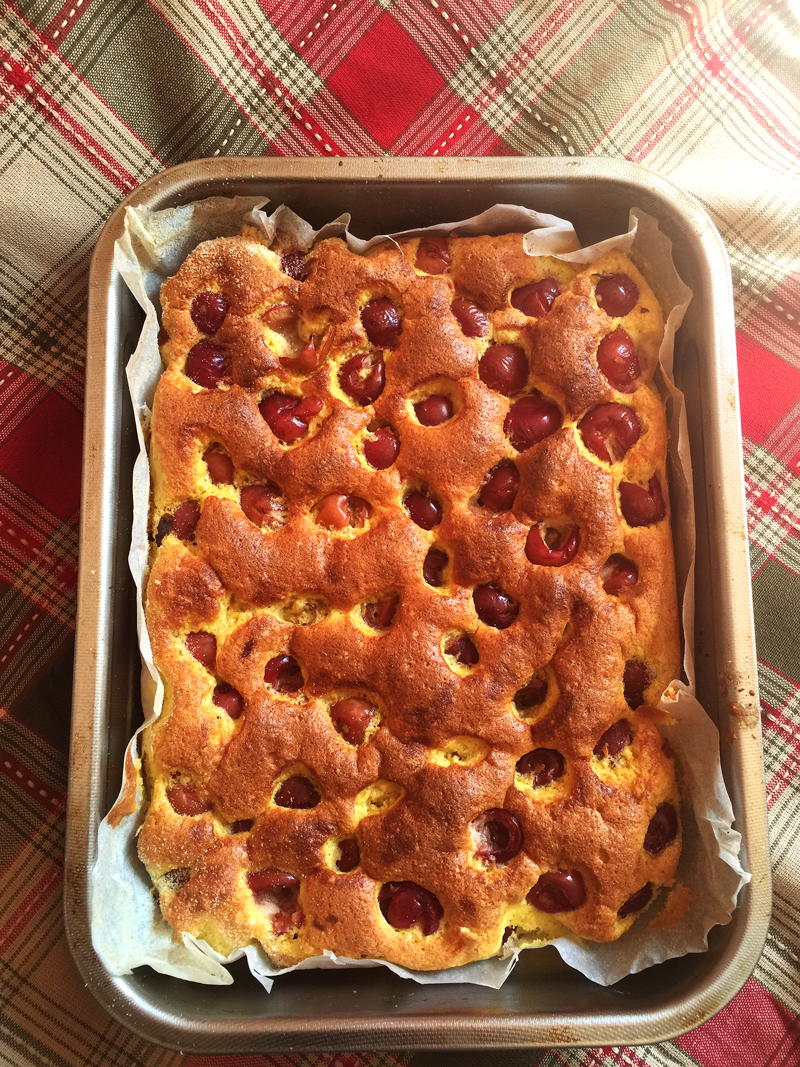
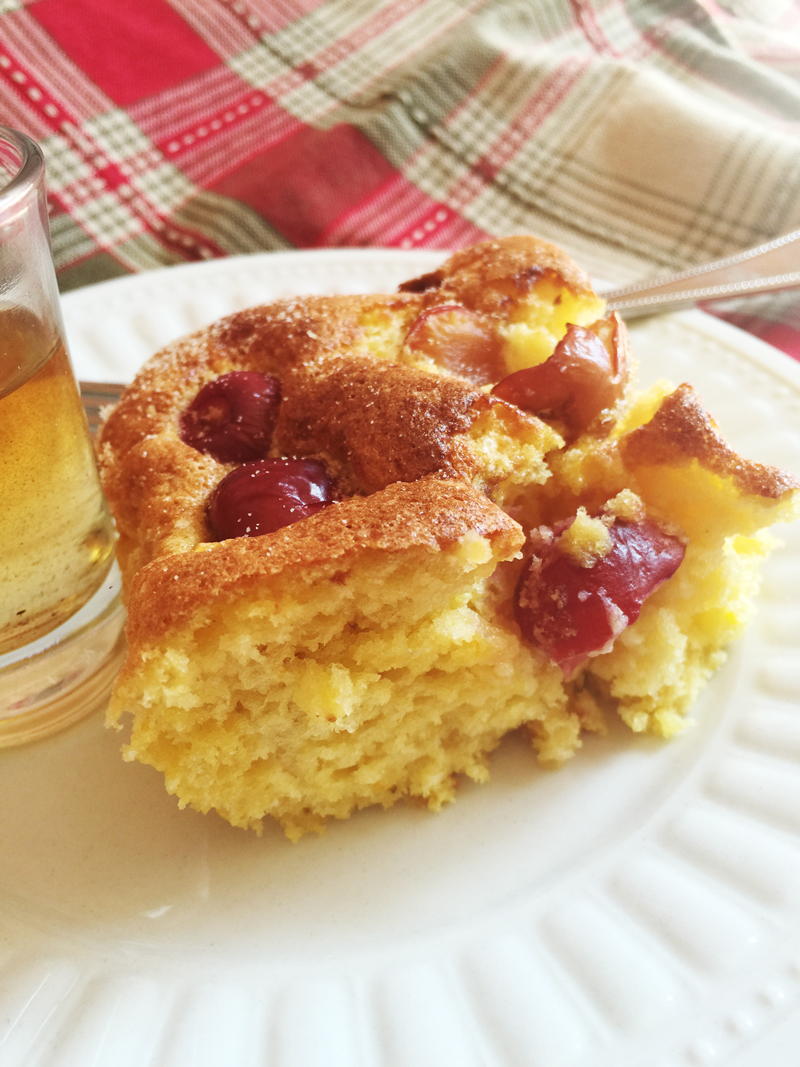
Cherry Sponge Sheet Cake Recipe

cherry-sponge-poke-cake-recipe-baking-spring-summer-sheet-cakecherry-sponge-poke-cake-recipe-baking-spring-summer-sheet-cake-2cherry-sponge-poke-cake-recipe-baking-spring-summer-sheet-cake-3

If you are looking to make an easy cake perhaps something for Sunday brunch, then this cherry sponge sheet cake is the perfect one for you. I usually make this delicious cake in the spring, when cherries are in season. Lucky me, I managed to freeze a few bags of pitted cherries so I can make cherry cake all year round!

Sheet cakes might be thought by some bakers as the lazy man’s cake, but that is why they go well with so many different condiments. Think of it as a plain cake that needs some accessorizing! On top of each squared piece of cake, swirl on some whipped cream and then top it off with a fresh cherry. You can also sprinkle powdered sugar on top or even serve each slice with a scoop of ice cream!

Whatever you choose to do, this cherry sheet cake is also good simply on it’s own. Refreshing, sweet, and light, it’s a wonderful cake if you would like to extend the summer season like me! Try out this recipe and let me know how it turned out for you, remember we always love to see readers pictures!

*If you would like to share my recipe and photos please provide proper credit and a link back. Thanks!  

Cherry Sponge Sheet Cake

Easy, light, and refreshing sheet cake made from cherries.

Prep Time: 10 min  Cook Time: 30 min Total Time: 40min

Ingredients:

For Cake
 
  1. 200g all purpose flour
  2. 180g sugar
  3. 360g plain yogurt (or two 180g yogurt cups)
  4. 125g margarine
  5. 50ml milk
  6. 4 large eggs
  7. 2.5 tsp vanilla sugar or vanilla extract
  8. 2 tsp baking powder
For Cherry Filling
 
  1. 500g cherries, pitted and washed
  2. 2.5 tsp vanilla sugar
Instructions:
 
  1. 1. In a small bowl, toss cherries together with vanilla sugar.
  2. 2. In a separate mixing bowl, separate egg whites from yolks. Using an electric mixer, beat egg whites and slowly add in half of the 180g of sugar. Keep beating until peaks form.
  3. 3. Mix yolks using an electric mixer in yet another mixing bowl with the remaining sugar, vanilla sugar, yogurt, margarine, and baking powder.
  4. 4. Slowly fold in the yolk mixture with the egg white and sugar mixture until combined. In a greased and prepared baking sheet, pour batter and sprinkle cherries on top.
  5. 5. Bake at 356 F for half an hour. Then remove from oven, allow to cool, and slice into squares. To serve, sprinkle powdered sugar on top using a tea/coffee strainer. Voila!

 Here are Some More Easy Cakes!

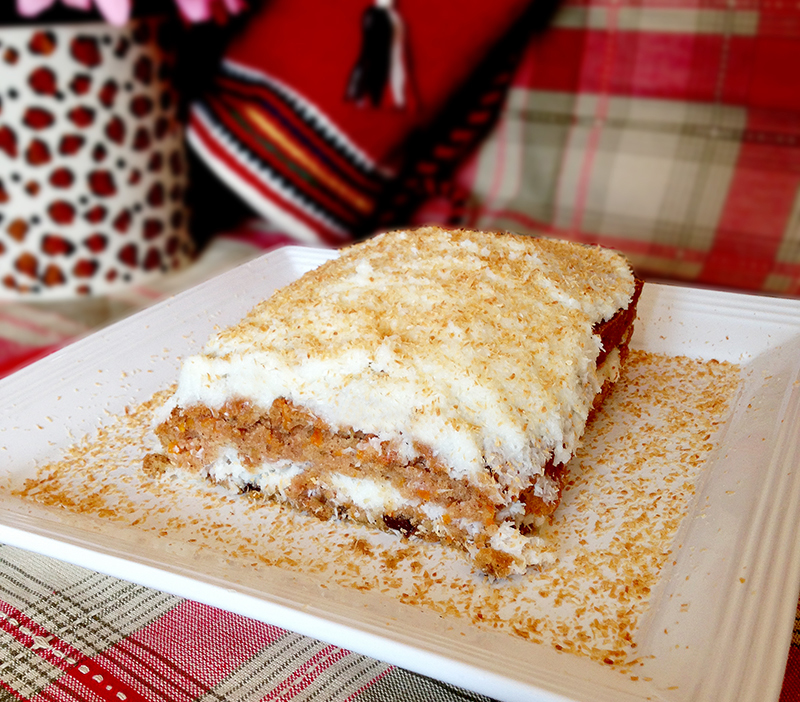
Rustic Carrot Cake Loaf with Coconut Yogurt Icing
1 grandmas rustic coconut carrot cake recipe yogurt icing dairy free eggless healthy toasted raisins easy cheap better baking bible blog

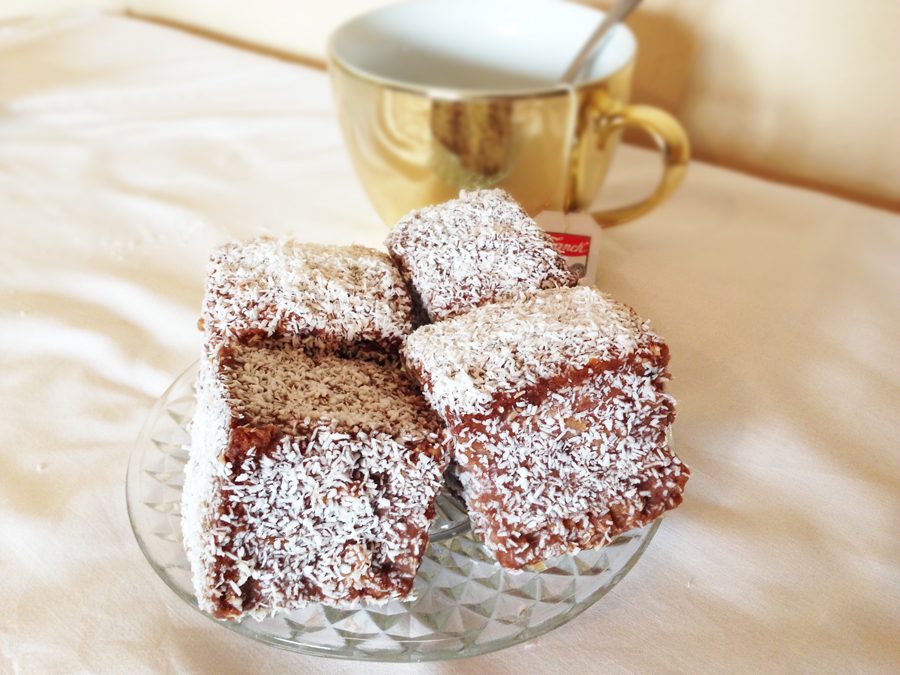
Banana Bread Lamingtons
banana bread lamingtons easy holiday christmas cupavci coconut 2

Vanilla Custard Cream Cake – Croatian Kremsnita
4-vanilla-custard-cream-cake-sheet-cake-croatian-kremsnita-recept-recipe-kako-napraviti-custard-dough-easy-holiday-dessert-wedding-simple-sugar


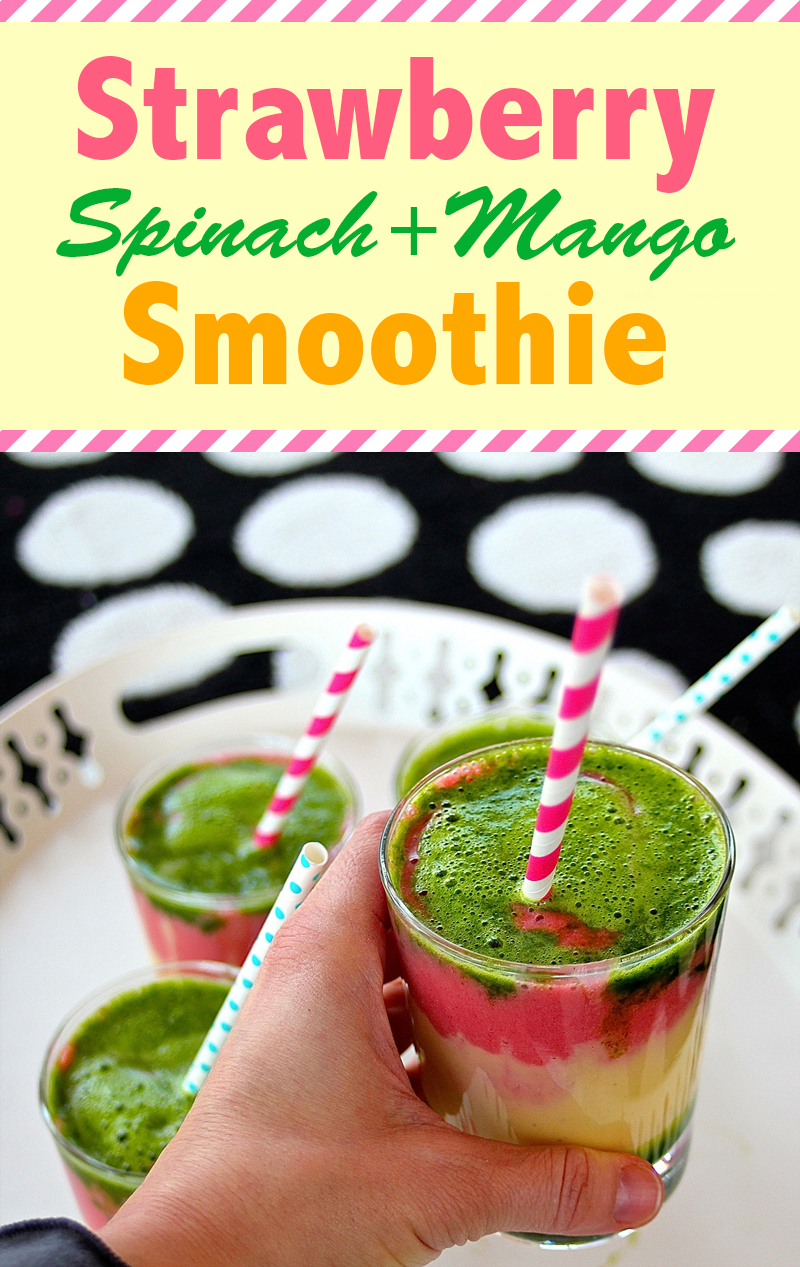
Strawberry Spinach Mango Smoothie – Dairy Free!

strawberry-mango-spinach-smoothie-recipe-healthy-better-baking-bible-blog-5 strawberry-mango-spinach-smoothie-recipe-healthy-better-baking-bible-blog-2strawberry-mango-spinach-smoothie-recipe-healthy-better-baking-bible-blog-4strawberry-mango-spinach-smoothie-recipe-healthy-better-baking-bible-blog-3SMOOTHIE / HEATHER HAMMOD / CC BY


Finally the long awaited summer weather has come, and it’s sizzling outside a little too much for my liking! The best way to combat the heat? With frozen smoothies of course! Strawberry spinach and mango smoothie to be exact is what’s popping up on my menu for breakfast, lunch, and even a late night snack. I’m not going to lie – I love smoothies, cakes, desserts, anything sweet and I’ll have it. But what makes something even more enjoyable is when it’s delicious but also super healthy. This gives you an automatic excuse to take seconds, right?

Deliciously healthy is exactly what this smoothie is, it tastes refreshing, heavenly, it looks amazing, and it’s also quite healthy. Packed with antioxidant rich strawberries, spinach, and mango, who knew this combination would work so well together? To make this smoothie, the only tool you need is a blender. There are tons of food blenders on the market, although make sure to buy one that is made out of glass. Glass is much easier to wash, and it’s more sanitary. Bacteria seeps into plastic, it’s almost impossible to disinfect, and plus it’s not healthy to use period. Food blenders are a great investment, as long as you purchase one made out of glass and from a reputable brand.

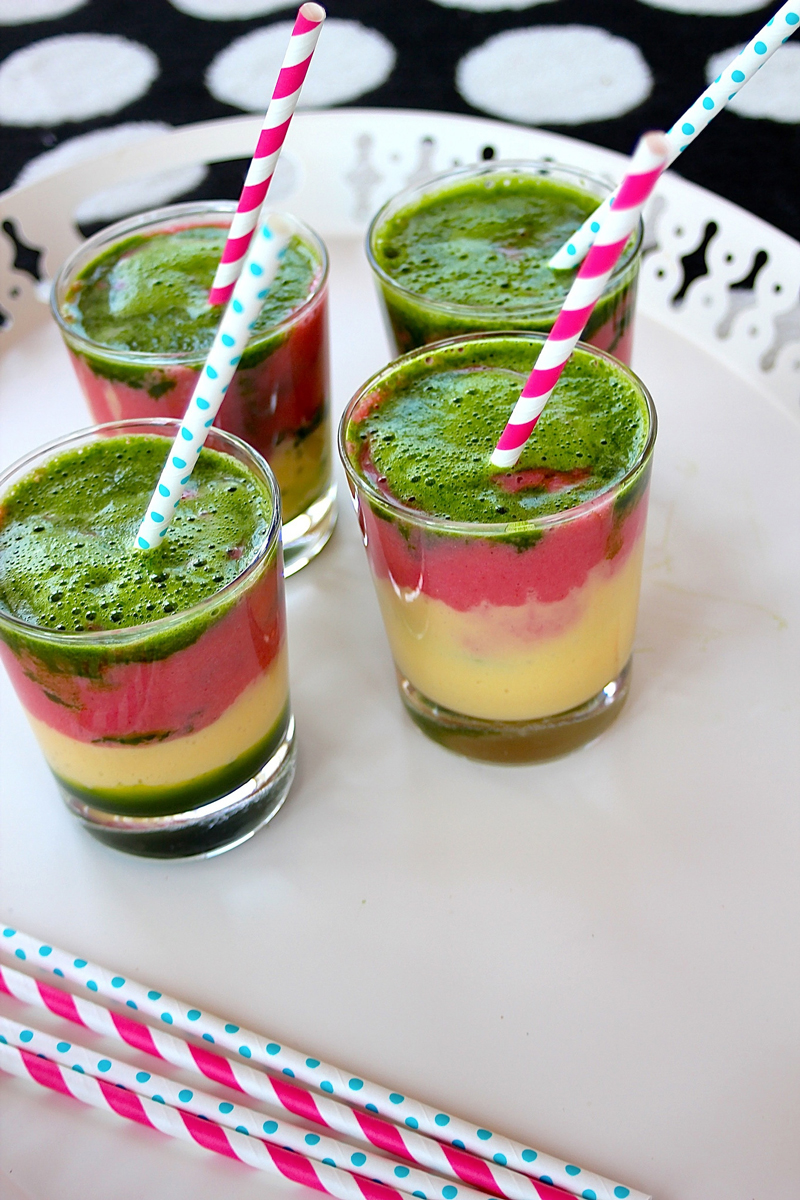
The best part about this smoothie is that it’s super easy to make. I love recipes that don’t take too much effort, but still turn out wonderful. What really makes it come together is the beautiful presentation. Eye popping layers of strawberry, spinach, and mango make this smoothie look and taste even more yummy!

Strawberry Spinach Mango Smoothie

 
A summer ready smoothie made with frozen strawberries, spinach, and mango!
 
Ingredients:
 
  1. 1 1/2 cups frozen mango chunks
  2. 1 cup frozen strawberries
  3. 1 cup fresh spinach
  4. 1 cup water
  5. 1 tbsp honey
Instructions:
 
  1. Using a blender, blend the frozen mango chunks with water until smooth. Pour 2/3 of the blended mixture into a serving glass.
  2. Add strawberries into the blender and blend until smooth. Pour ¾ of the smoothie into the serving glass, covering the mango to form a layer.
  3. Add spinach and 1 tbsp of honey into the blender and blend until smooth. Poor into the serving glass and serve right away or store in the freezer for later.

strawberry-mango-spinach-smoothie-recipe-healthy-better-baking-bible-blog-2