If you love stuffed savory puff pastry, you’ll adore this recipe. This is a vegan equivalent of the traditional Venezuelan ‘pastelitos’ (little pastries), which are usually stuffed with ricotta cheese and spinach!
 Photo By: Unsplash
Our vegan equivalent uses tofu and packs lots of flavor into these crispy little packages. We also use store-bought puff pastry, though you can make your own if you wish.
We’ve also included some recipe variations (in the FAQs below) if you want spicy pastries. Enjoy!
Ingredients
- 4 cups fresh spinach (baby spinach is best)
- 1 ten-ounce packet of tofu (extra firm)
- 1 shallot, finely diced
- 2 garlic cloves, peeled and minced
- 1 teaspoon onion powder
- 1 teaspoon salt
- Zest of 1 lemon
- 1 tablespoon lemon juice
- 3 tablespoons nutritional yeast
- 2 tablespoons tahini (sesame seed paste)
- 2 sheets store-bought or homemade puff pastry (about 18 ounces, or 500 grams)
Method
- First, remove the tofu from the package and press out any excess water. You can do this in about 5 minutes with a TofuBud style tofu press. Alternatively, wrap your tofu block in a clean towel, and put it in a colander. Put a weight on top and press out the water. Leave the weight on top of the tofu for another 20 minutes or so.
- While your tofu is draining, steam the fresh spinach for 5 minutes or till it wilts. Put the spinach in a colander or sieve and let it drain.
- Leave the spinach to one side, and preheat your oven to 425 degrees F.
- Now crumble your tofu (using your hands) into a mixing bowl, and add the rest of the ingredients except for the puff pastry sheets. Mix well.
- Your spinach should now be cool enough for you to squeeze out as much water as you can. Once you’ve drained your spinach, chop it and add it to the mixing bowl. Stir it into the tofu mixture.
- You are now ready to fill the puff pastry sheets. Set the pastry sheets out on top of parchment paper. You want your sheets to be nice and thin – if you find they are too thick, roll them out with a rolling pin. The thickness of the pastry depends on your personal taste, but generally speaking, you want the pastry to be as thin as possible without breaking.
- Trim the edges of your puff pastry sheets so that you have a square. Next, cut diagonally across the square so that you have two triangles. If you like large puff pastries, two triangles per pastry sheet are fine. Otherwise, you can cut your square across the other diagonal so that you end up with four triangles or four small puff pastries.
- Using a spoon, put some filling in the center of each triangle. Fold the triangle over on itself to cover the filling (as if you wanted to fold it to make another triangle). Press the edges of the pastry together so that they form a tight seal. Repeat this process until you’ve made all of your pastry puffs.
- With a small knife, cut some slits diagonally across the top of each puff. The slits will allow steam to escape as they cook. Put your puffs on a baking sheet lined with parchment paper. The parchment paper will keep the pastries from sticking. If you don’t have parchment paper, use a non-stick spray or aluminum foil underneath.
- Cover your puffs with foil, and bake them for 20 minutes.
- Remove the foil and let them bake for another 5 or 10 minutes, or till the tops of your puffs are slightly golden brown. Serve hot.
Note: If you happen to have any leftover filling, keep it for sandwiches or to serve on toast.
Puff Pastry with Tofu FAQs
What else could I add to the filling to get different flavors?
- There are many other ingredients you could add to the filling to spice things up a bit. This recipe is essentially a tofu scramble inside a pastry, so any scramble ingredients would work well.
- This recipe would work well with any additional veggies that you fancy, such as mushrooms, chopped sweet peppers, corn… anything goes!
- For an Indian-inspired pastry filling, you could add 1/2 cup green peas along with a teaspoon of your favorite curry powder.
- For a Mexican-inspired filling, try 2 teaspoons chopped jalapeno peppers, 1 medium tomato finely diced, a few sprigs of fresh cilantro, and 2 teaspoons taco seasoning.
What can I serve with puff pastries?
These pastries are delicious when accompanied by a hearty vegetable soup, a selection of savory dips or your favorite tossed salad.
 Photos By: Unsplash
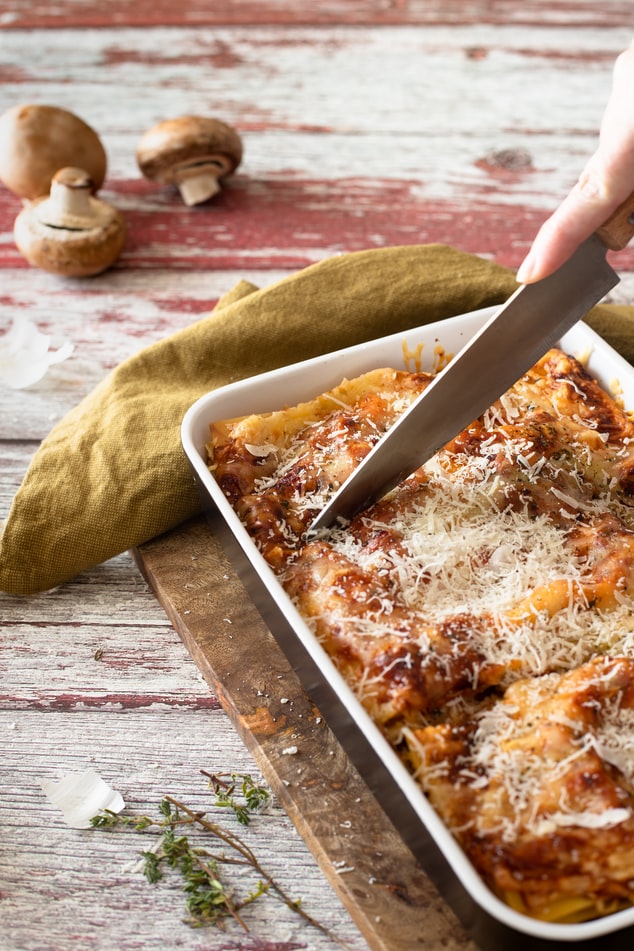
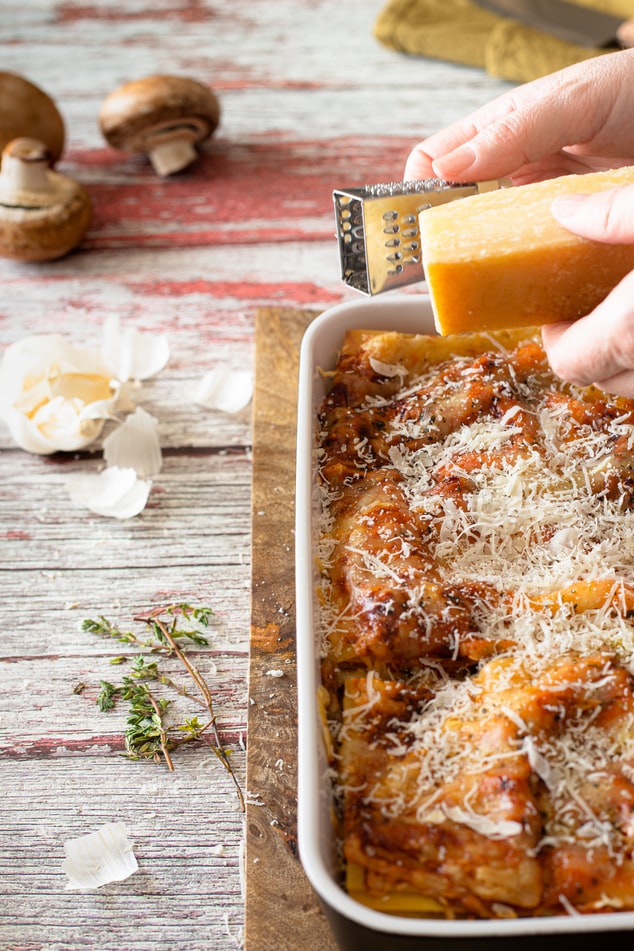
 Photo By: Unsplash

 Photos By: Unsplash
 Photos By: Unsplash