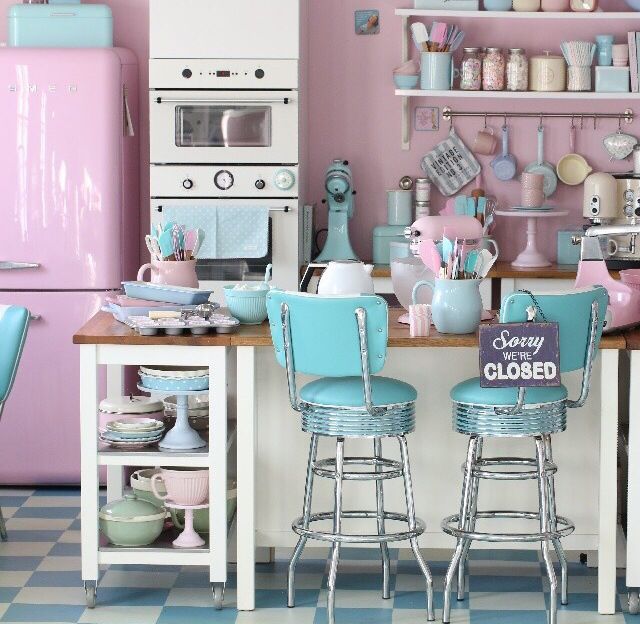
The toilet paper shortage during Covid-19 was no joke, but there was another shortage that you might have noticed — flour!

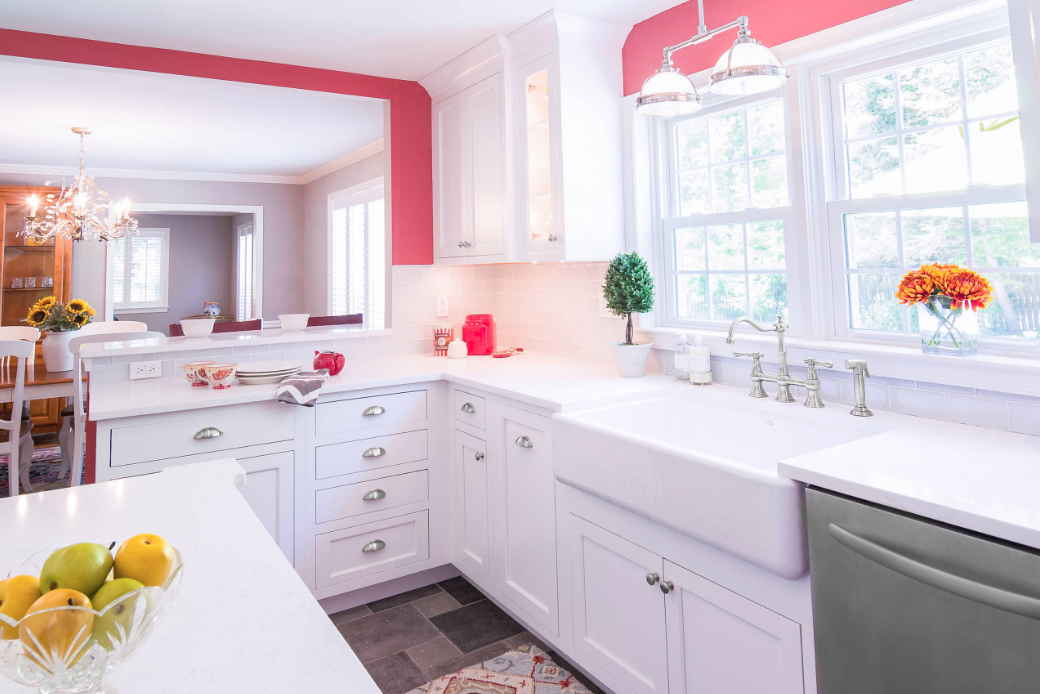
Photos By: MacLaren Kitchen and Bath
Many people used the extra time at home during coronavirus to get to baking, everything from cookies to cakes to breads and pizza. If you are one of those people who discovered a new passion for creating baked goods during coronavirus, then you may be thinking about how you can upgrade your kitchen to help you achieve your baking goals.
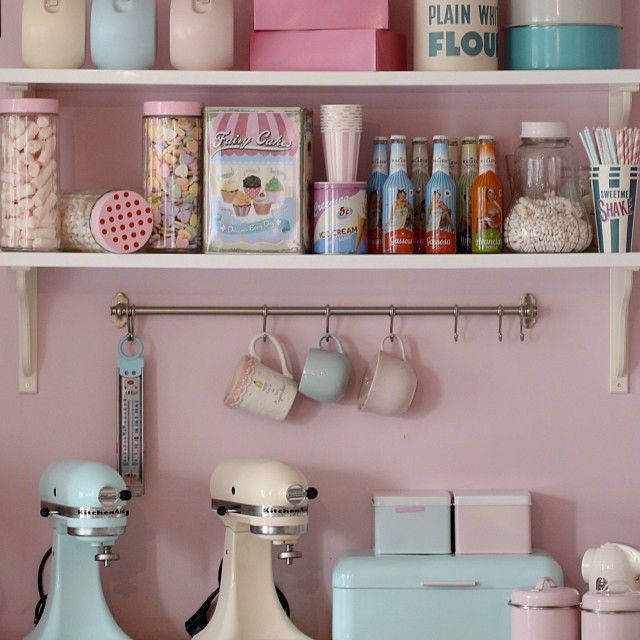
Open shelves
When you start baking, you suddenly accumulate a lot of dry goods: flour, sugars, grains, and other necessities. If you are baking a lot, it can be annoying to have to pull these items down from a high shelf every time you need them. Creating an area with open shelves above your workspace is the best way to organize a dream kitchen for bakers. If you don’t have one already, you can think about adding a half shelf on a wall, or see if you can rearrange some items to make room for your baking necessities.
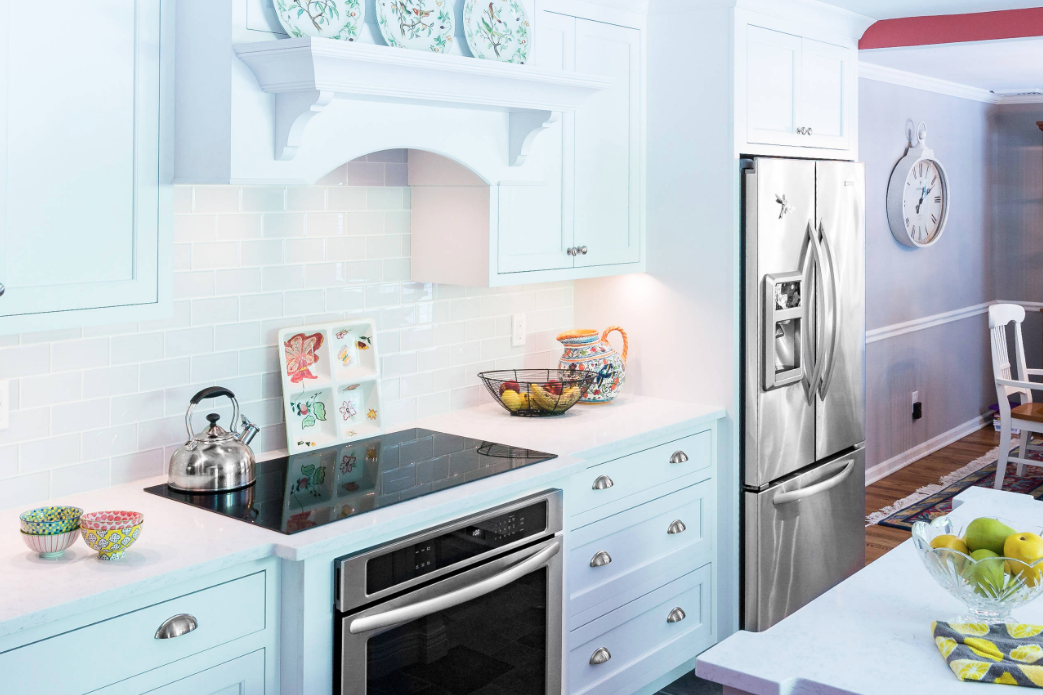
Tray and baking pan storage
The other new items in your kitchen are pans and trays — because cookies, cupcakes, cakes, and breads all need different ones. Upright storage is ideal but you don’t need cabinets made specifically for trays. You can place your storage in an upper cabinet and get a standup file divider from an office supply store to keep your trays organized.
Rolling cart
A rolling cart can be a convenient way to add more storage to your kitchen, for a portable bakers’ nook that can travel anywhere. When you need it, you can move it around to the most ideal spot for easy access. The top of your rolling cart can also serve as your pastry table, and ideally it should be lower than a typical kitchen counter. Another advantage of the rolling cart is that it’s not a permanent upgrade and that can be attractive if you are thinking about moving after coronavirus, so you can take your baking station with you.
Book/tablet stand
If you are new to baking, you are likely experimenting with many recipes to learn your skills and techniques. You might often be consulting recipes on your tablet, or recipe books. For books, you can buy an inexpensive stand and use that to hold whatever you are working on in place.
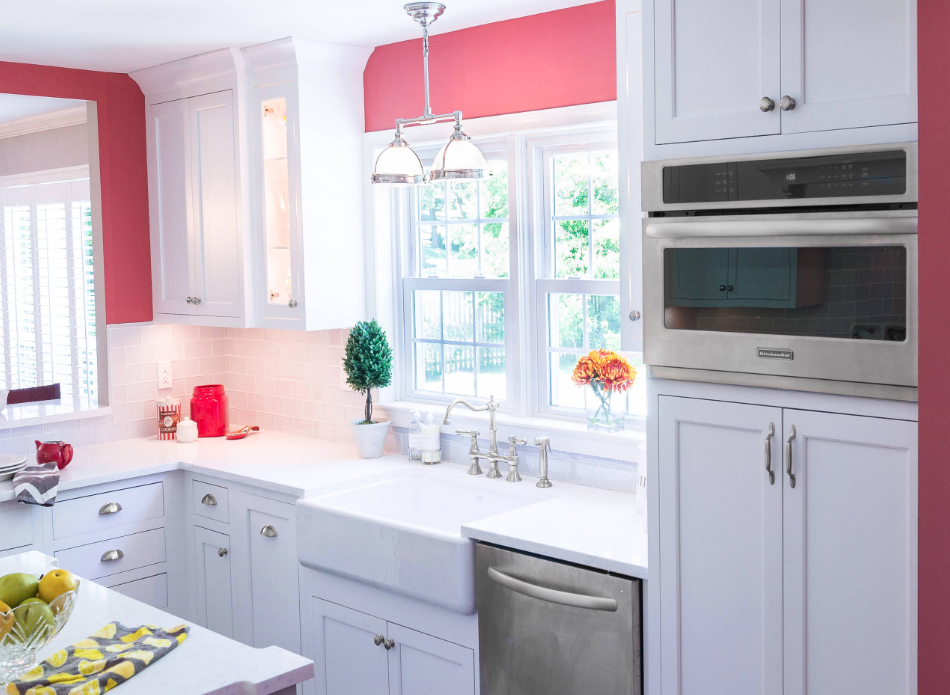
Shelves for recipe books
Kitchens do not always come with bookcases, and if you have many recipe books, you’ll probably want shelves for them. You can turn a cabinet into a bookcase by removing a door and adding more shelves, or if you have the wall space, consider buying a bookcase to add to your kitchen.
Acquiring or revisiting a passion for baking that you may not have had time for in the past, means your kitchen might need to take on a new life. But with these tips, you can find that you don’t need a complete kitchen overhaul to be well on your way to your baking dreams. Moving items around and adding a few tools can give you the space you need to get creative in the kitchen. And if you are thinking about selling your home during Covid-19, or in the future, these upgrades might be attractive to help buyers imagine themselves in your kitchen.
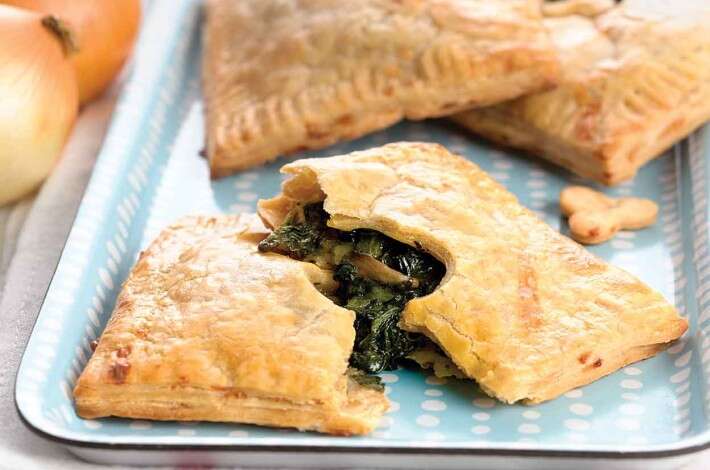

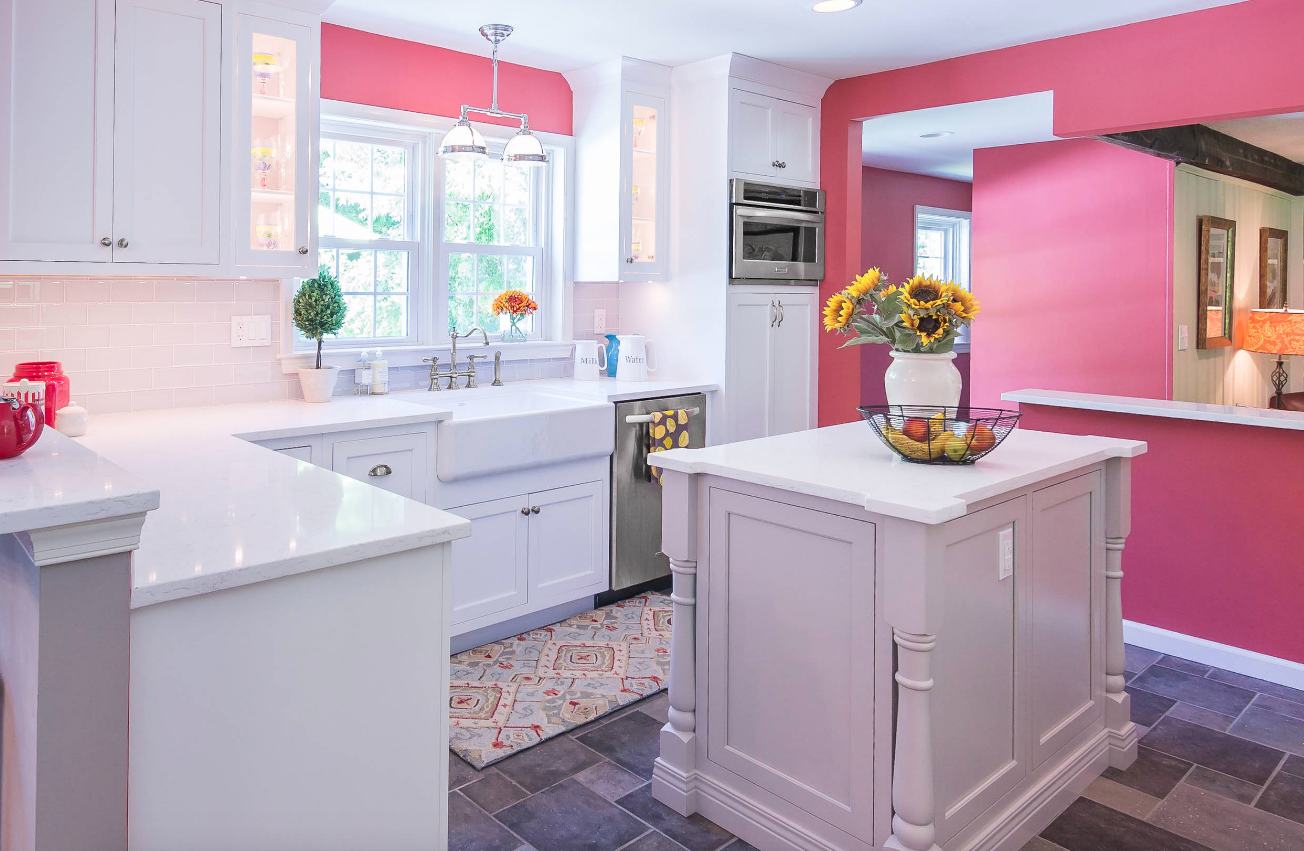 Photo By:
 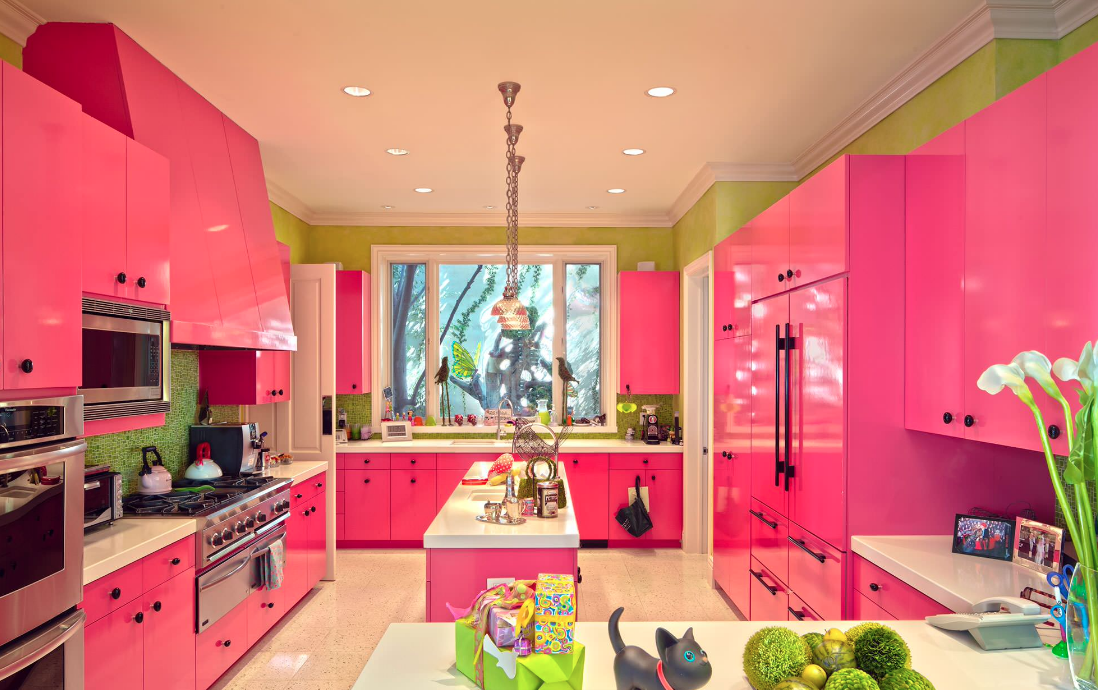 Photo By: