There’s nothing quite like the aroma of fresh-baked bread filling your home. Whether you’re a seasoned pro or a beginner, mastering the art of bread making is an essential skill. In this guide, we will cover the basics of bread making and provide you with tips and tricks for perfect loaves every time!
 Photos By: Unsplash
From selecting the right ingredients to kneading and shaping the dough, you’ll learn everything you need to know to make delicious bread at home. So, roll up your sleeves and let’s get baking!
Ingredients
The key to baking perfect bread is having the right ingredients. Here’s a breakdown of the essential ingredients you’ll need:
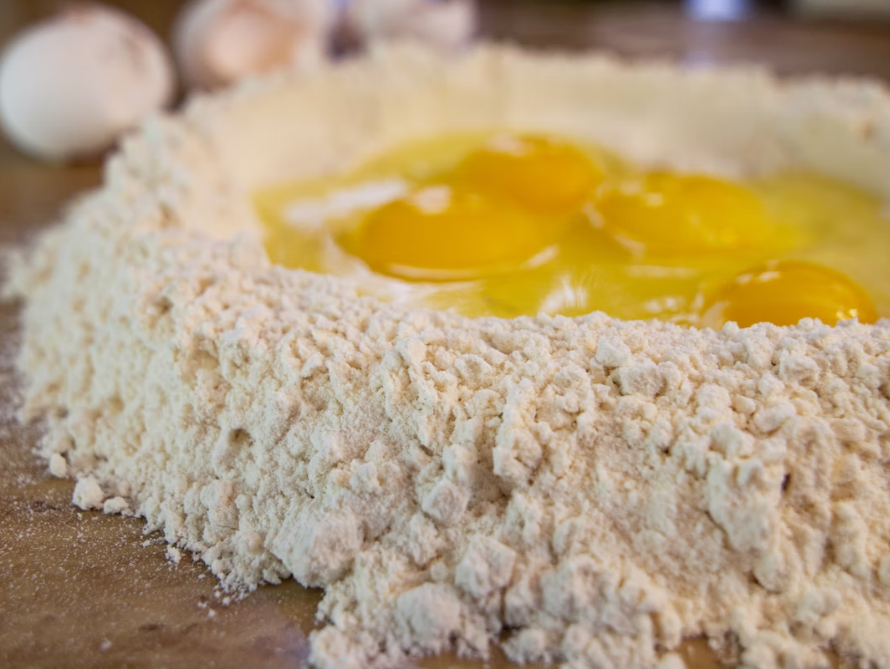
- Flour: The type of flour you use will affect the texture and flavor of your bread. All-purpose flour is a good choice for beginners, but you can experiment with bread flour, whole wheat flour, and other types of flour to achieve different results.
- Yeast: Yeast is what makes your bread rise. You can use active dry yeast, instant yeast, or fresh yeast. Follow the instructions on the package to activate the yeast properly.
- Salt: Salt is important for flavor, but it also helps control the fermentation process and strengthens the gluten structure in the bread.
- Sugar: Sugar adds sweetness and helps feed the yeast. You can use granulated sugar, honey, molasses, or other sweeteners.
- Water: Water is the main liquid in your dough. It should be warm (around 110°F) to activate the yeast but not too hot to kill it.
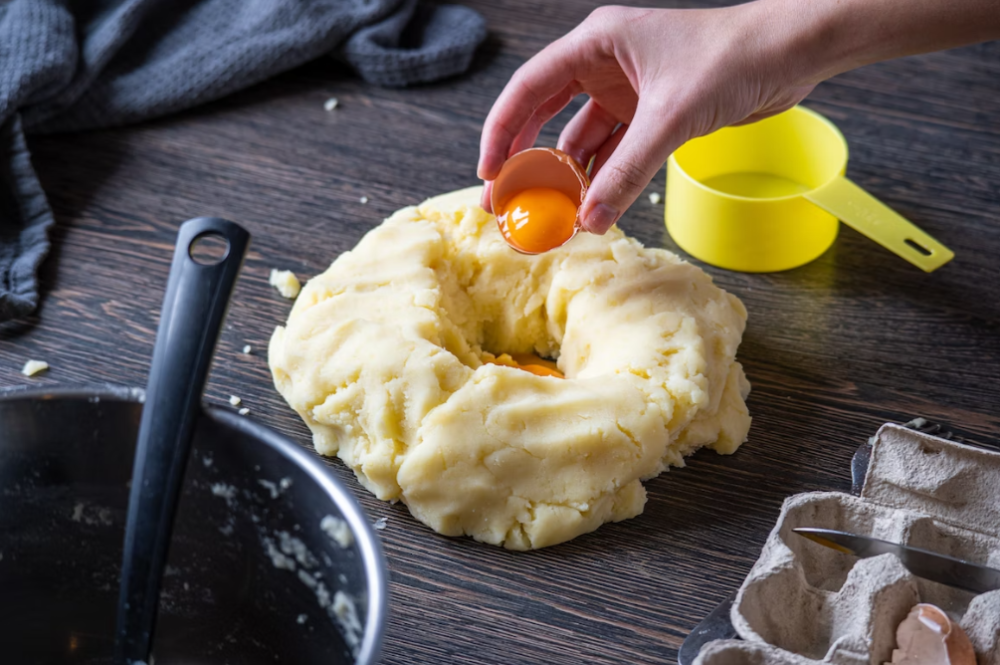
Other optional ingredients you may want to include in your bread recipe are milk, eggs, butter, and herbs or spices.
Techniques
Making bread is not just about mixing the ingredients and putting them in the oven. There are specific techniques that need to be followed to get the perfect loaf. Here are some essential techniques you need to know:
- Mixing: One of the most important steps in bread making is mixing. It’s essential to mix the ingredients properly to achieve the right consistency. Mixing can be done by hand or with a mixer, but it’s important not to over-mix as this can make the bread tough.
- Kneading: Kneading is an important step in developing gluten in the dough, which gives the bread its structure and texture. Kneading also helps to distribute the yeast evenly throughout the dough. It’s important to knead the dough until it’s smooth and elastic, which usually takes about 10-15 minutes.
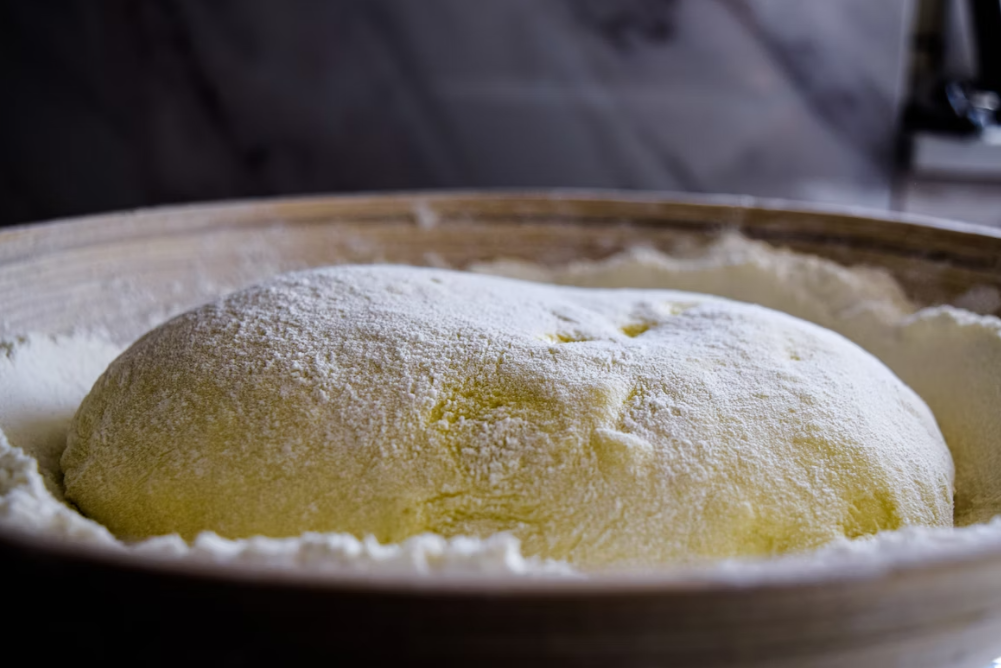
- Rising: The rising process is crucial to the success of your bread. The dough needs to be placed in a warm, draft-free place for the yeast to work its magic. The ideal temperature for rising is between 80-85°F. You can cover the dough with a damp towel or plastic wrap to prevent it from drying out.
- Shaping: Shaping the dough is where the art of bread making comes in. There are many different ways to shape bread, depending on the type of bread you are making. It’s important to handle the dough gently to avoid deflating it.
- Scoring: Scoring is the process of making shallow cuts in the surface of the dough before baking. This helps to release the steam from the bread as it bakes, which results in a crispy crust. It also allows the bread to expand evenly in the oven. Use a sharp knife or a bread lame to score the dough.
By mastering these essential techniques, you can make perfect loaves of bread every time.
Baking
Baking bread is not just about mixing and kneading the dough, it’s also about the baking process itself. After you have shaped your dough, it’s time to put it in the oven. But before that, you need to make sure your oven is preheated to the correct temperature. This is important because the right temperature will help your bread bake evenly and rise properly.
When it comes to baking times and temperatures, there are many variables to consider. These include the size and shape of your loaf, the type of flour you used, and the moisture content of your dough. Generally, most breads bake at 375-425°F (190-220°C) for 30-40 minutes, but it’s always best to refer to your specific recipe for guidance.
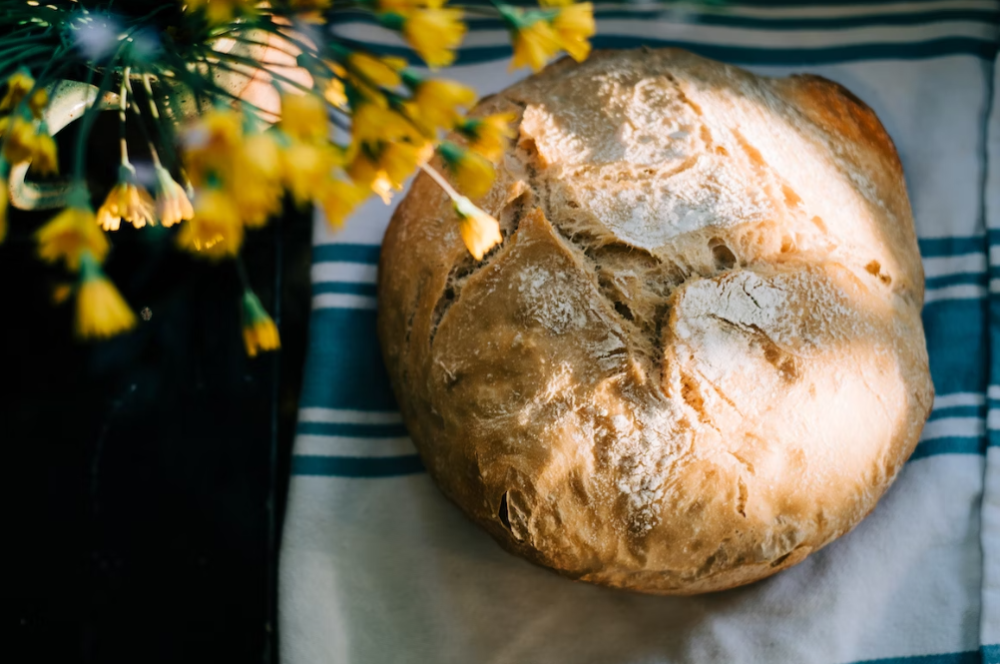
To test if your bread is perfectly baked, you can tap the bottom of the loaf. If it sounds hollow, it’s ready! Another way to check is to insert an instant-read thermometer into the center of the loaf. If it reads between 190-210°F (88-99°C), your bread is fully cooked.
Once your bread is out of the oven, it’s important to let it cool properly before slicing into it. This allows the crumb structure to set, giving your bread a chewy texture and preventing it from becoming too gummy. The cooling process can take anywhere from 1-2 hours, depending on the size and shape of your loaf. You can cool your bread on a wire rack or a clean towel.
Troubleshooting
Bread making can be a finicky process, and even experienced bakers can run into issues from time to time. But don’t fret – with a little knowledge and practice, you can troubleshoot most common problems and end up with a perfect loaf every time.
One of the most common problems in bread making is over-rising. This can cause the dough to become too light and airy, resulting in a flat or misshapen loaf. To avoid over-rising, be sure to pay attention to the timing and temperature of your rising environment. If your dough has risen more than it should have, you can punch it down and reshape it before letting it rise again.
Under-rising can also be a problem, resulting in a dense and heavy loaf. To ensure your dough rises properly, make sure your yeast is fresh and active, and that your rising environment is warm and draft-free. If you’re still having trouble with under-rising, try adding a little extra yeast or letting your dough rise for a bit longer.
Tough crusts are another issue that can plague bakers. To get a softer crust, try brushing your loaf with melted butter or oil before baking, or baking it covered for the first part of the baking process.
Sticky or misshapen loaves can also be a problem. If your dough is too sticky, try adding a little extra flour. If your loaf is misshapen, make sure you’re shaping it properly and that it’s not sticking to your work surface.
With a little practice and patience, you’ll be able to troubleshoot most bread making problems and achieve perfectly baked loaves every time.
Try all these tips to bake the perfect bread to have with your favorite dish. If this guide wasn’t enough, we’ve also got your dish covered, check a recipe here: https://minuterice.com/recipes/rice-stuffed-eggplant-parmesan/. Enjoy and let us know how it goes!