
Do you run a bakery? Improve your business with this cutting edge bakery software!

In today’s fast-paced world, technological advancements have permeated every industry, transforming the way businesses operate. One such sector that has seen a significant transformation is the bakery industry, with the advent of innovative bakery software. This software has revolutionized how bakeries manage their operations, enhance customer experiences, and streamline their overall business processes.
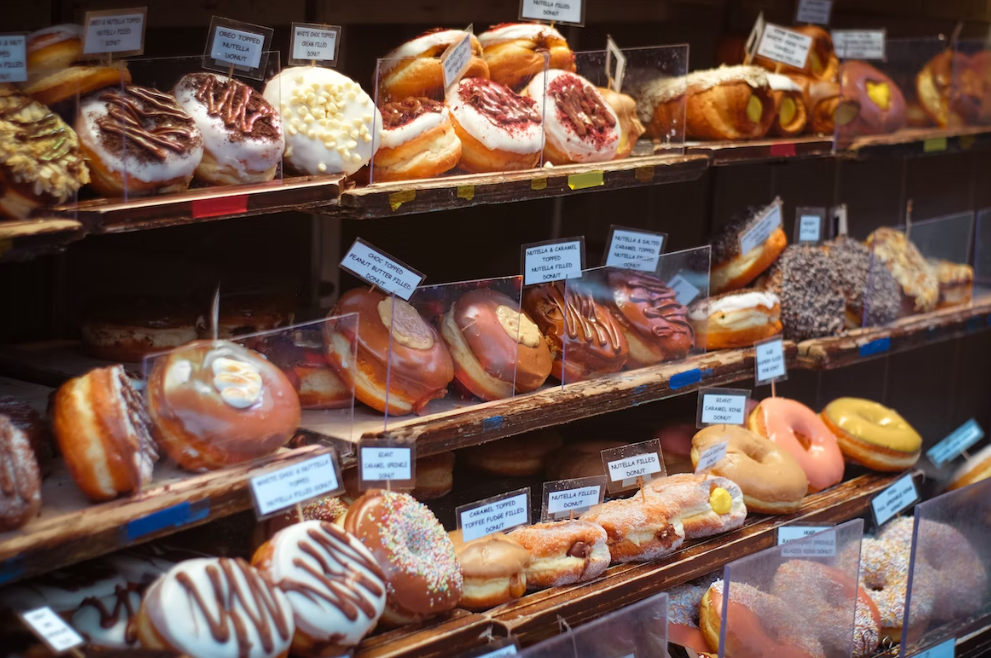
Streamlined Operations and Inventory Management
Gone are the days when bakery owners had to rely on manual processes for order management, inventory tracking, and recipe management. Bakery software has emerged as a game-changer by providing efficient solutions to these challenges. These software applications enable bakery owners to digitally track their inventory in real-time, helping them optimize stock levels and reduce waste.
With features like recipe management, bakers can easily scale their recipes up or down, ensuring consistency in taste and quality. Automated order management systems allow for seamless order processing, reducing errors and ensuring timely deliveries. This not only enhances customer satisfaction but also frees up valuable time for bakers to focus on their craft.
Enhanced Customer Experiences
Bakery software isn’t just about managing internal operations; it’s also about creating exceptional experiences for customers. Many bakery software solutions integrate with online ordering platforms, allowing customers to place orders conveniently through websites or mobile apps. This feature caters to the modern consumer’s preference for digital interactions and simplifies the ordering process for both the customer and the bakery.
Furthermore, bakery software often integrates with customer relationship management (CRM) systems, enabling bakeries to maintain a database of customer preferences, order history, and special occasions. This data empowers bakeries to offer personalized recommendations, discounts, and promotions, fostering stronger customer relationships and increasing customer loyalty.
Efficient Production Planning
Production planning is a critical aspect of bakery business operations, as it directly impacts the quantity and variety of baked goods available to customers. Bakery software provides advanced tools for production planning and scheduling. By analyzing historical data, sales trends, and seasonal demand, these tools assist bakers in making informed decisions about production quantities and varieties.
This proactive approach not only prevents understocking or overstocking but also reduces the likelihood of last-minute rushes. Bakers can align their production schedules with anticipated demand, ensuring that customers find their favorite items available when they visit the bakery.
Accurate Financial Management
Managing finances is a crucial aspect of running any business, and bakeries are no exception. Bakery software often comes equipped with financial management features such as invoicing, expense tracking, and profit analysis. These tools provide bakery owners with real-time insights into their financial health, helping them make informed decisions about pricing, cost control, and investment opportunities.
Moreover, bakery software can simplify tax calculations and reporting by automating the process of tracking sales and expenses. This not only saves time but also reduces the likelihood of errors, ensuring compliance with tax regulations.
Data-Driven Insights
Bakery software generates a wealth of data through various operations, from sales figures to customer preferences. This data can be harnessed to gain valuable insights that drive business growth. Advanced bakery software often comes with analytics and reporting features that allow bakery owners to visualize trends, identify opportunities for expansion, and strategize for the future.
For example, by analyzing which products are most popular during specific times of the year, bakeries can plan seasonal offerings and marketing campaigns accordingly. Data-driven insights enable bakeries to make informed decisions that align with customer preferences and market demands.
![]()
The Future of Bakeries
The integration of bakery software into the industry marks a turning point in the way bakeries operate. As technology continues to advance, we can expect even more sophisticated features to emerge. Artificial intelligence (AI) and machine learning (ML) could be integrated to predict demand, automate production processes, and enhance personalized customer experiences.
Additionally, as sustainability becomes a growing concern, bakery software could aid in optimizing ingredient sourcing and minimizing food waste. By analyzing consumption patterns and inventory levels, bakeries could reduce excess production and contribute to a greener environment.
Bakery software has transformed the bakery industry by streamlining operations, enhancing customer experiences, and providing valuable insights for growth. The integration of technology has not only made bakery management more efficient but has also paved the way for improved customer relationships and strategic decision-making. As we look to the future, the evolution of bakery software holds the potential to shape a more sustainable, efficient, and customer-centric bakery landscape.