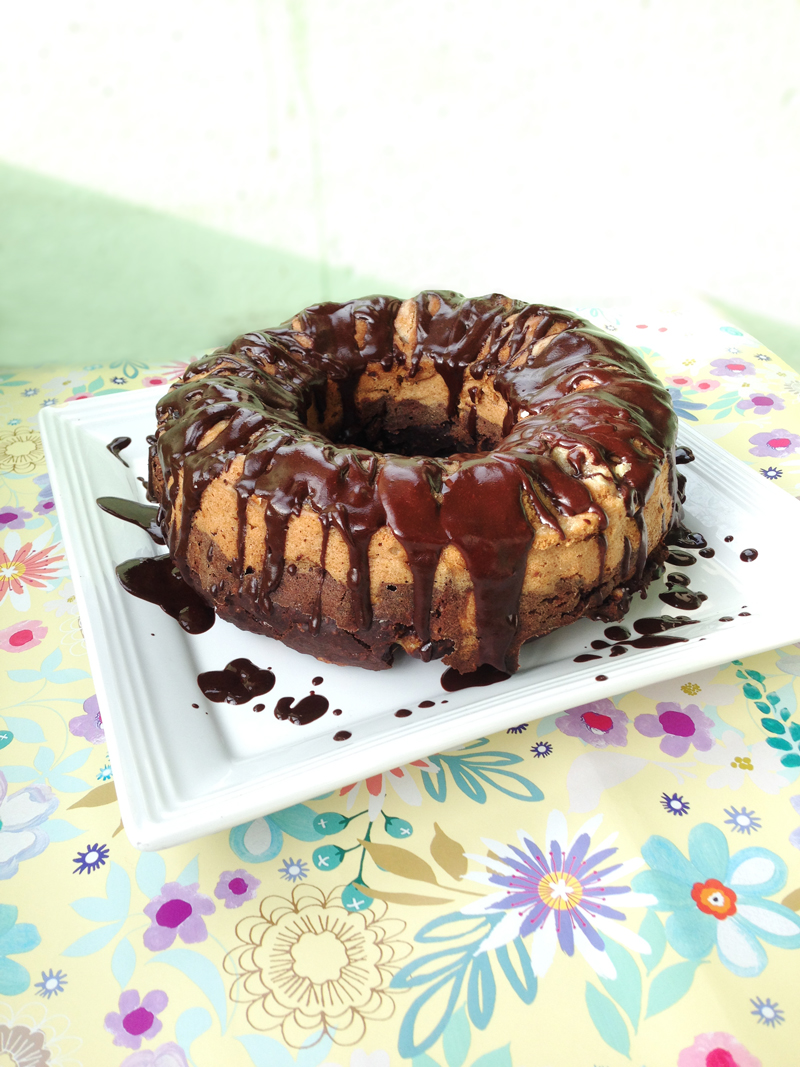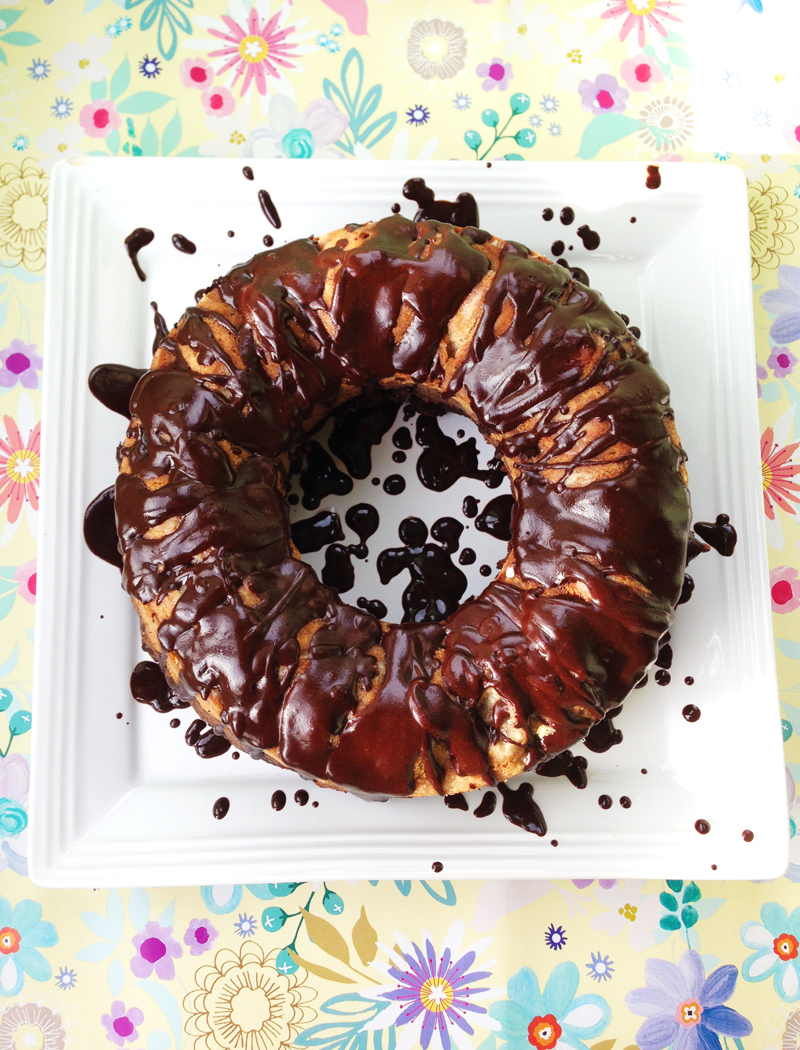
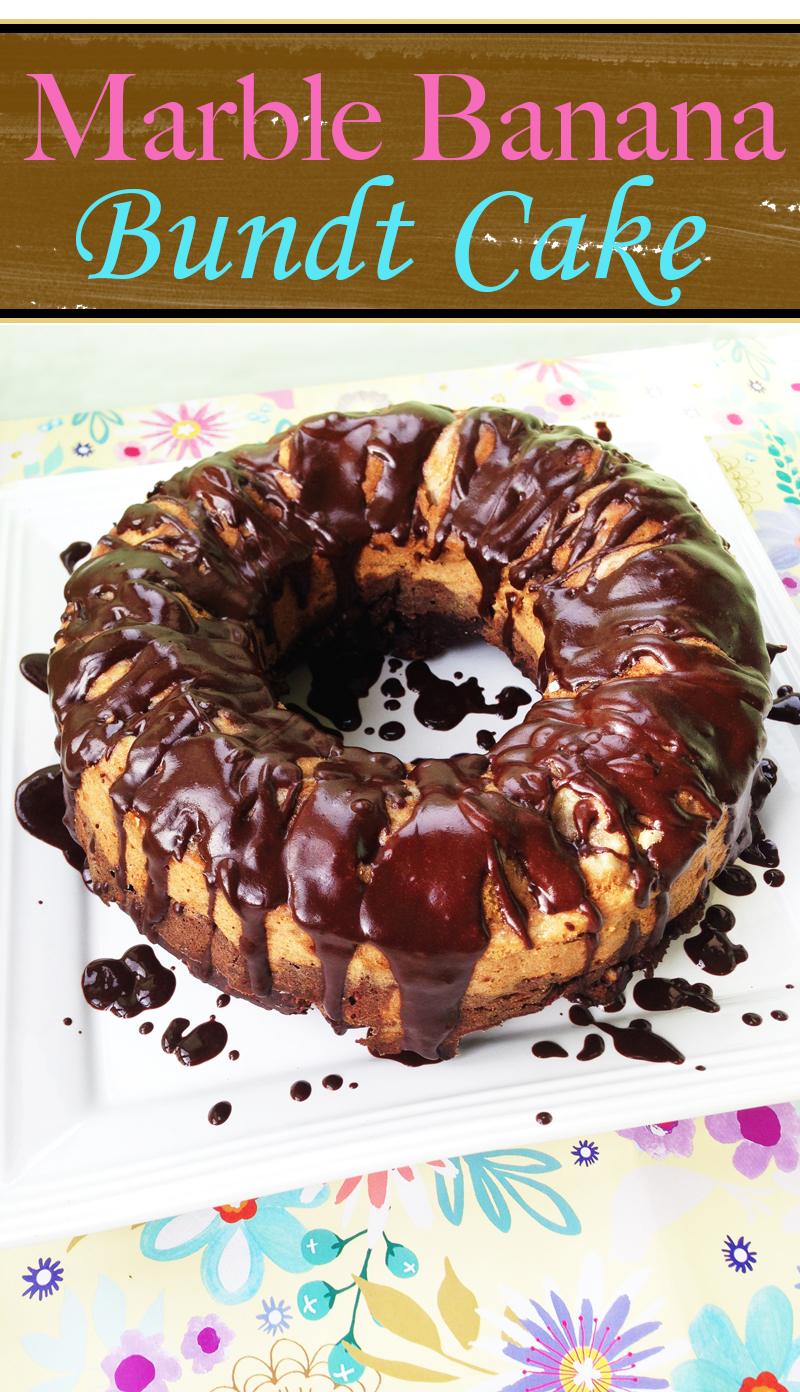

To switch things up a bit this Easter I decided to make my much loved banana bread! Every holiday of the year, EVERYONE can’t wait to try this cake. It is absolutely delicious! And to satisfy everyones chocolate cravings, I used an adapted version of my classic banana bread recipe and turned it into a chocolate marble bundt banana bread!
Want to know my secret to make the BEST banana bread? Use old bananas! That’s right, old, black, bananas that have been sitting in the pantry for a week and no one wants to eat. A great way to make them ripen faster is to place them in a closed paper bag with apples. The apples give off gases that help the bananas ripen quicker. Then, if you aren’t in the mood to make your banana bread right away, you can easily freeze the bananas in a ziplock bag and use them when needed!
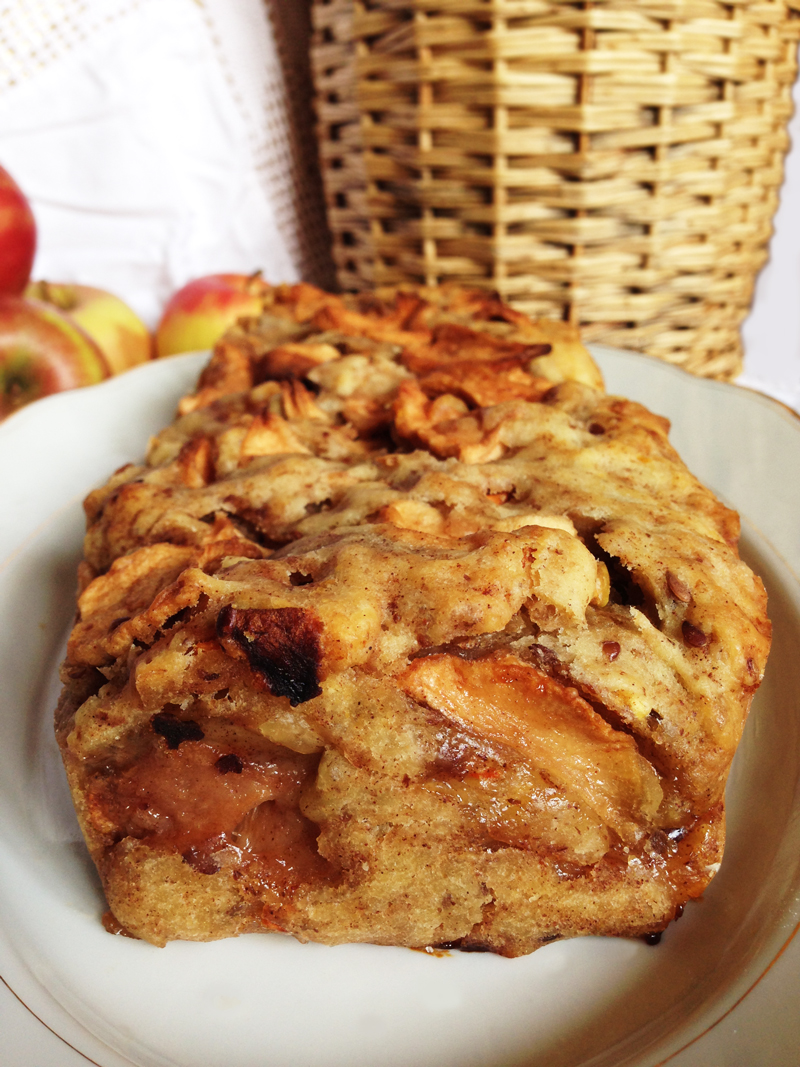
This banana bread is moist, soft, full of flavour and down right addictive. That’s why I usually make two cakes since this one gets eaten up in the first day!
Chocolate Banana Marble Bundt Cake Recipe
A soft, moist, and totally addictive banana marble bundt cake.
Ingredients:
- 1 cup all purpose flour
- 1 cup whole wheat flour
- 1 cup fine oatmeal
- 1 tsp baking soda
- 2 tsp baking powder
- 1/8 tsp salt
- 1 tbsp cinnamon
- 1/4 cup oil
- 2 tsp vanilla extract
- 4 ripe bananas
- 1 1/2 cups whole milk
- approx. half cup cocoa powder
- Baking chocolate
- Butter
- Oil
- 1. Preheat the oven to 180 C and grease a bundt pan.
- 2. Mix together flour, oatmeal, baking soda, baking powder, salt, and cinnamon.
- 3. Mix milk together with oil, mashed bananas, and vanilla extract. Combine with the dry ingredients and mix until all lumps disappear.
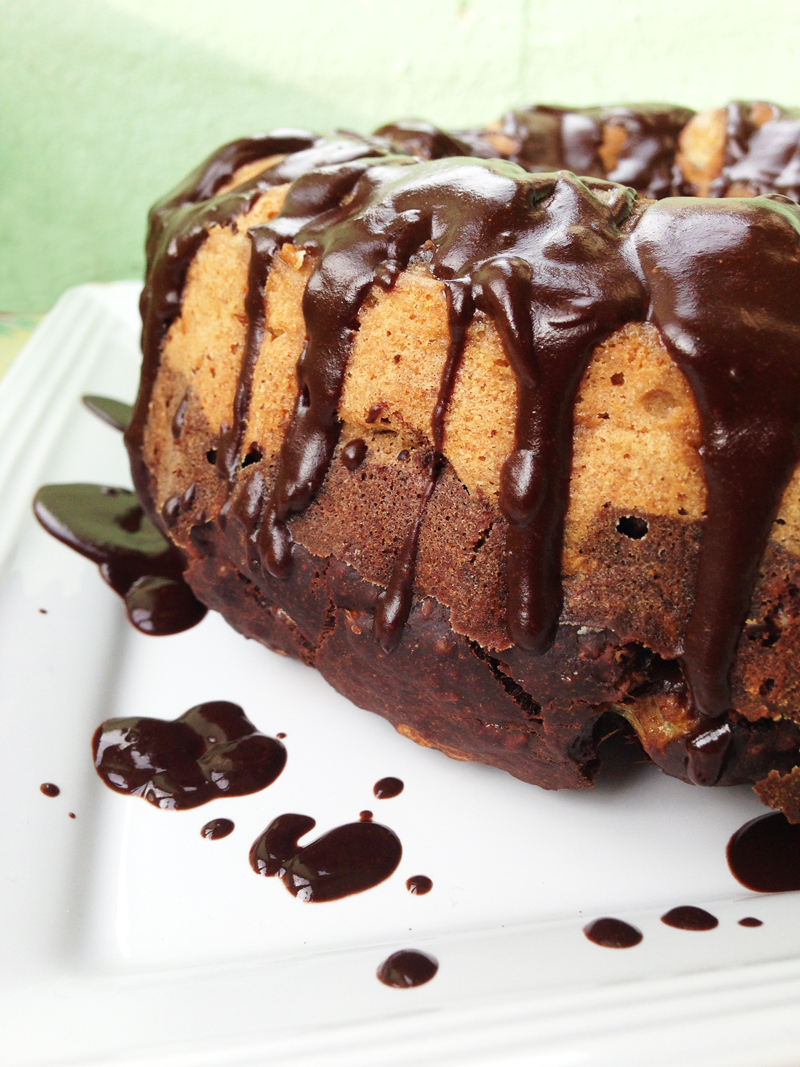
- 4. Separate half of the batter into another bowl. Add approximately half a cup of cocoa powder or until all your batter turns dark brown. I did this step approximately!
- 5. Pour chocolate batter into the pan and then top with the remaining white batter. Swirl with a sharp knife. Bake for about 60 minutes or until a toothpick comes out clean.
- Place a few squares of baking chocolate in a pan on medium heat (be very careful to stir so it doesn’t burn!). Mix in a little bit of oil, butter, and stir until you make a chocolate sirup. Pour over completely cooled bundt cake and let it harden. Voila!