 VICTORIA SPONGE CAKE / DREW LEAVY / CC BY
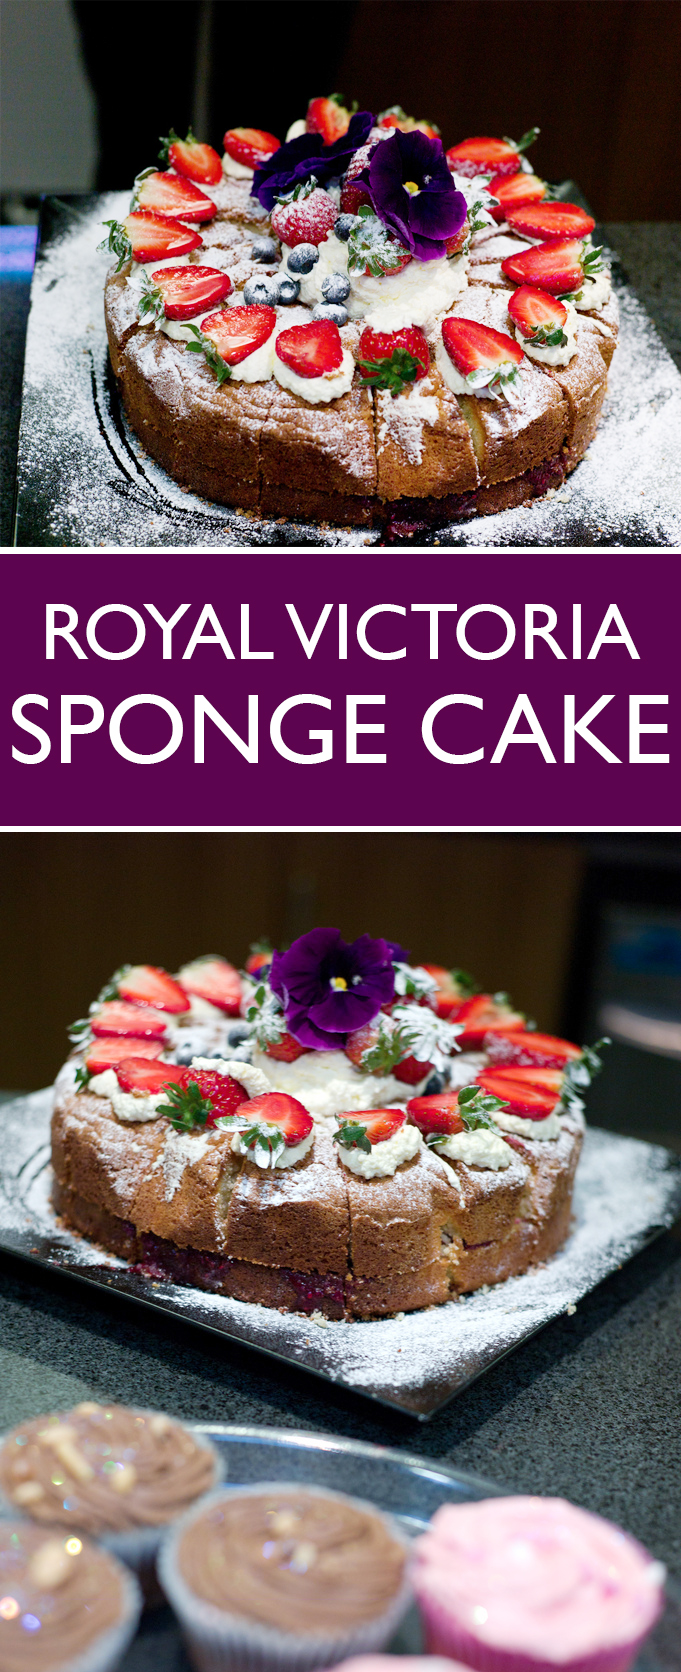
A sponge cake fit for royalty! This delicious sandwich-like cake is light, fluffy, and the perfect simple dessert to make if your in a rush. Sandwiched between vanilla frosting and strawberry jam, it’s a no-fail cake that looks impressive and expensive. Have guests coming over? Make this cake to blow them away, without the need of any special ingredients or baking skills!
Royal Victoria Sponge Cake With Strawberries
Ingredients:
For the Cake
- 150g sugar
- 175 butter
- 3 eggs, beaten
- 1 3/4 cup flour
- 1.5 tsp baking powder
- 1 tsp salt
For the Frosting
- 150 icing sugar
- 75g butter
- 1 tsp vanilla
- 3 tbsp strawberry jam
Directions:
To Make Cake
- Preheat oven to 356F. Grease and line with parchment paper two 7″ cake pans.
- Whip together butter and sugar until light and fluffy. Slowly add in eggs and keeping beating/
- Fold in flour into butter mixture and pour the batter into the two pans. Bake for about half an hour. Cool in pans for 10 minutes before turning out onto wire rack.
To Make Frosting and to Assemble
- Whip together butter, sugar and vanilla. Spread icing onto cake layer, leaving a bit for the top of the cake. Spread strawberry jam over icing and sandwich together layers. Place a blob of icing in the center at the top of the cake and decorate with strawberries.