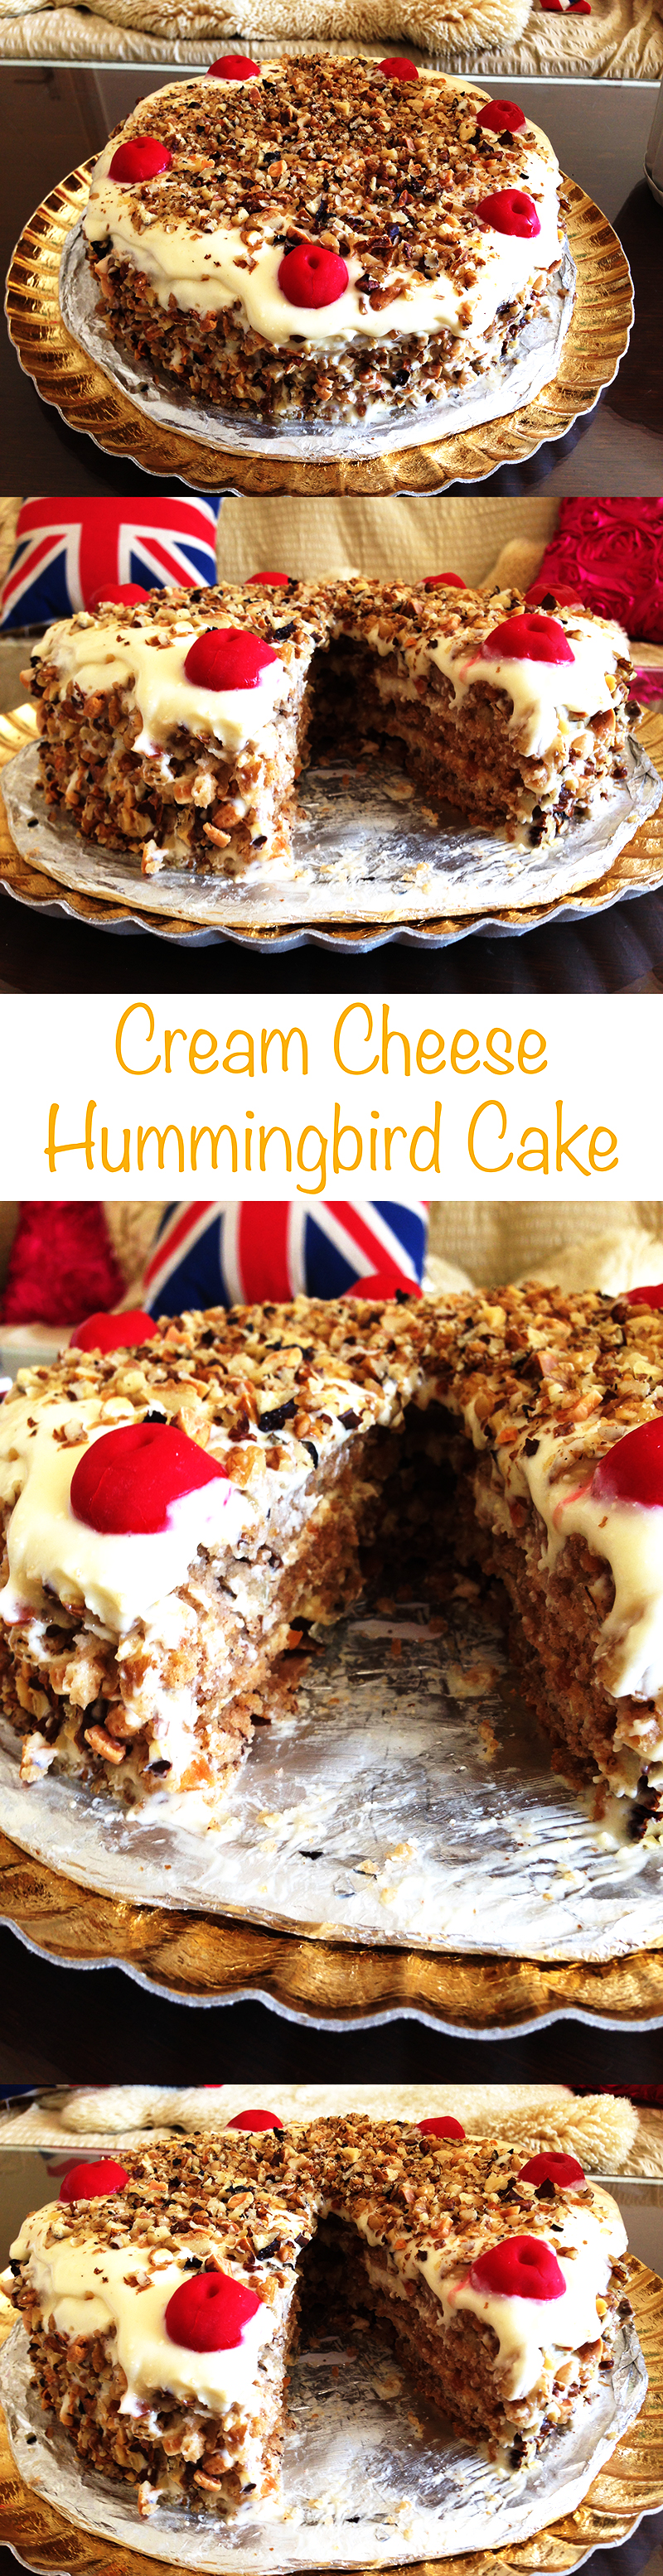
A lovely way to start of the spring and summer season with a multi-layered hummingbird cake filled with cream cheese frosting! Moist pineapple, crunchy pecans or walnuts and loads of flavor!
*If you would like to share my recipe and photos please provide proper credit and a link back. Thanks!
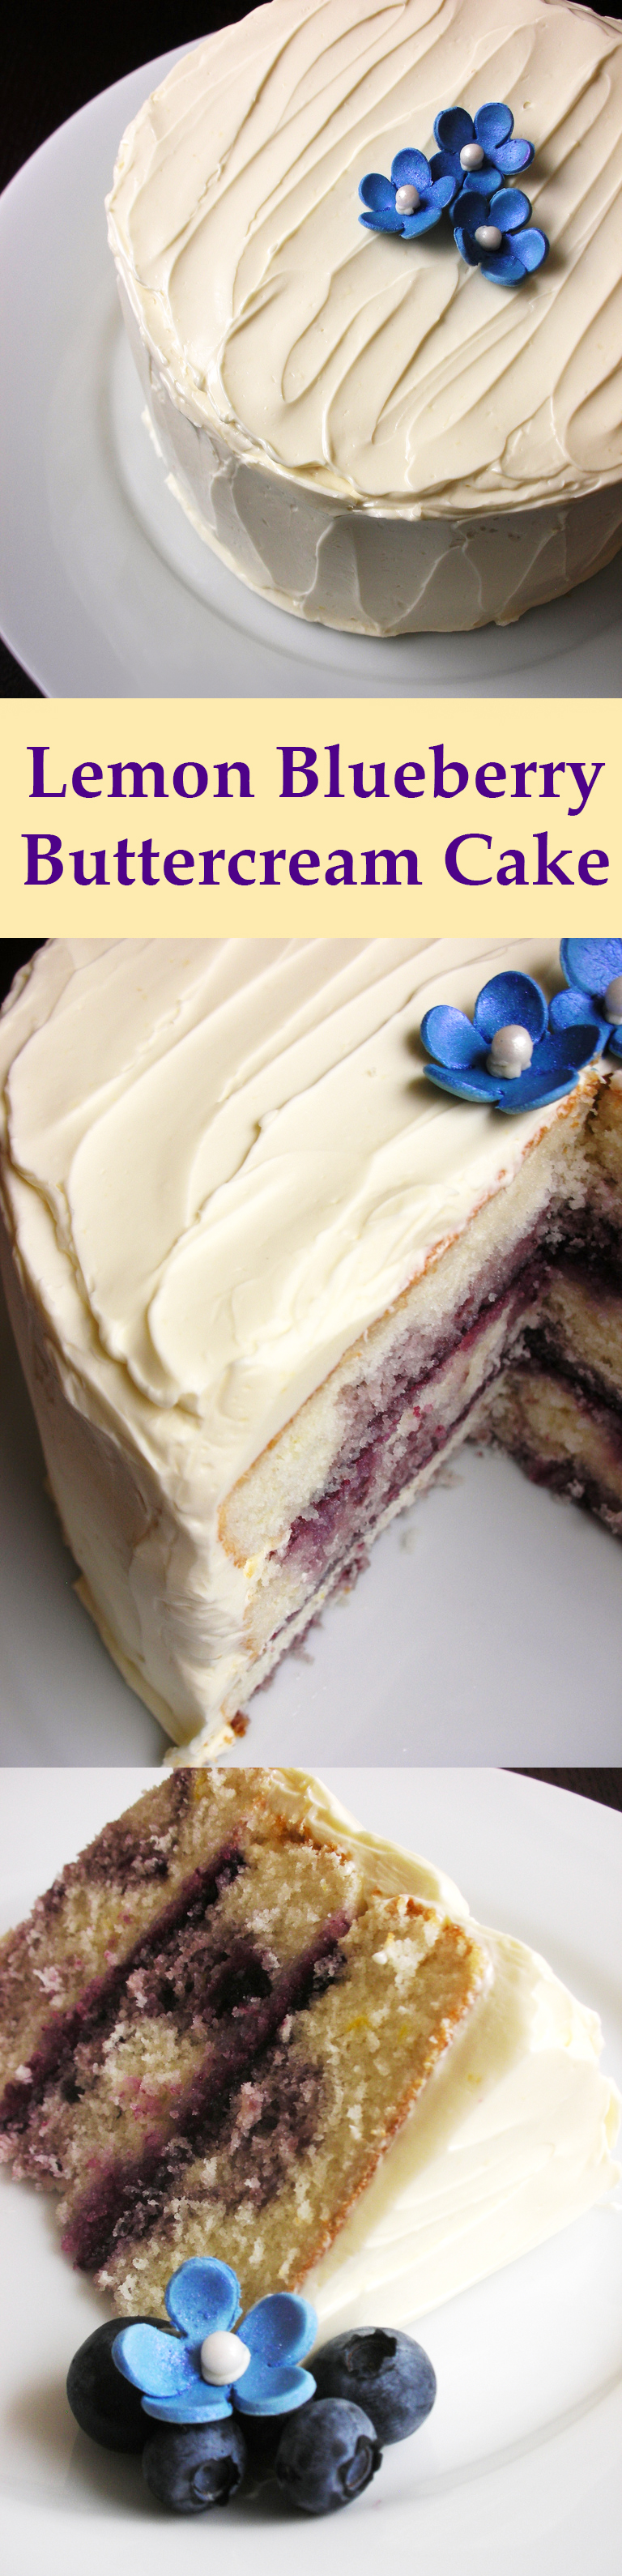
Hummingbird Cake Recipe with Cream Cheese Frosting
Ingredients:
- 3 cups flour
- 1 cup sugar
- 1 tsp table salt
- 1 tsp cinnamon
- 1 tsp baking powder
- 1 tsp baking soda
- ¼ tsp allspice
- 1 1/3 cups vegetable oil
- 2 tsp vanilla extract or vanilla sugar
- 3 eggs (lightly whipped)
- 1 ½ cups mashed bananas
- 2 cups toasted pecans or walnuts (chopped and divided)
- 1 can crushed, undrained pineapple (about 1 oz can)
- 1 cup butter, softened
- 2 tsp vanilla extract
- 1 tsp salt
- 2 packages of cream cheese (8 oz each package), chopped in chunks
Directions:
To Make Cake
- Preheat oven to 350 F and grease/flour three 9” cake pans.
- Mix dry ingredients first in a large bowl: flour, 2 cups sugar, salt, baking powder, baking soda, cinnamon, and allspice.
- Add wet ingredients to dry ingredients and mix well: vegetable oil, vanilla extract, and eggs. Add banana, 1 cup of pecans or walnuts, and pineapple until combined.
- Divide batter between the 3 pans and bake for about 25 minutes. Let cakes cool before removing to wire racks.
To Make Frosting
- Beat butter and powdered sugar together using an electric mixer. Add the vanilla extract and then start to combine the cream cheese, 1 chunk at a time.
- Spread the frosting evenly between all the layers, as well as the top and sides of the cake. Sprinkle chopped and toasted pecans/walnuts all over cake.